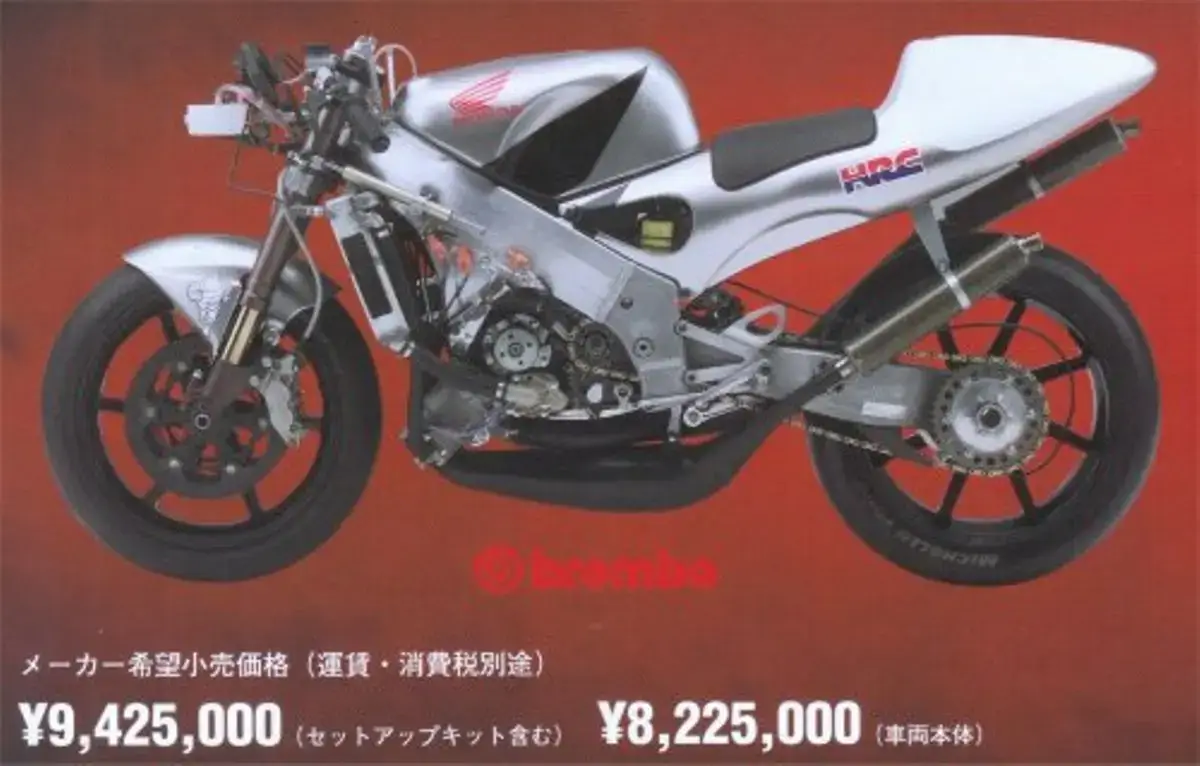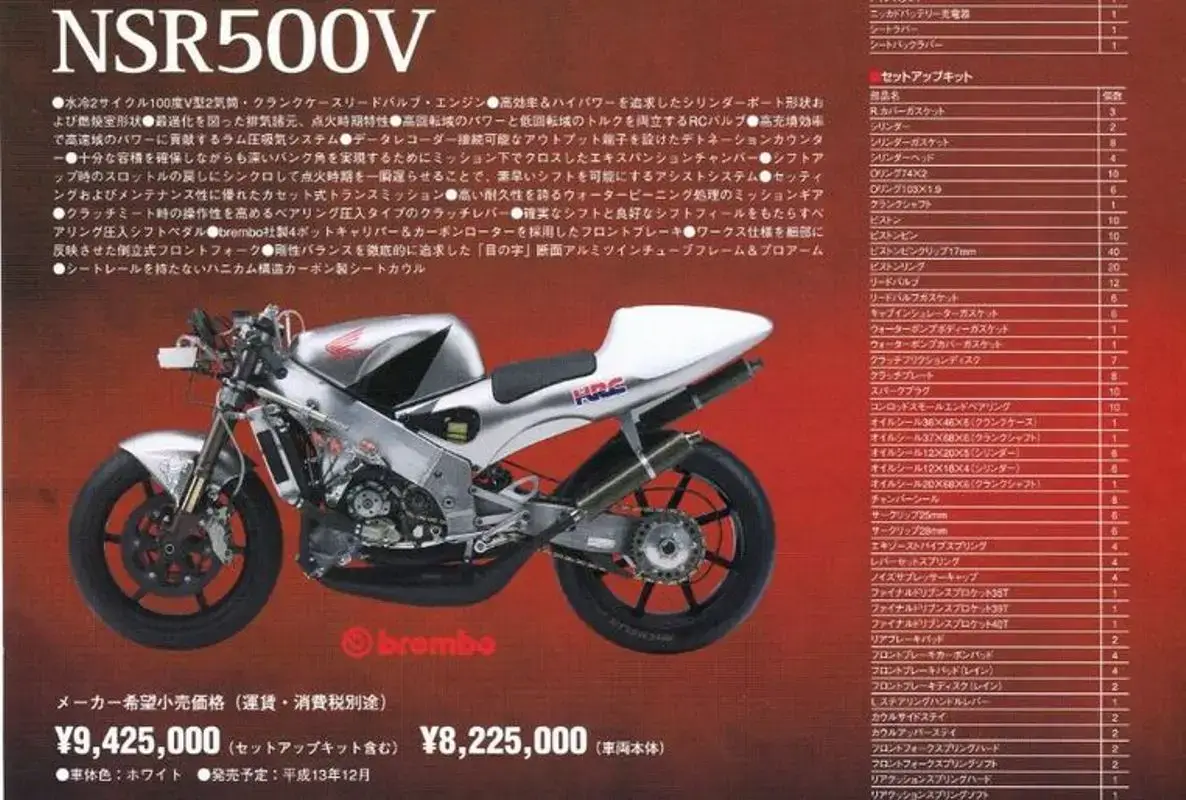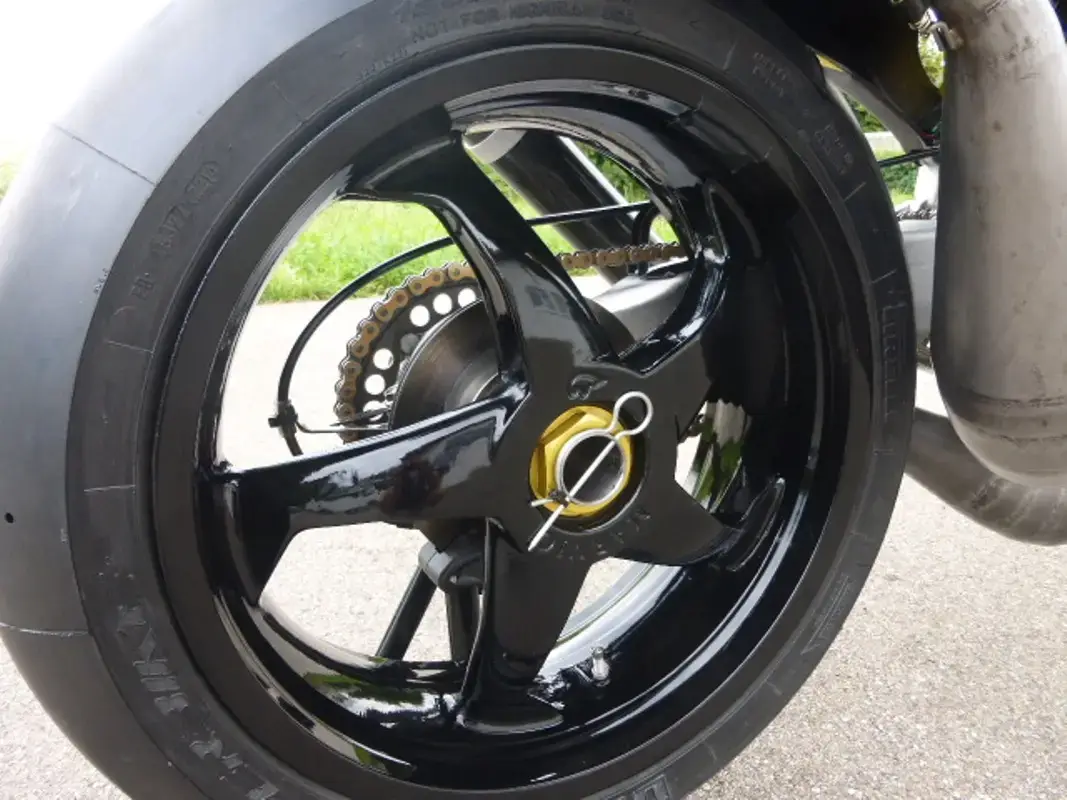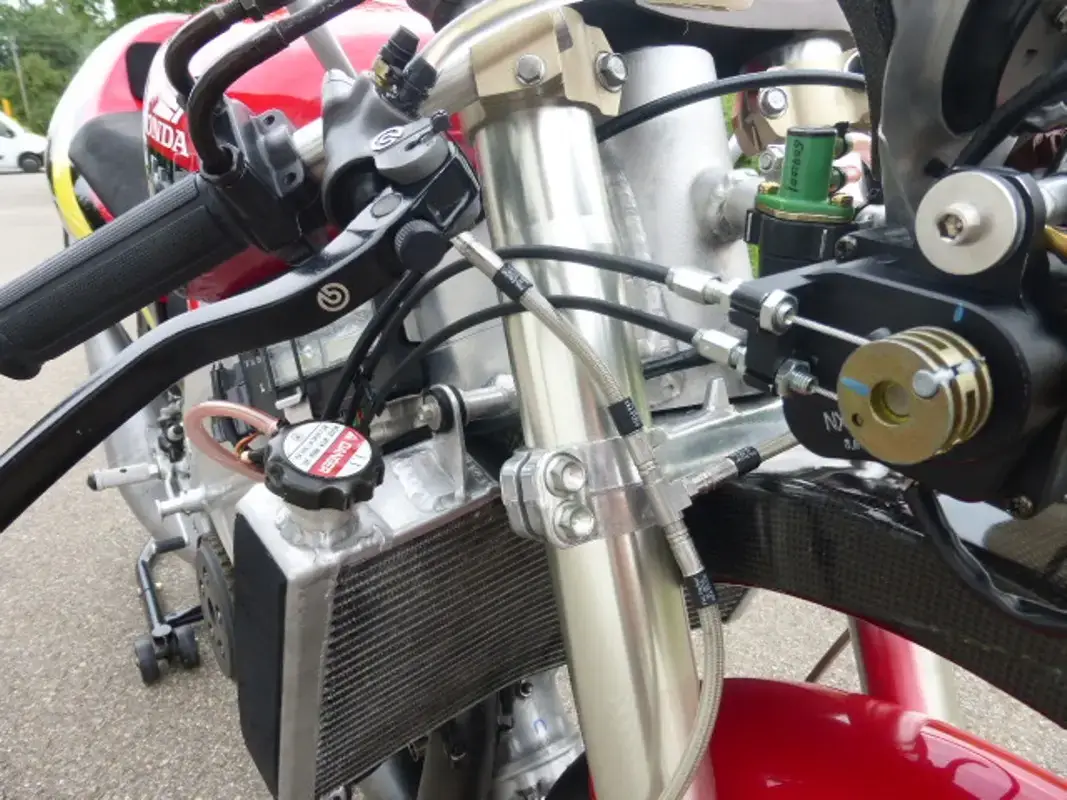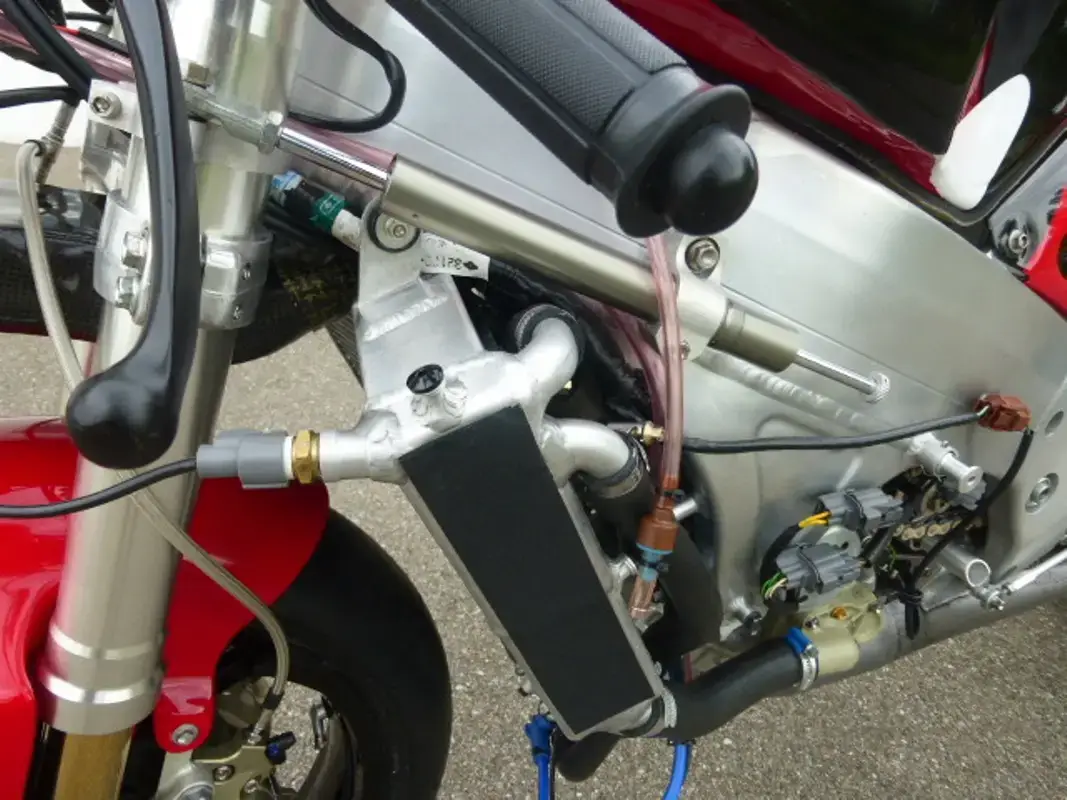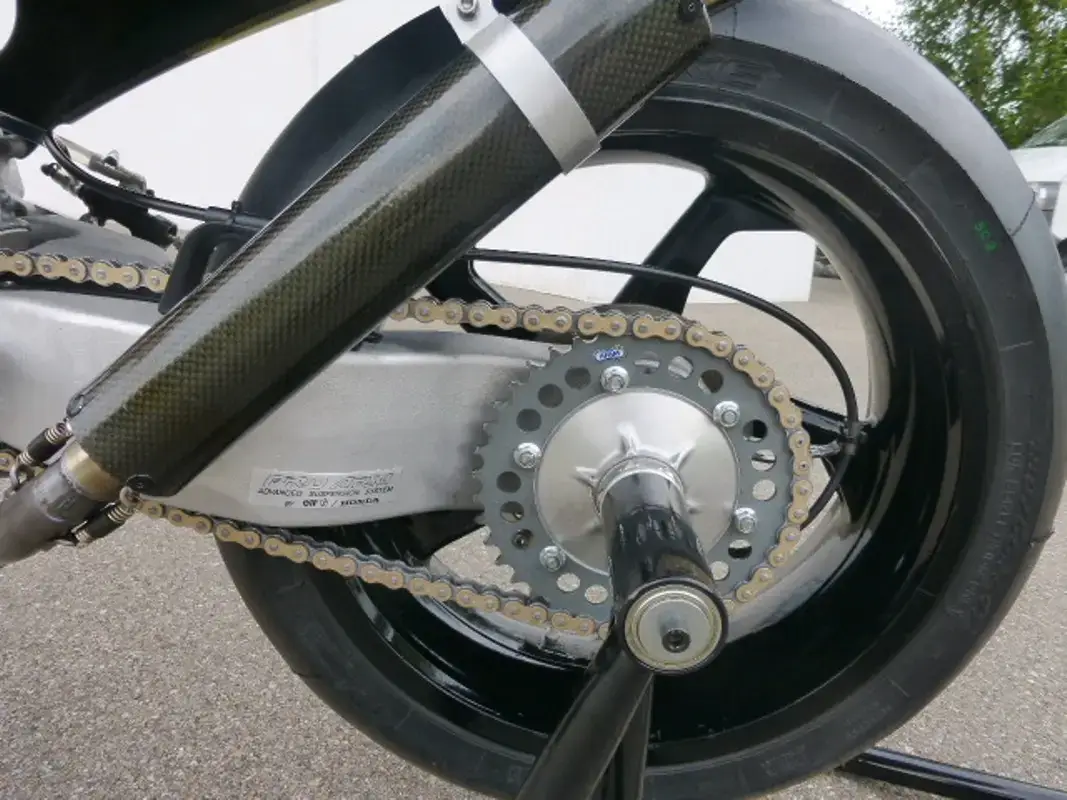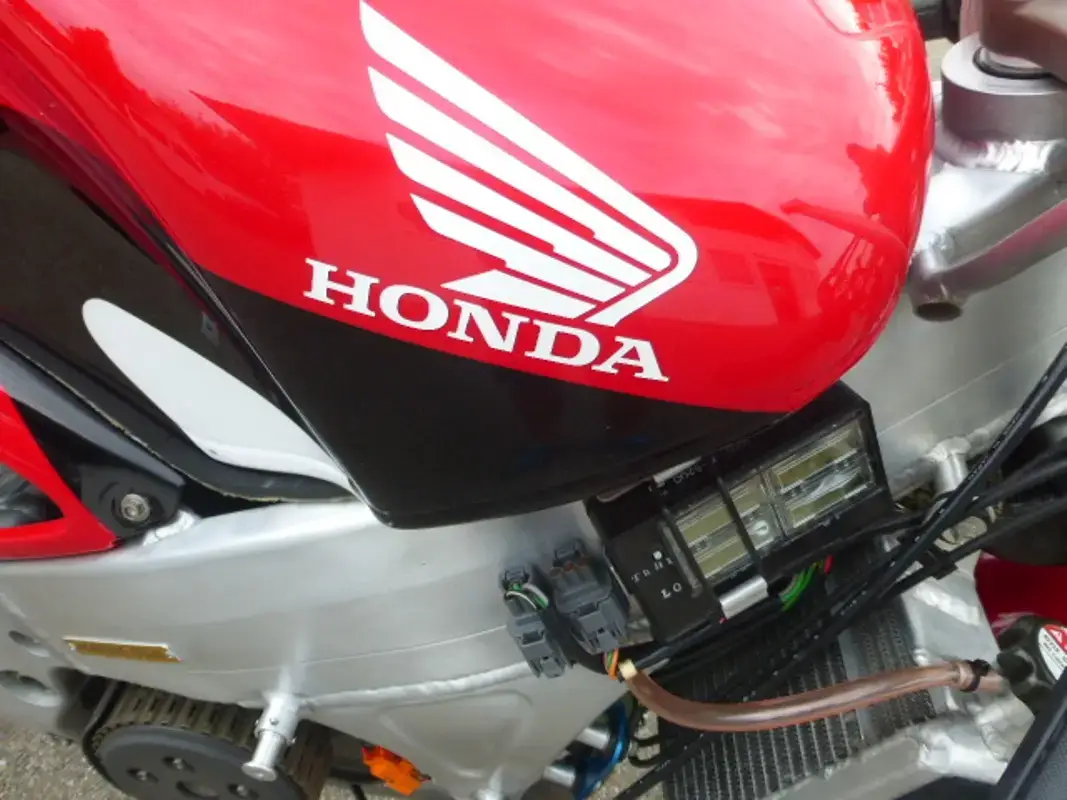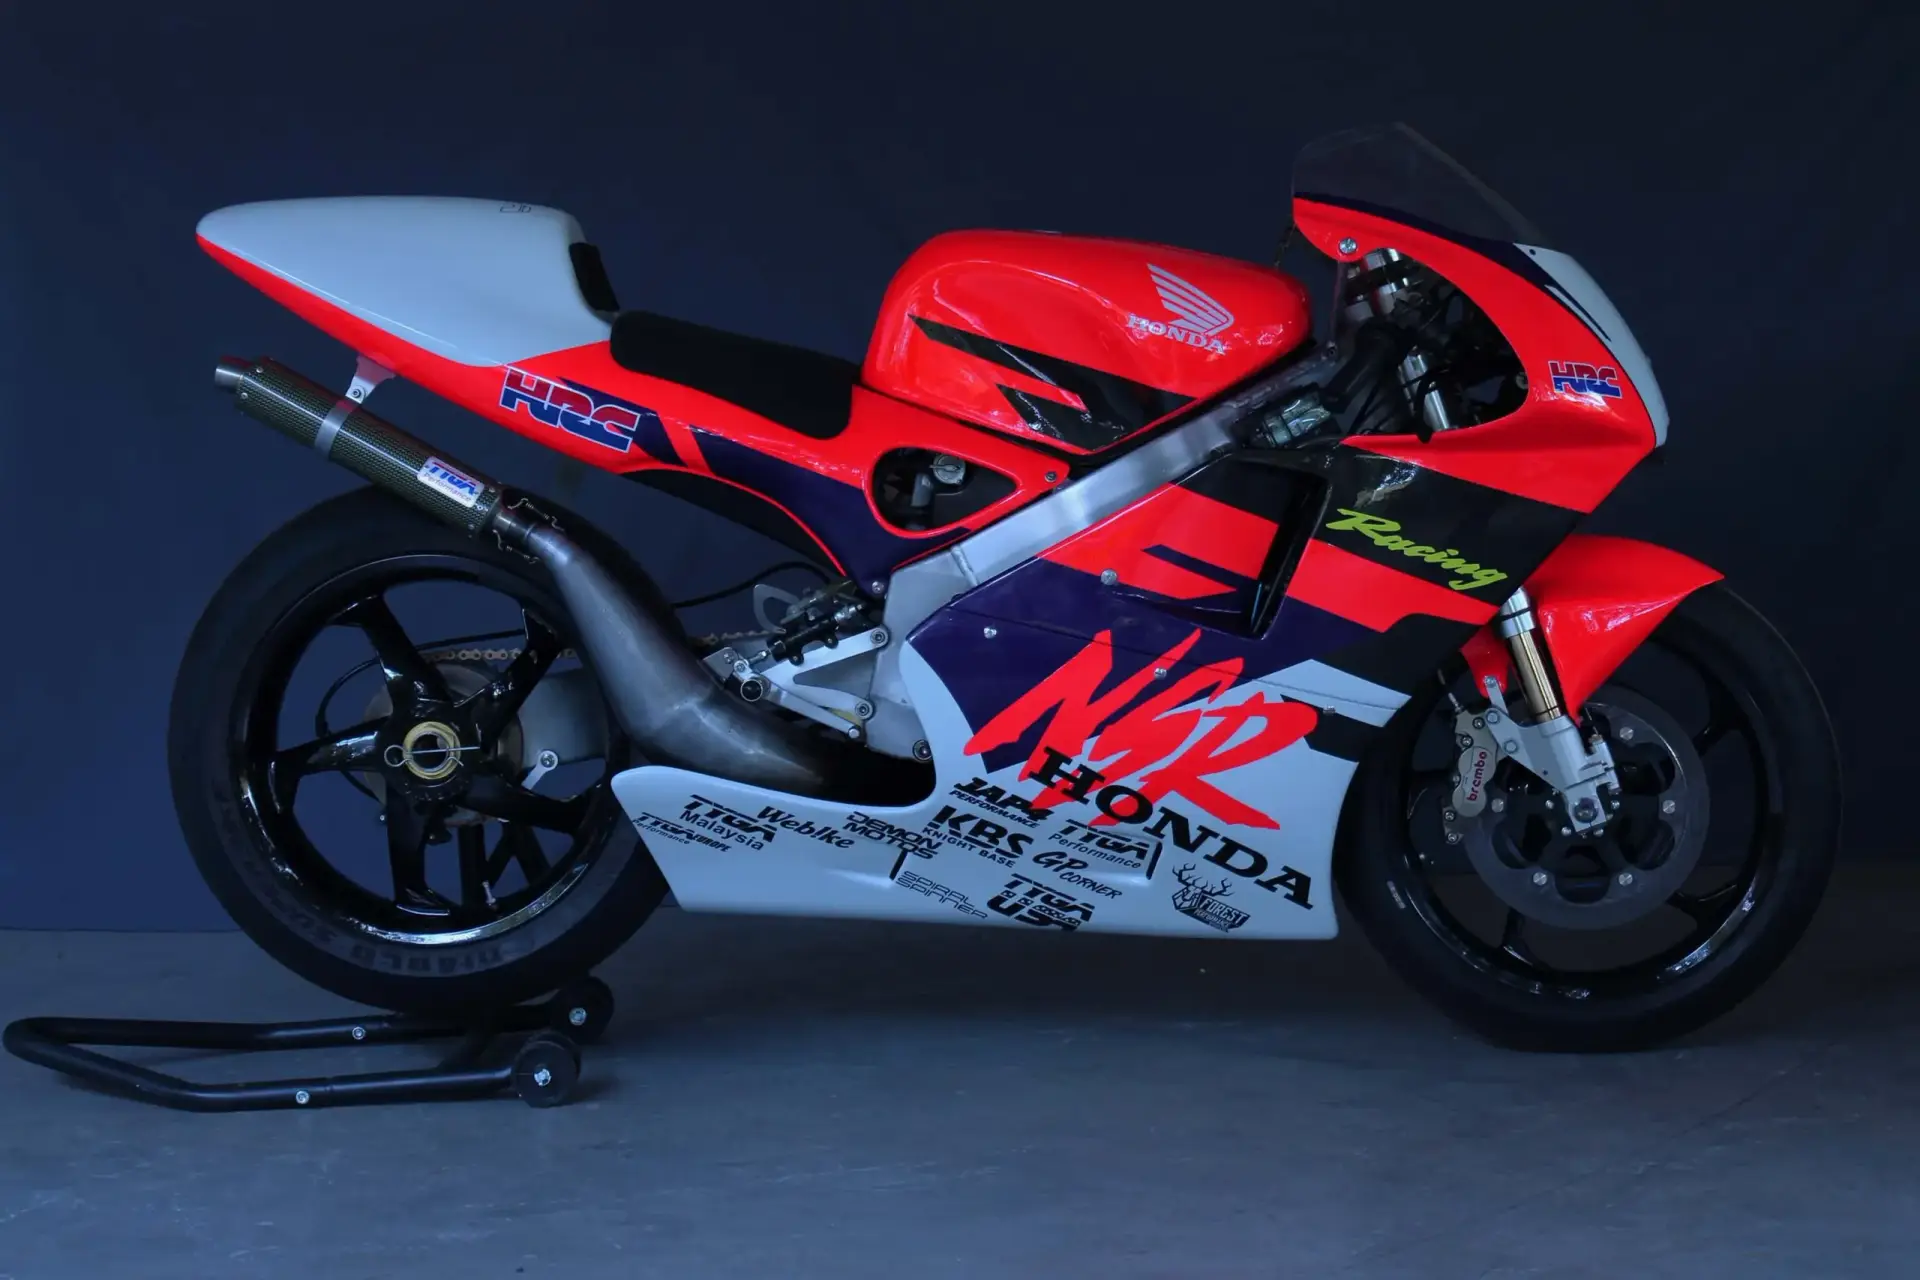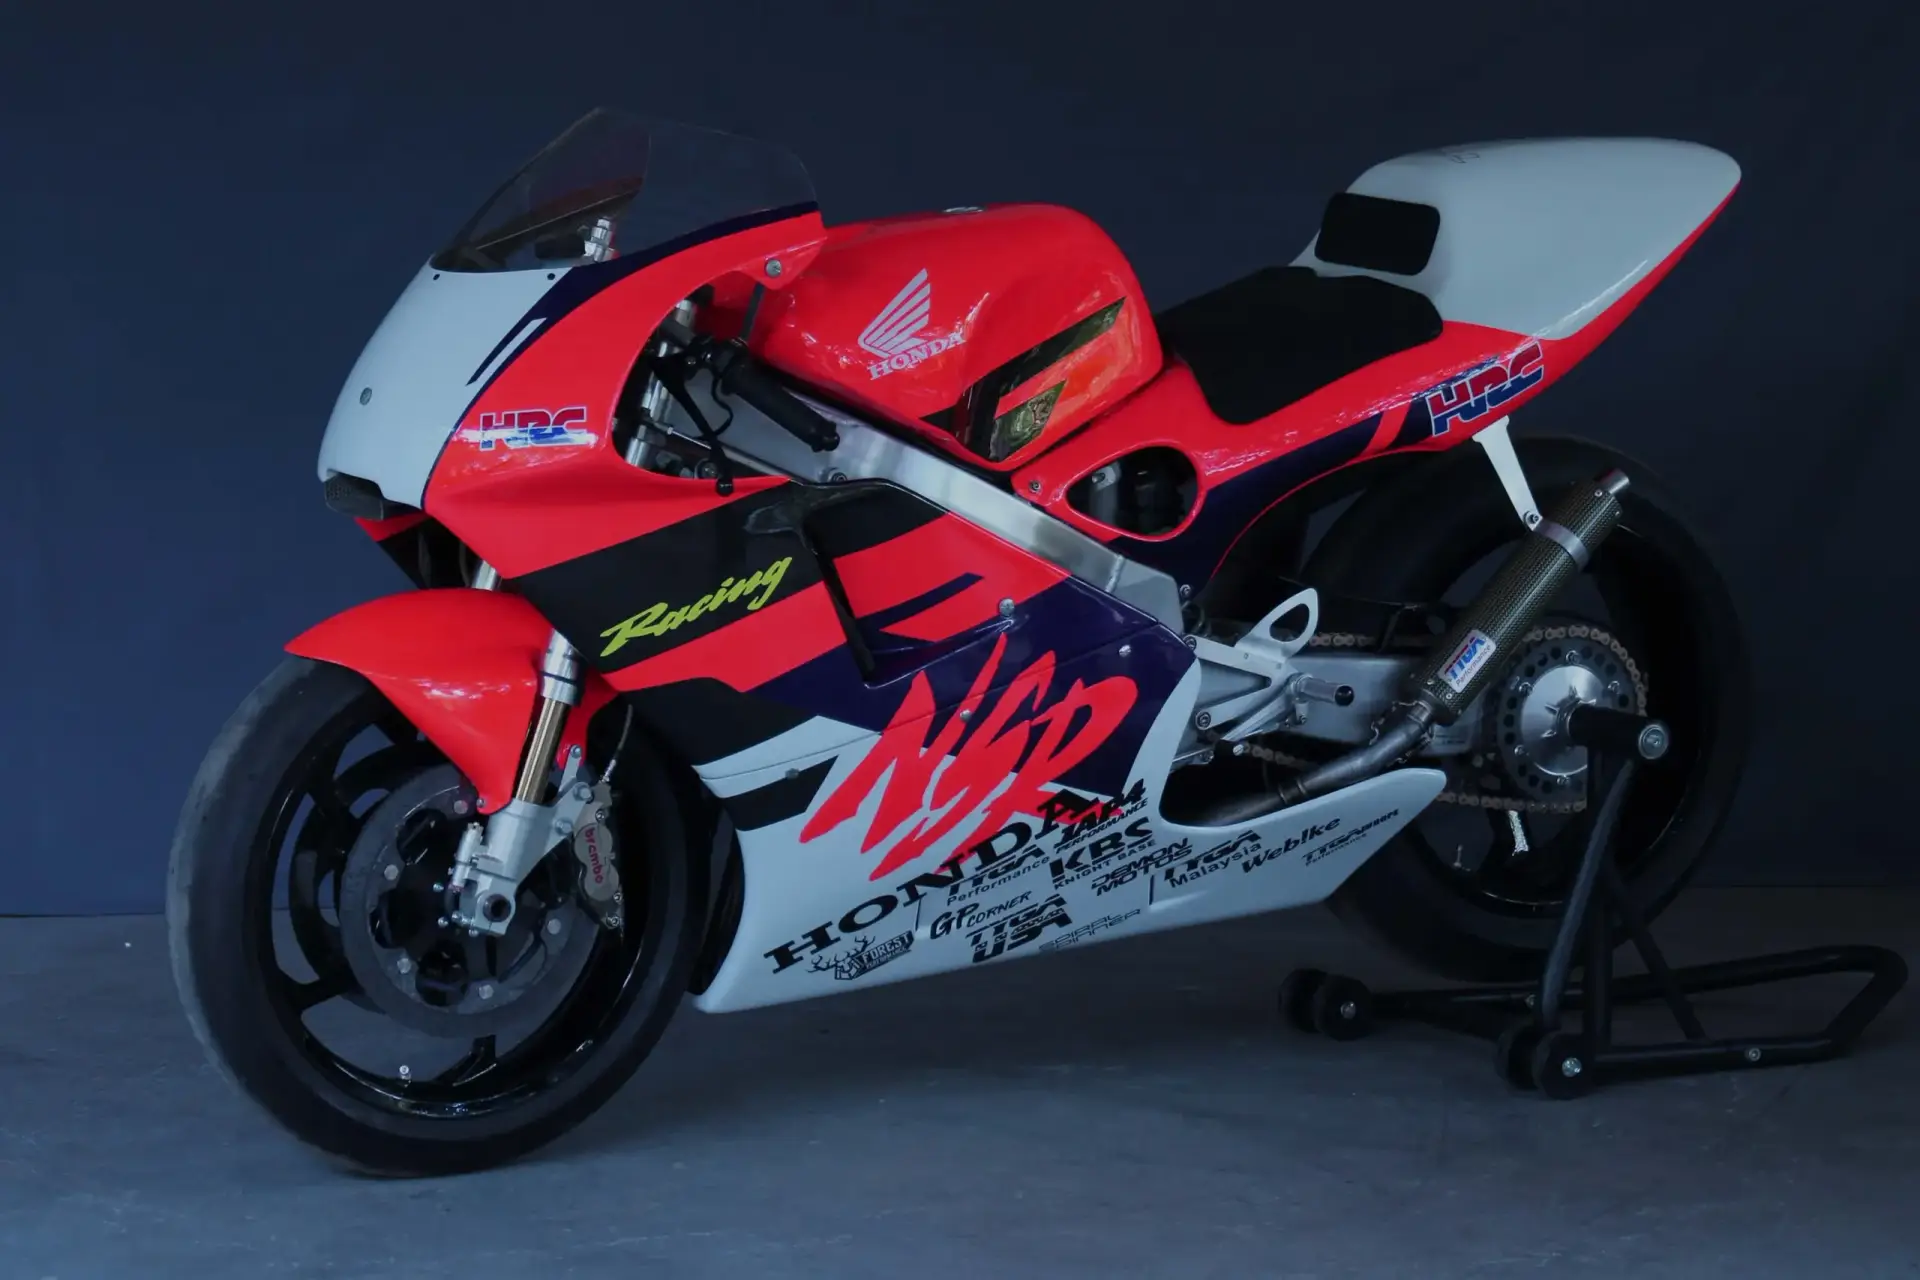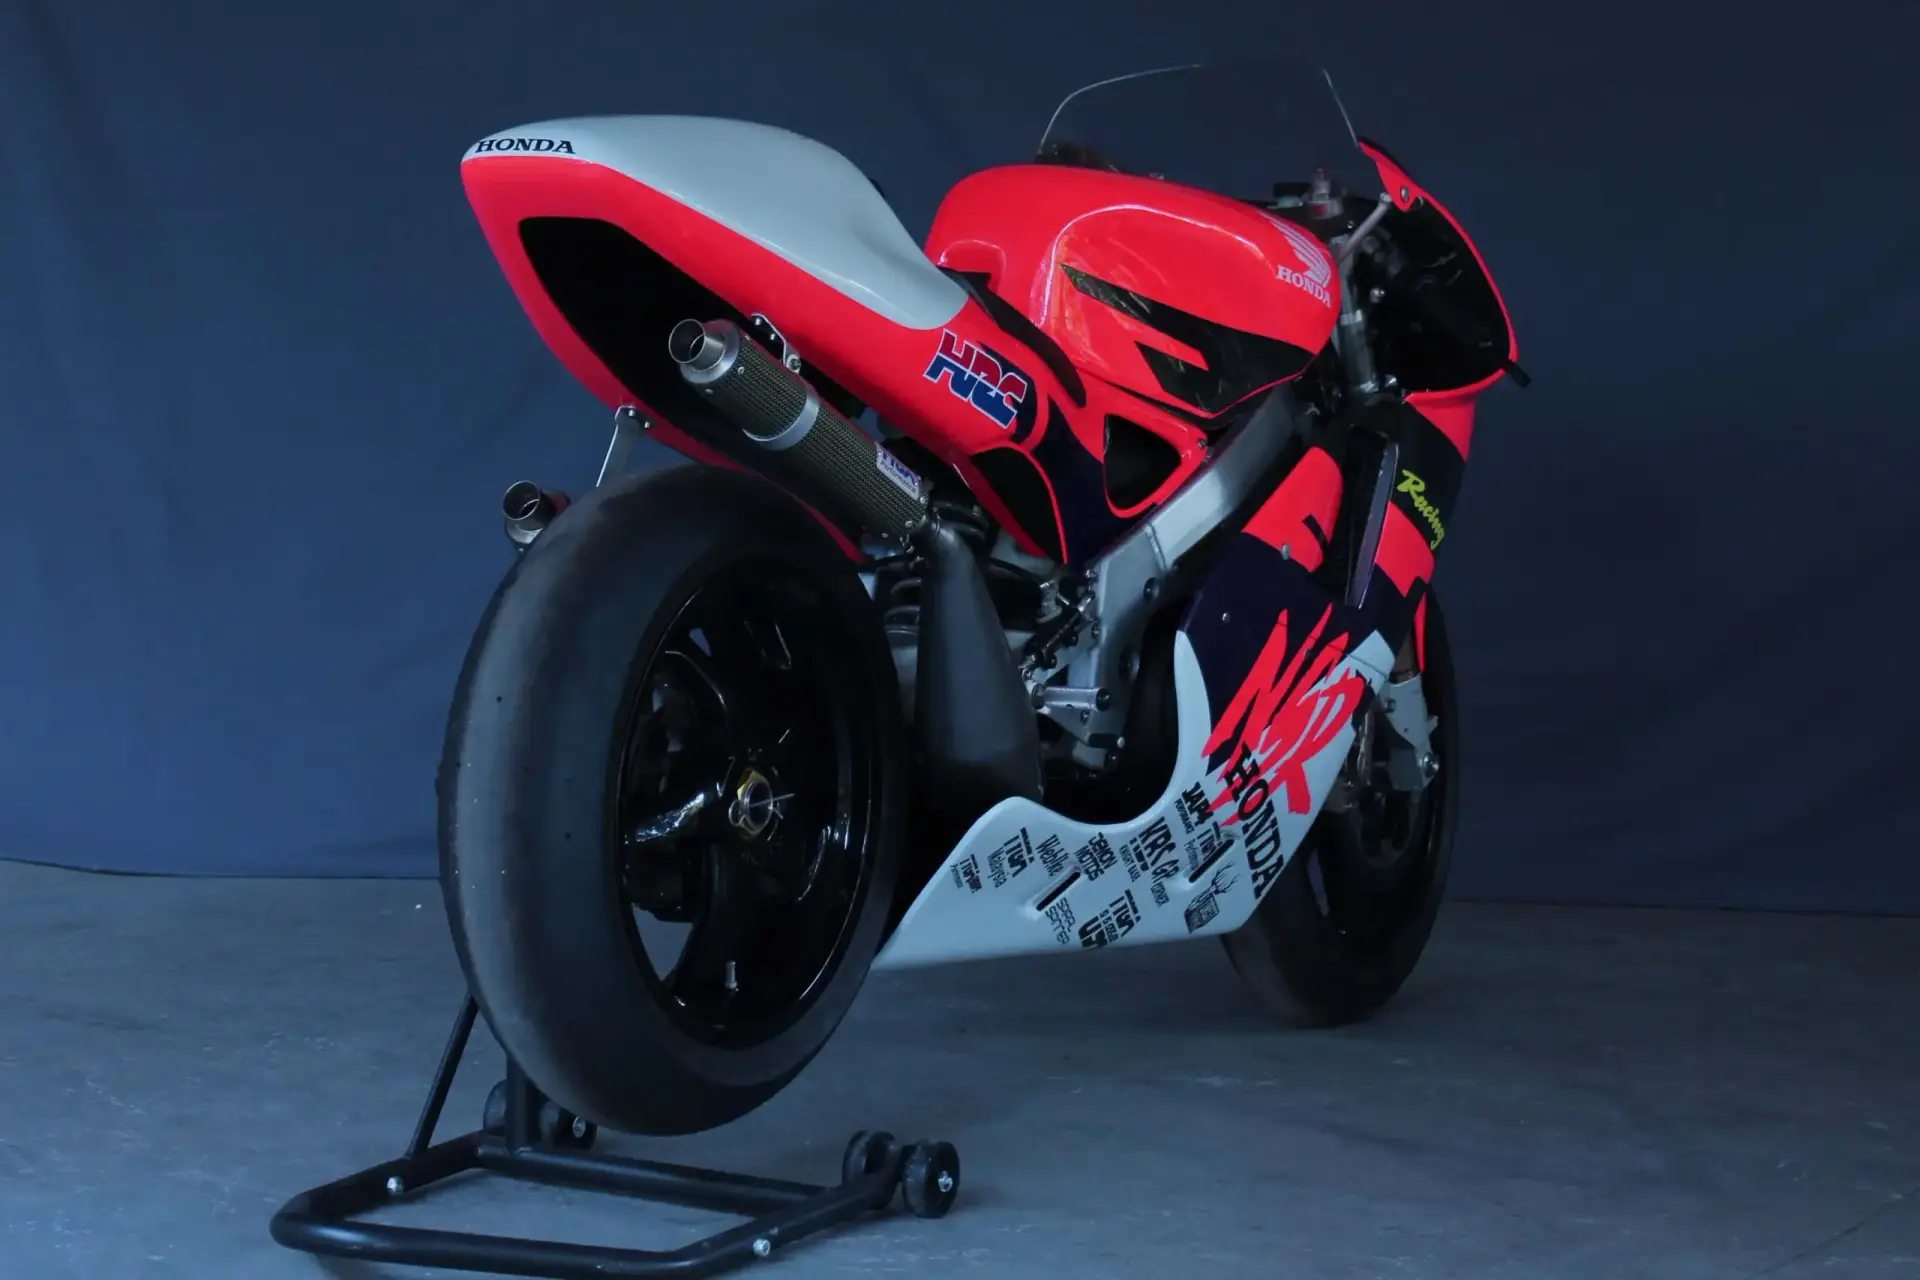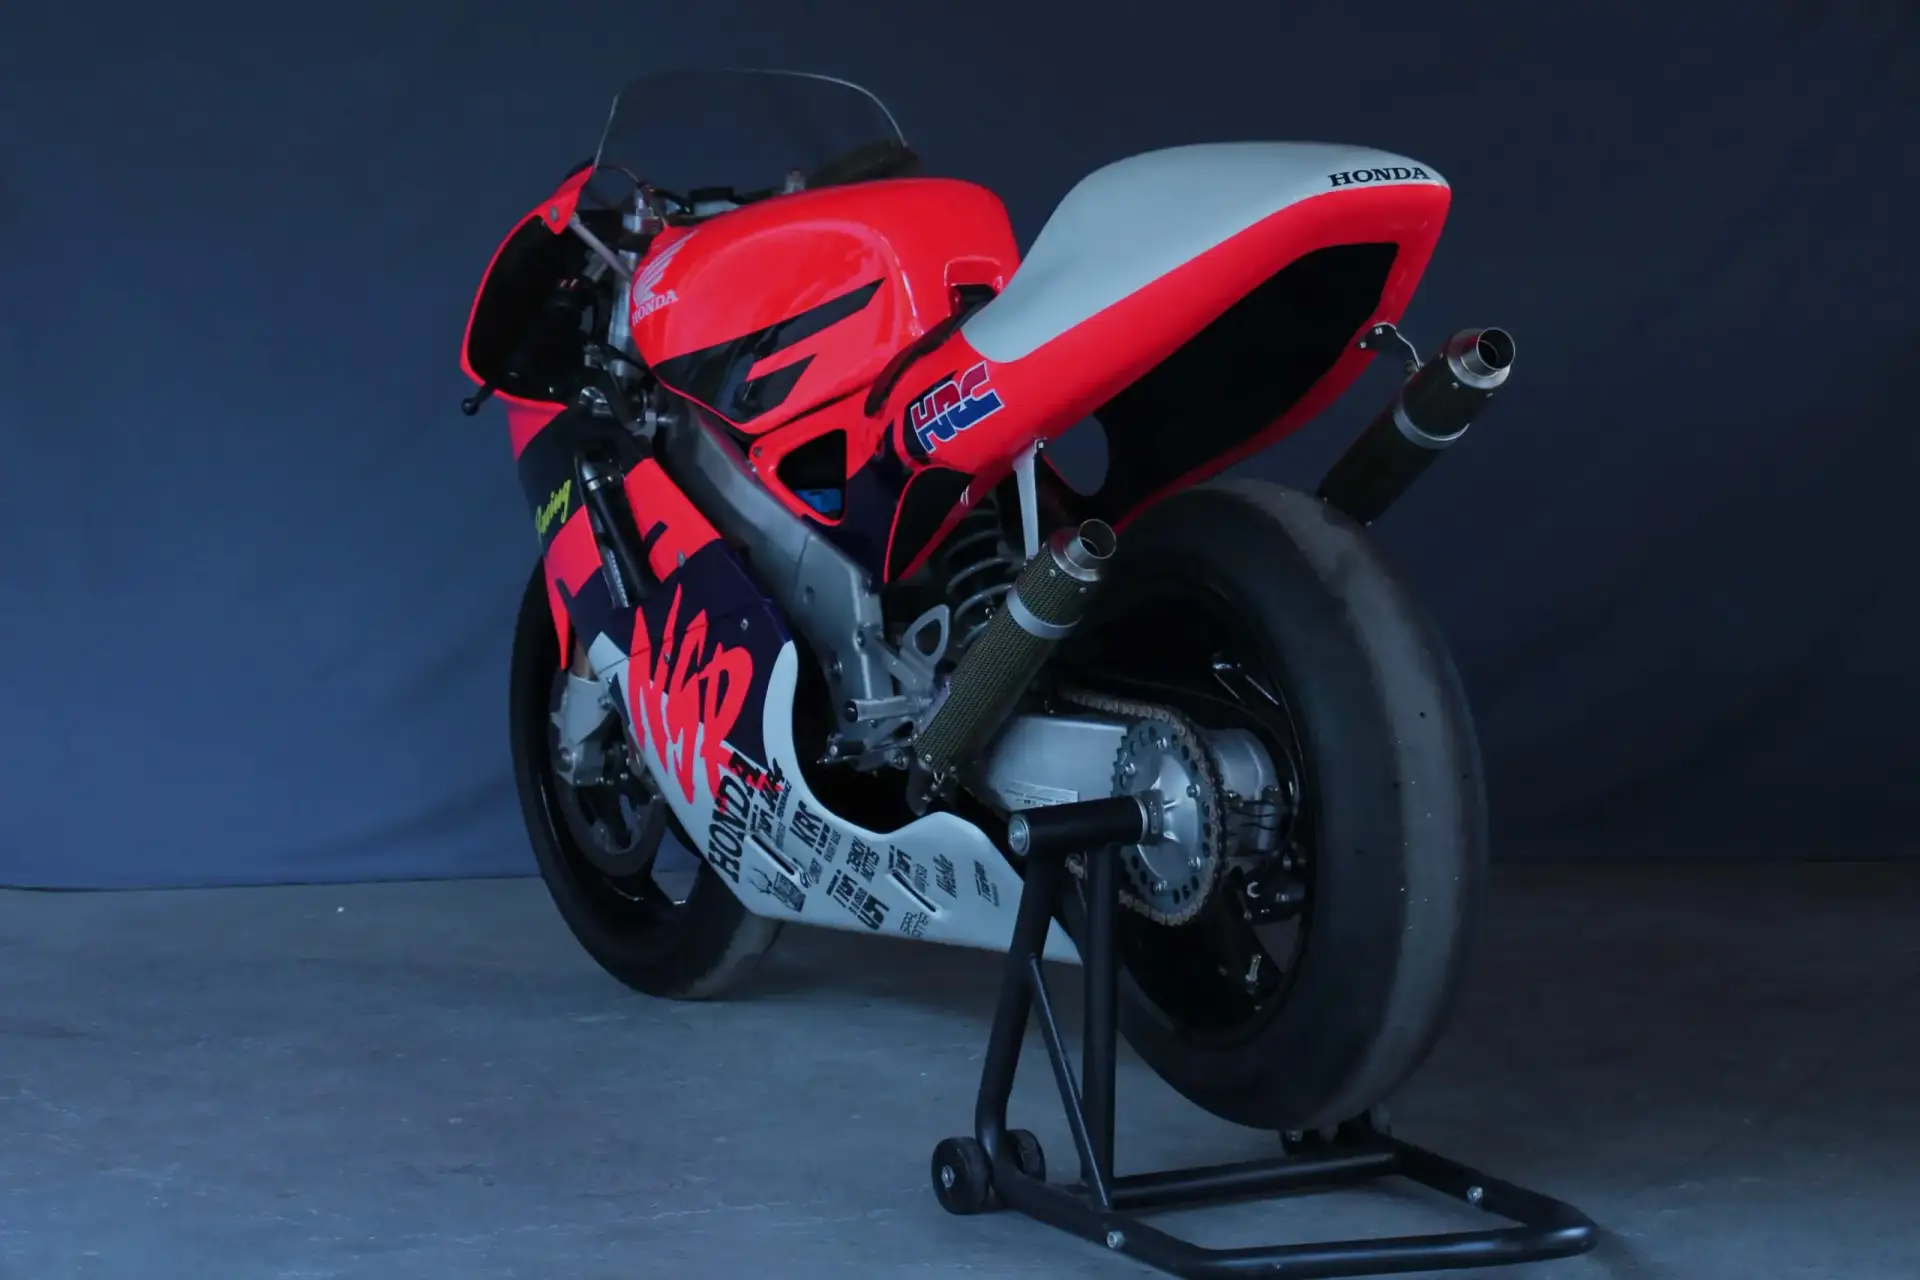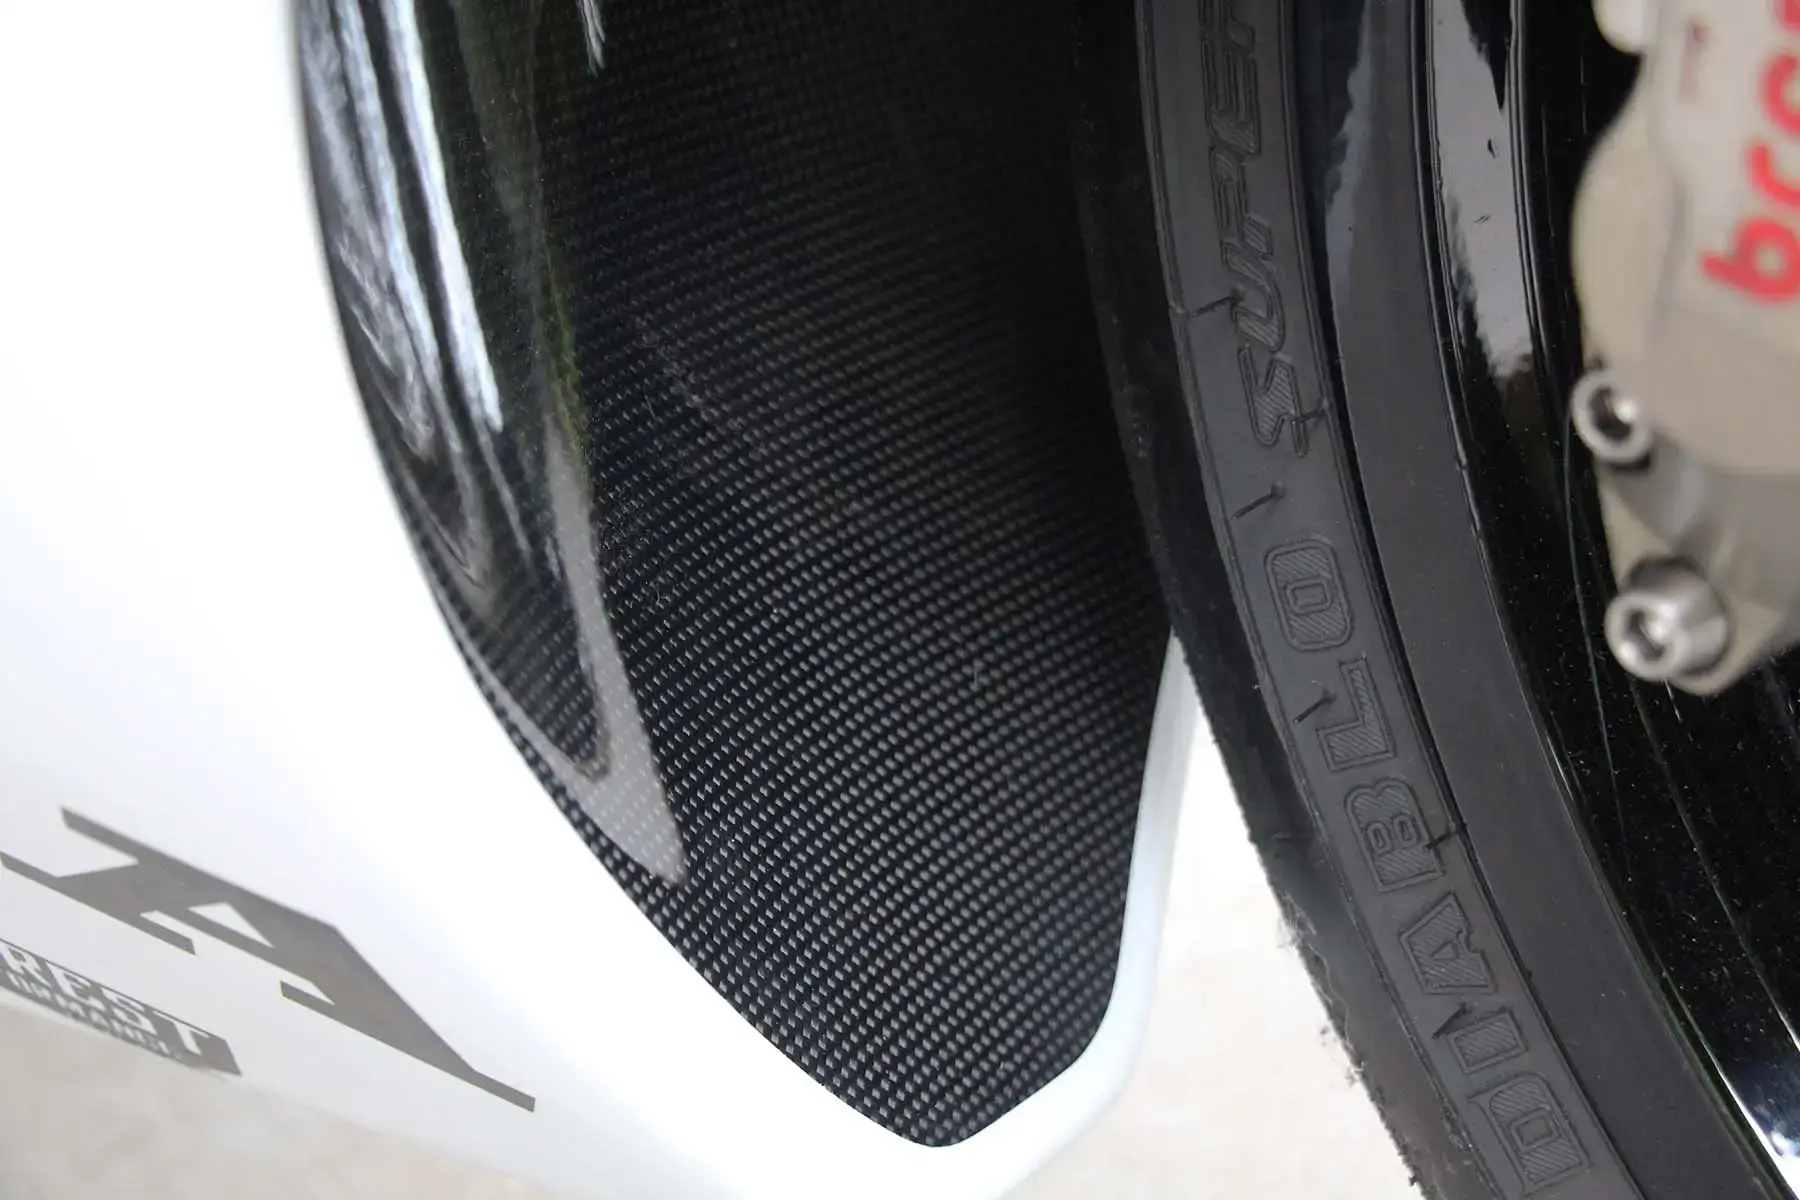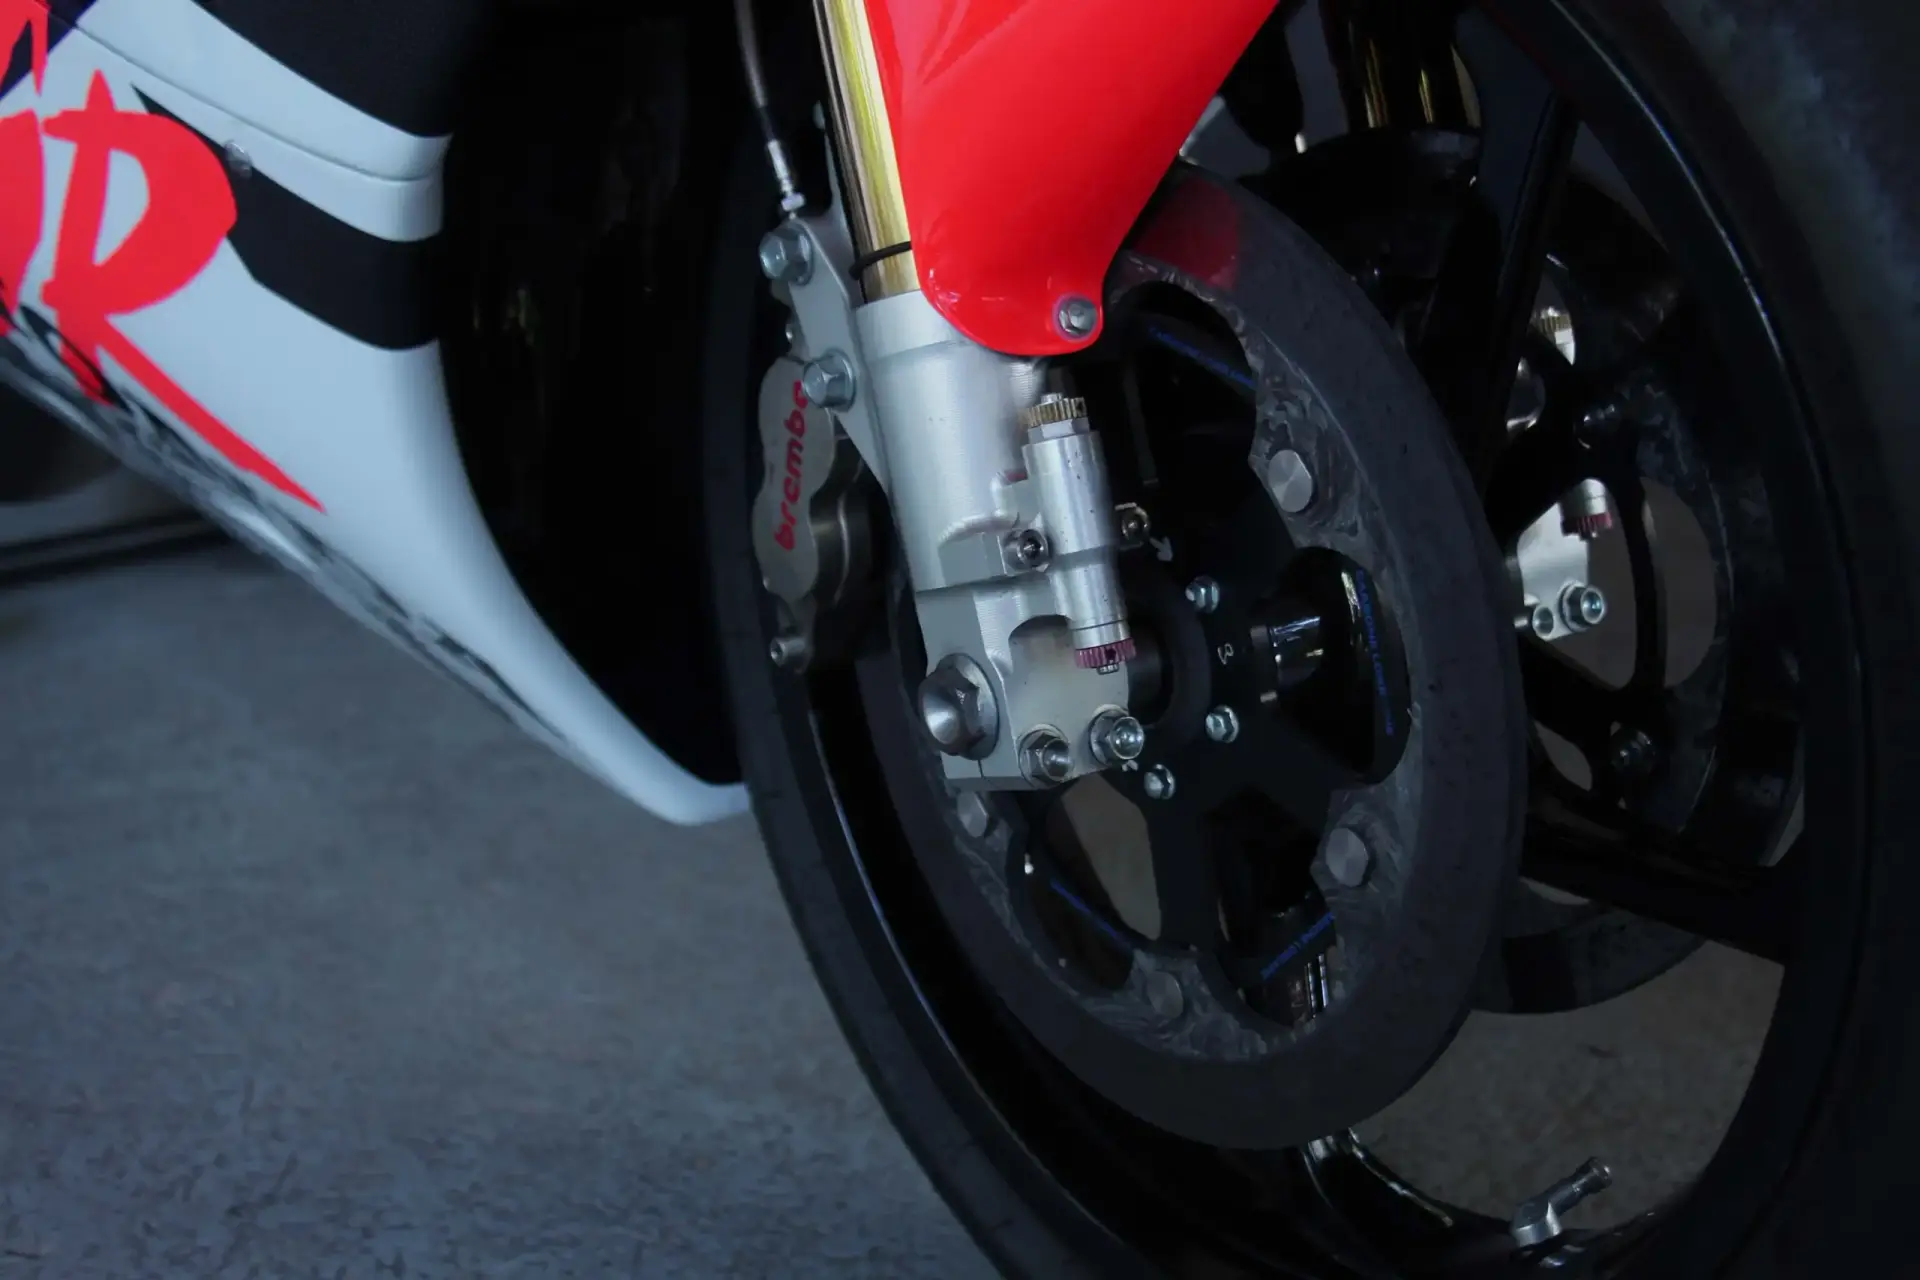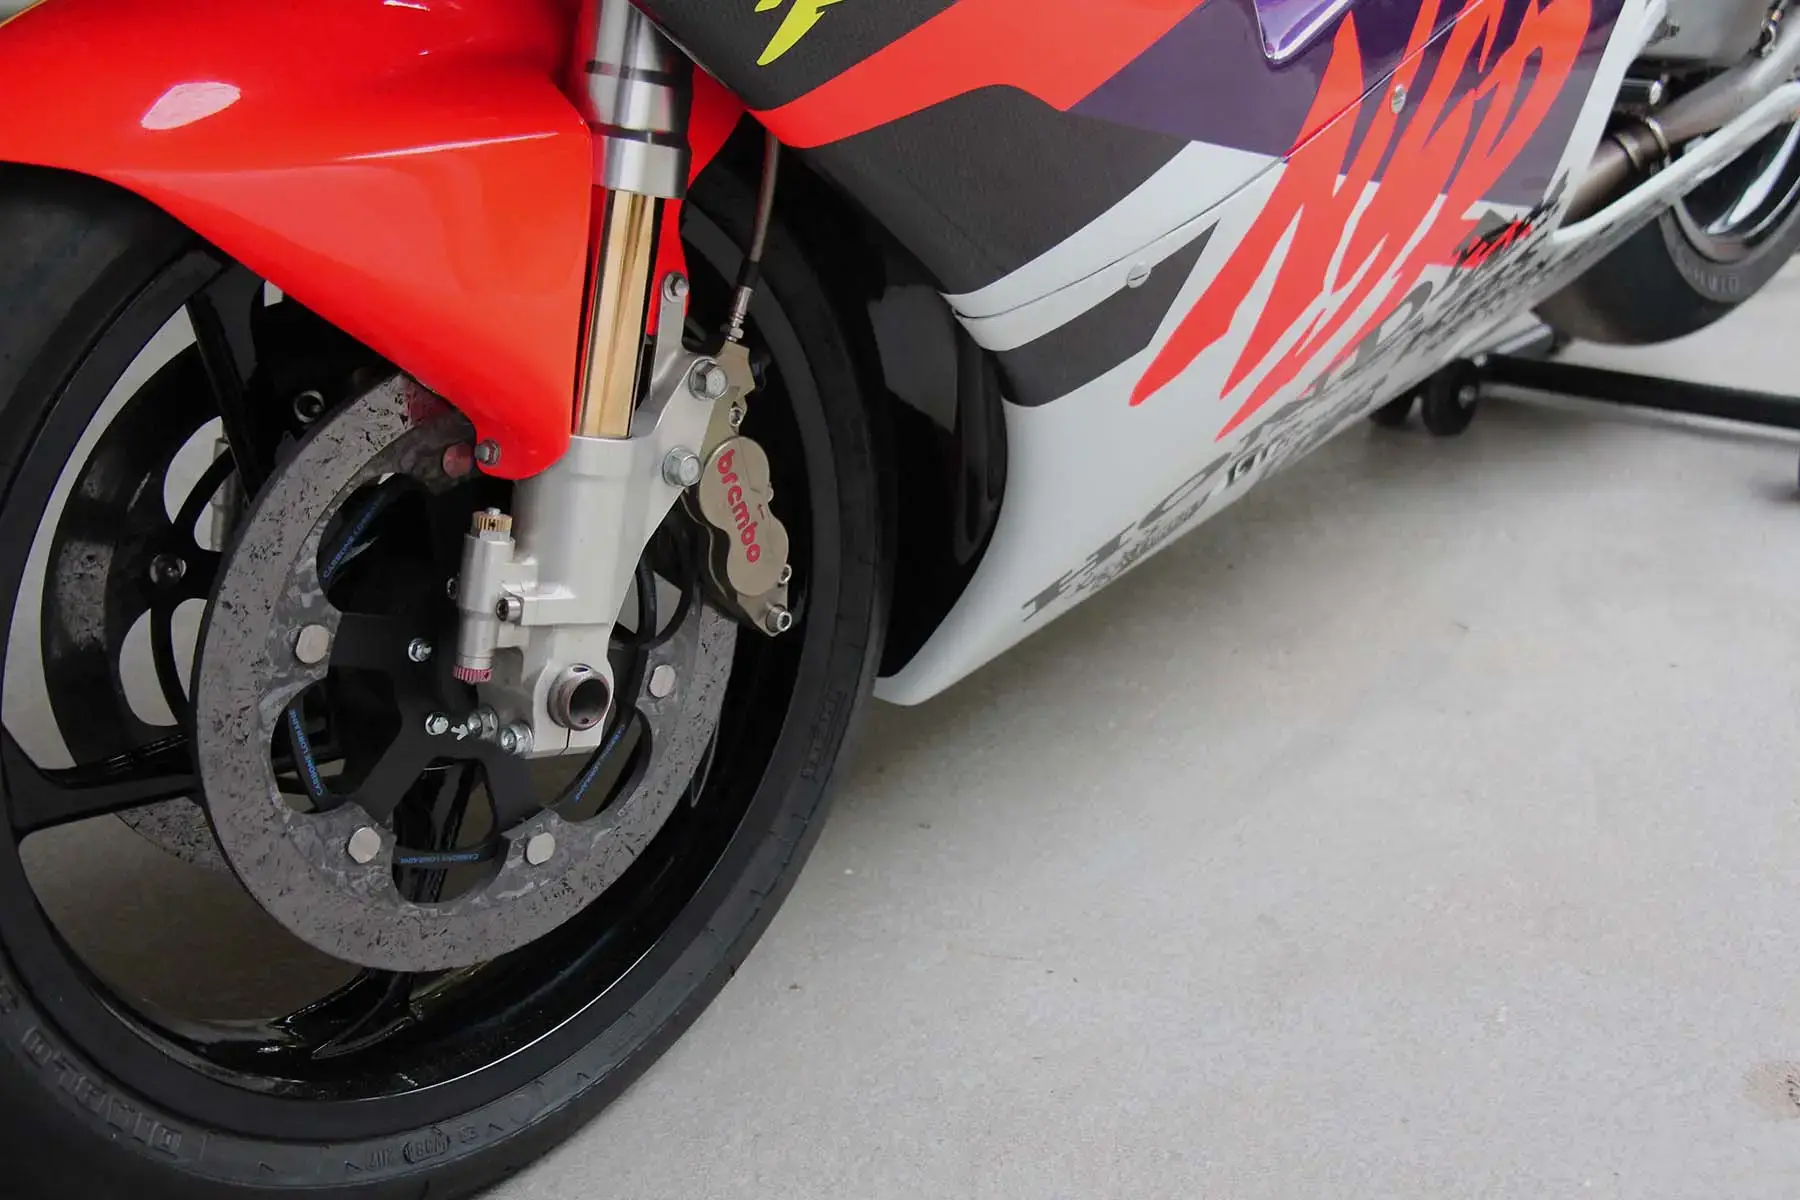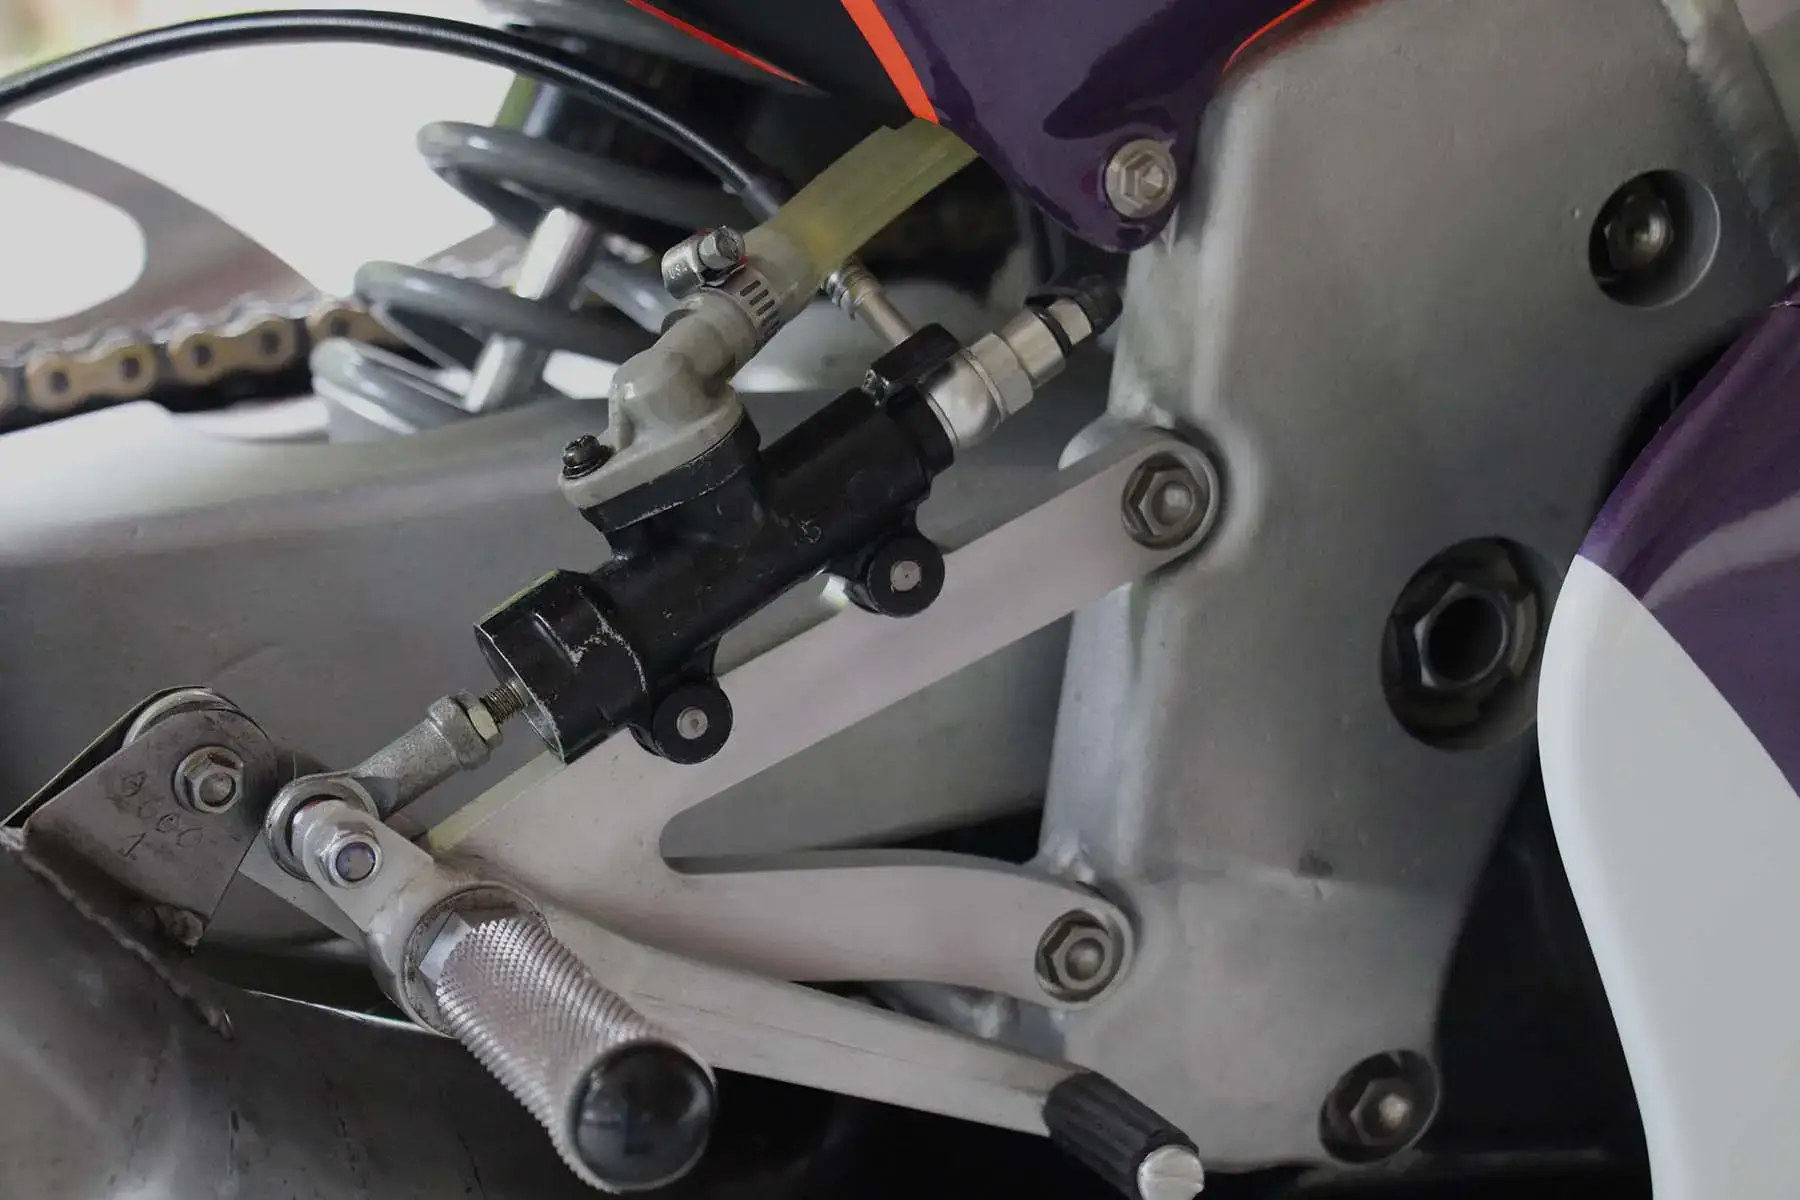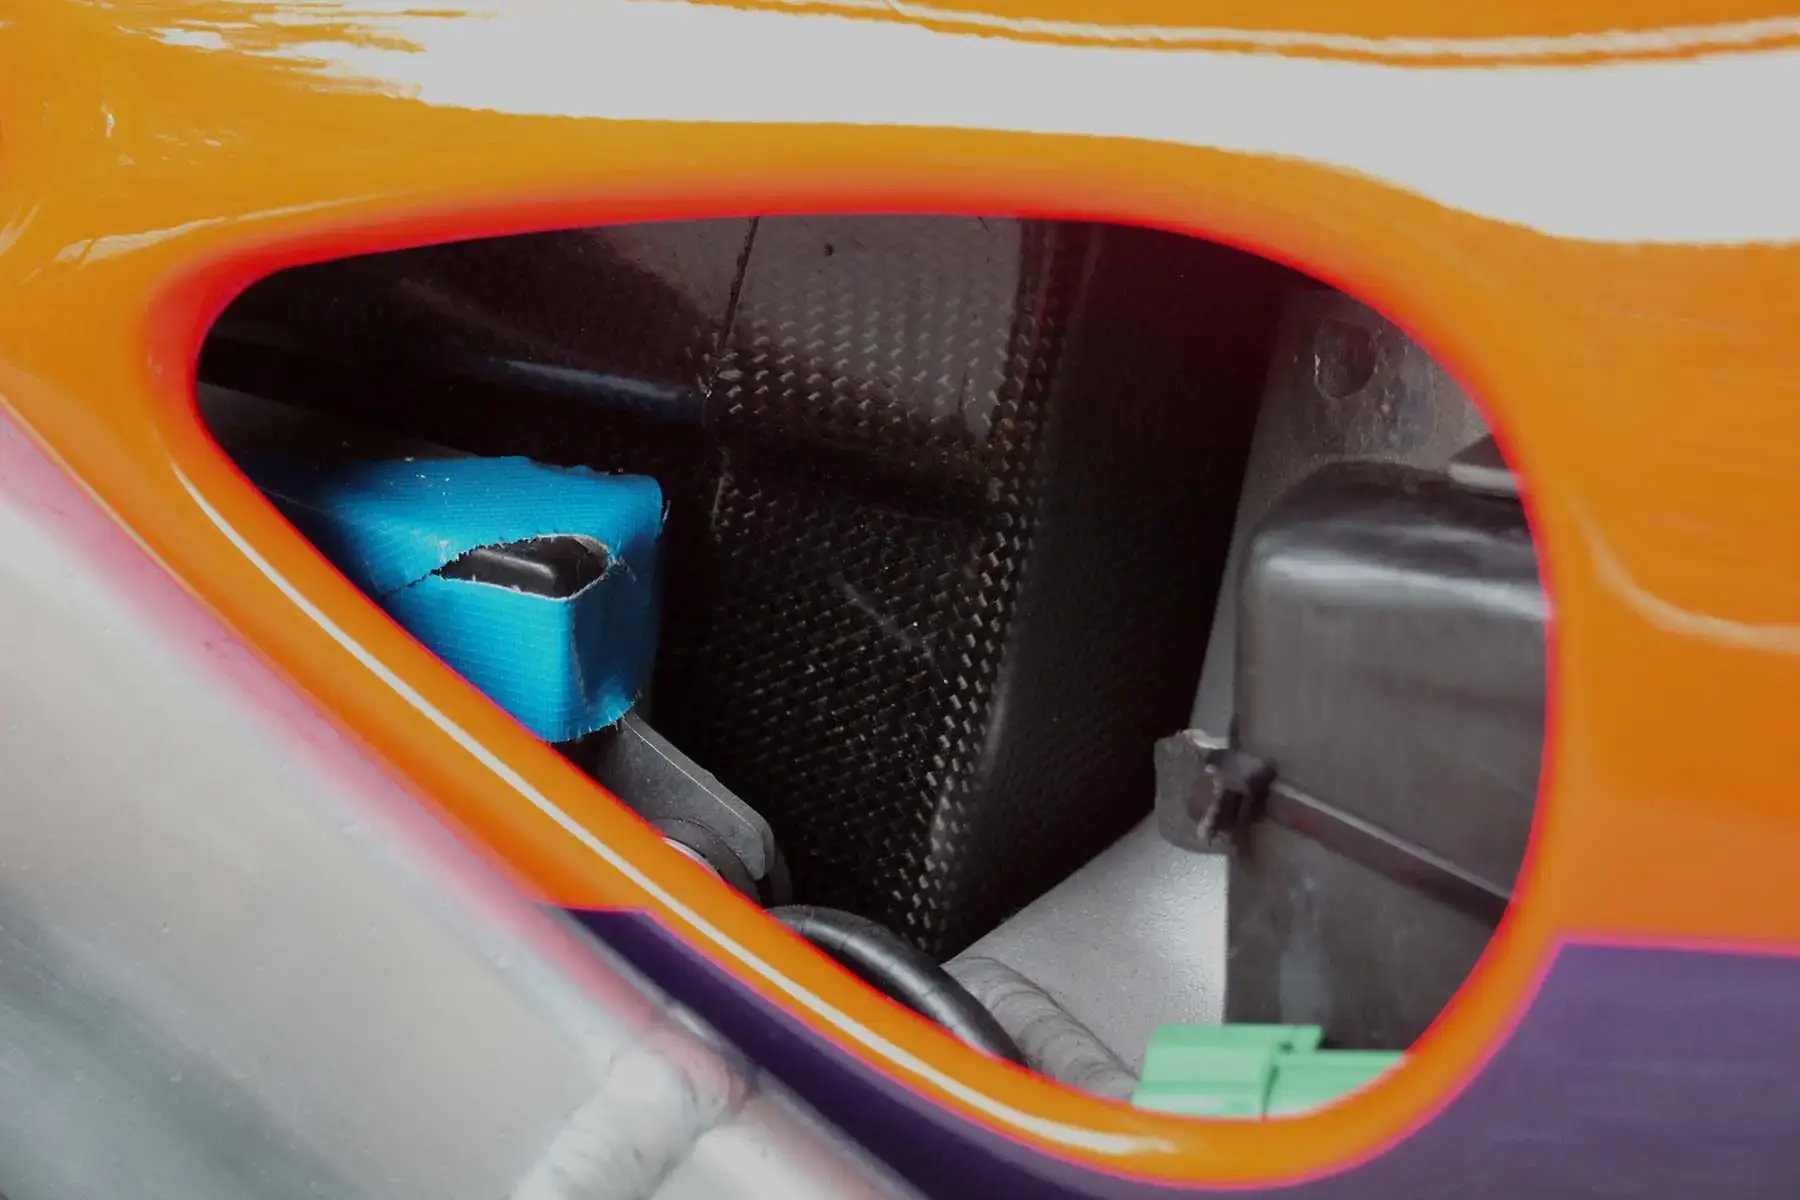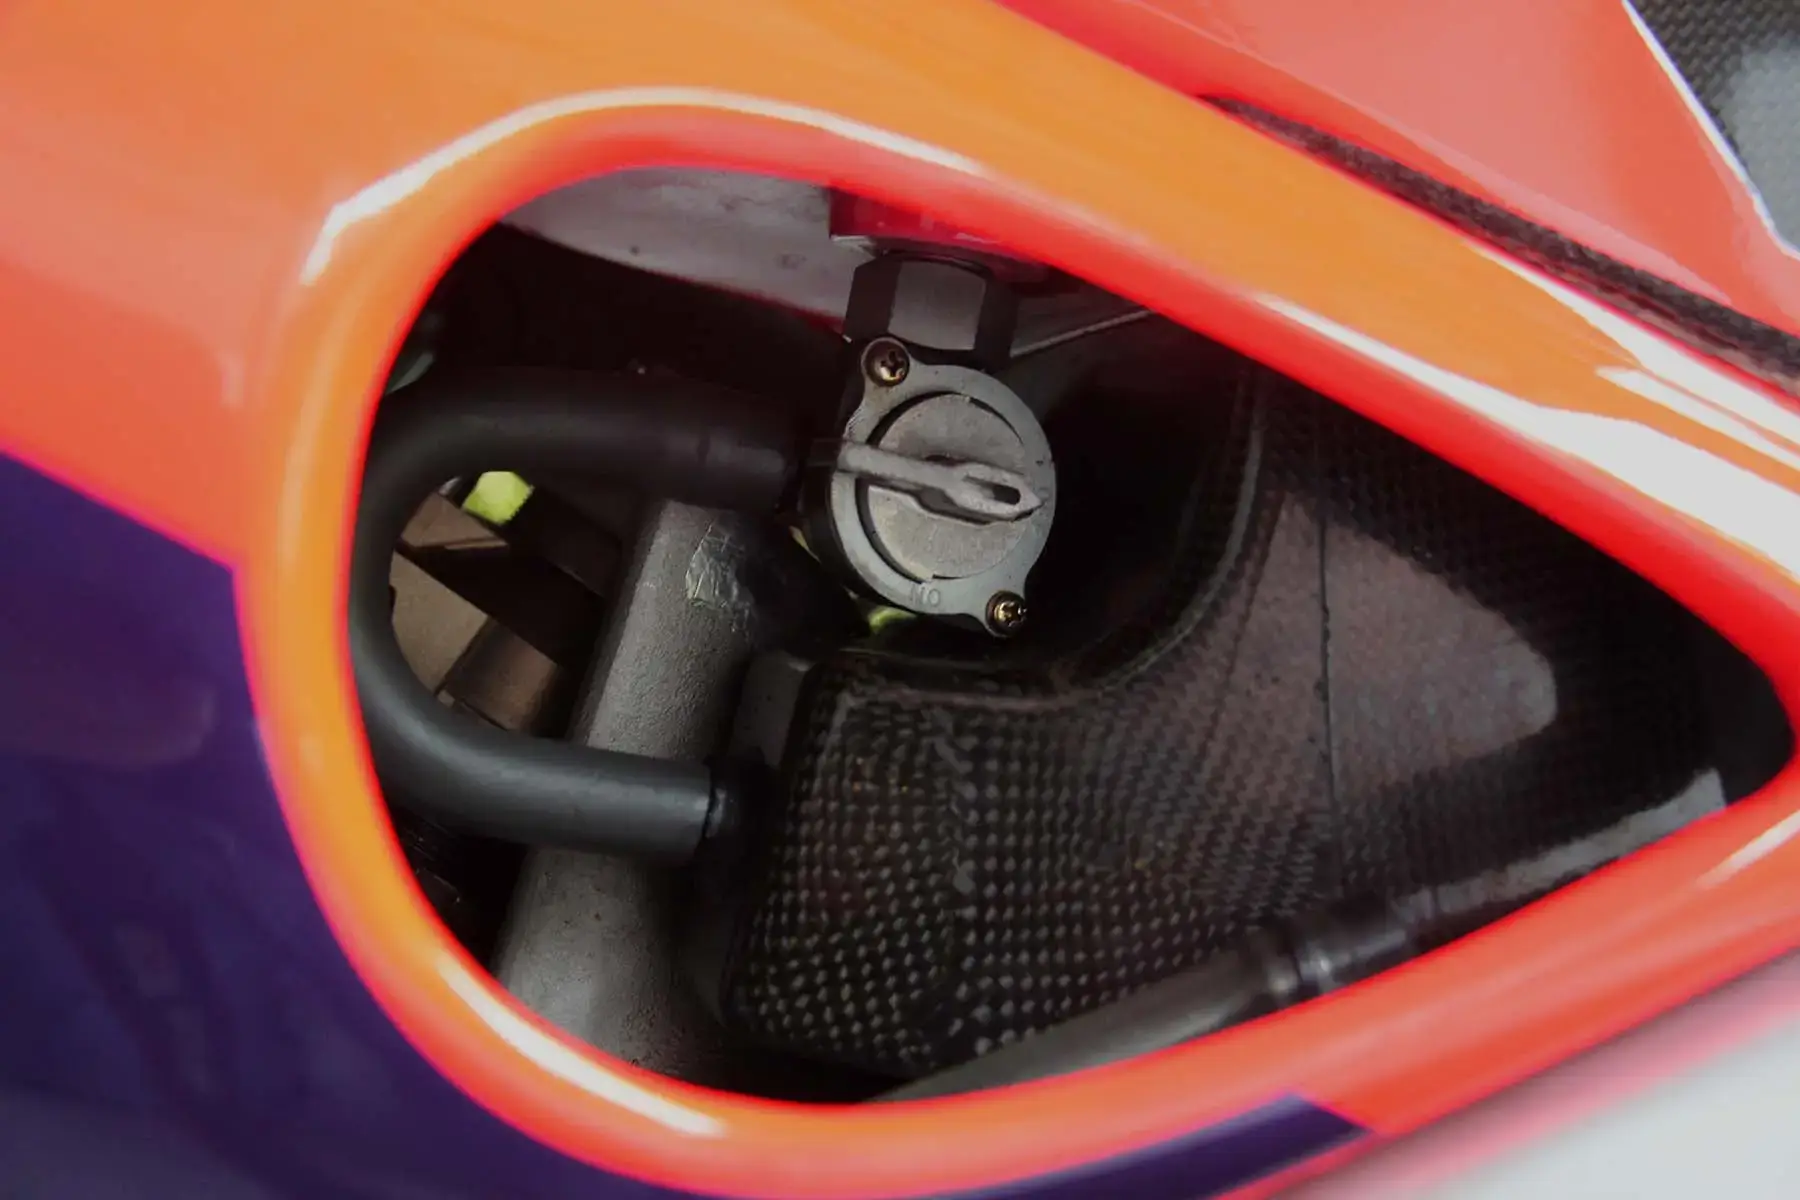



Honda NSR500V (NX6)
| Build Date: | July 2025, text & photos by Matt Patterson ©TYGA-Performance.com |
| Builder: | Tyga Performance |
| Motorcycle Model: | Honda NSR500V (NX6) |
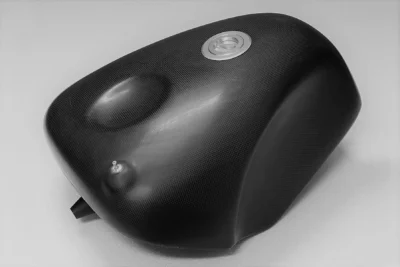
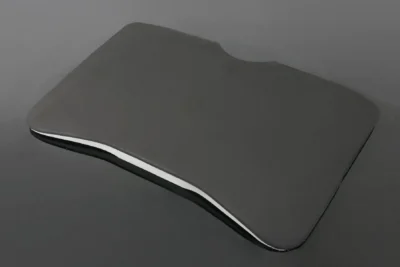
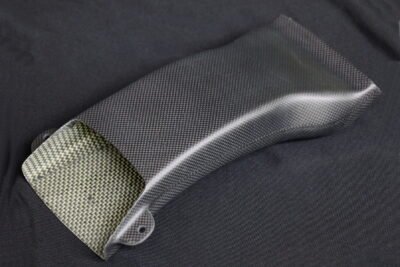
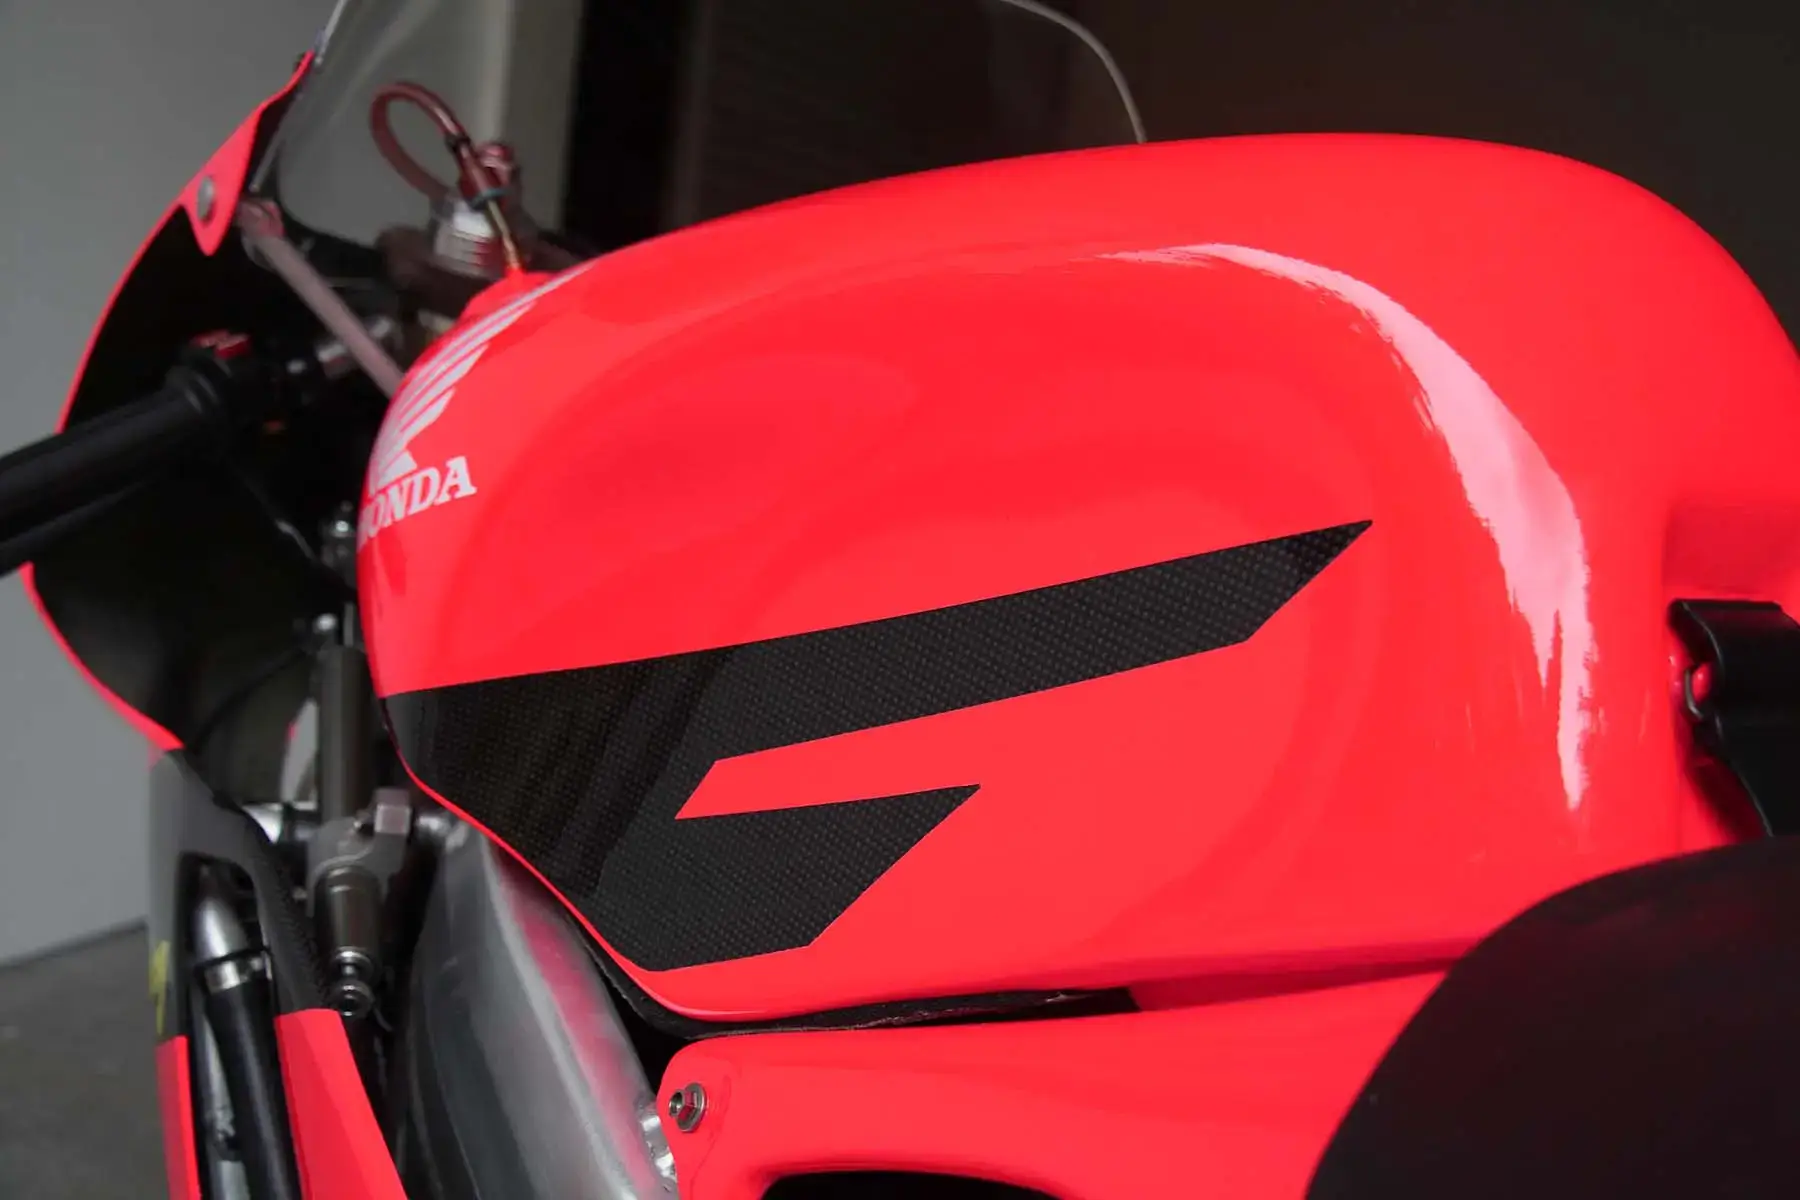
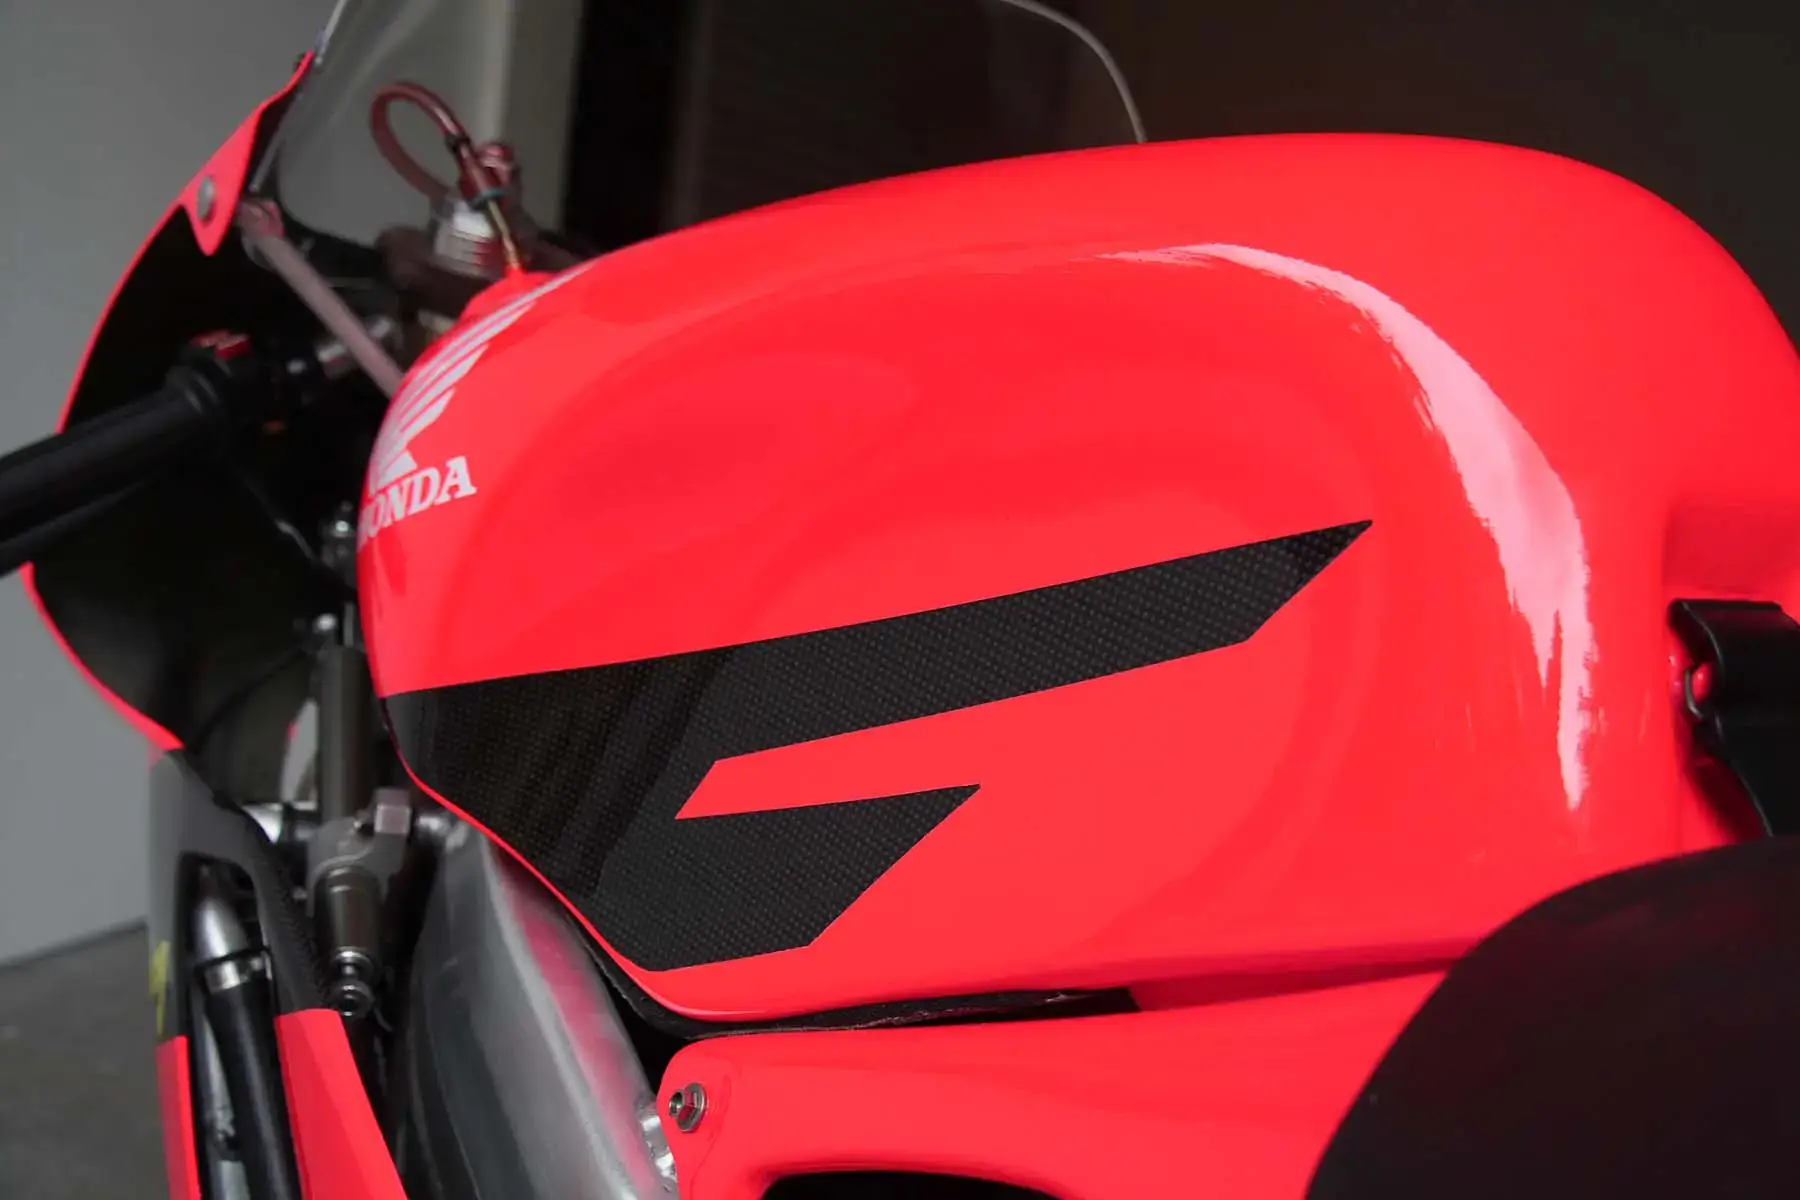
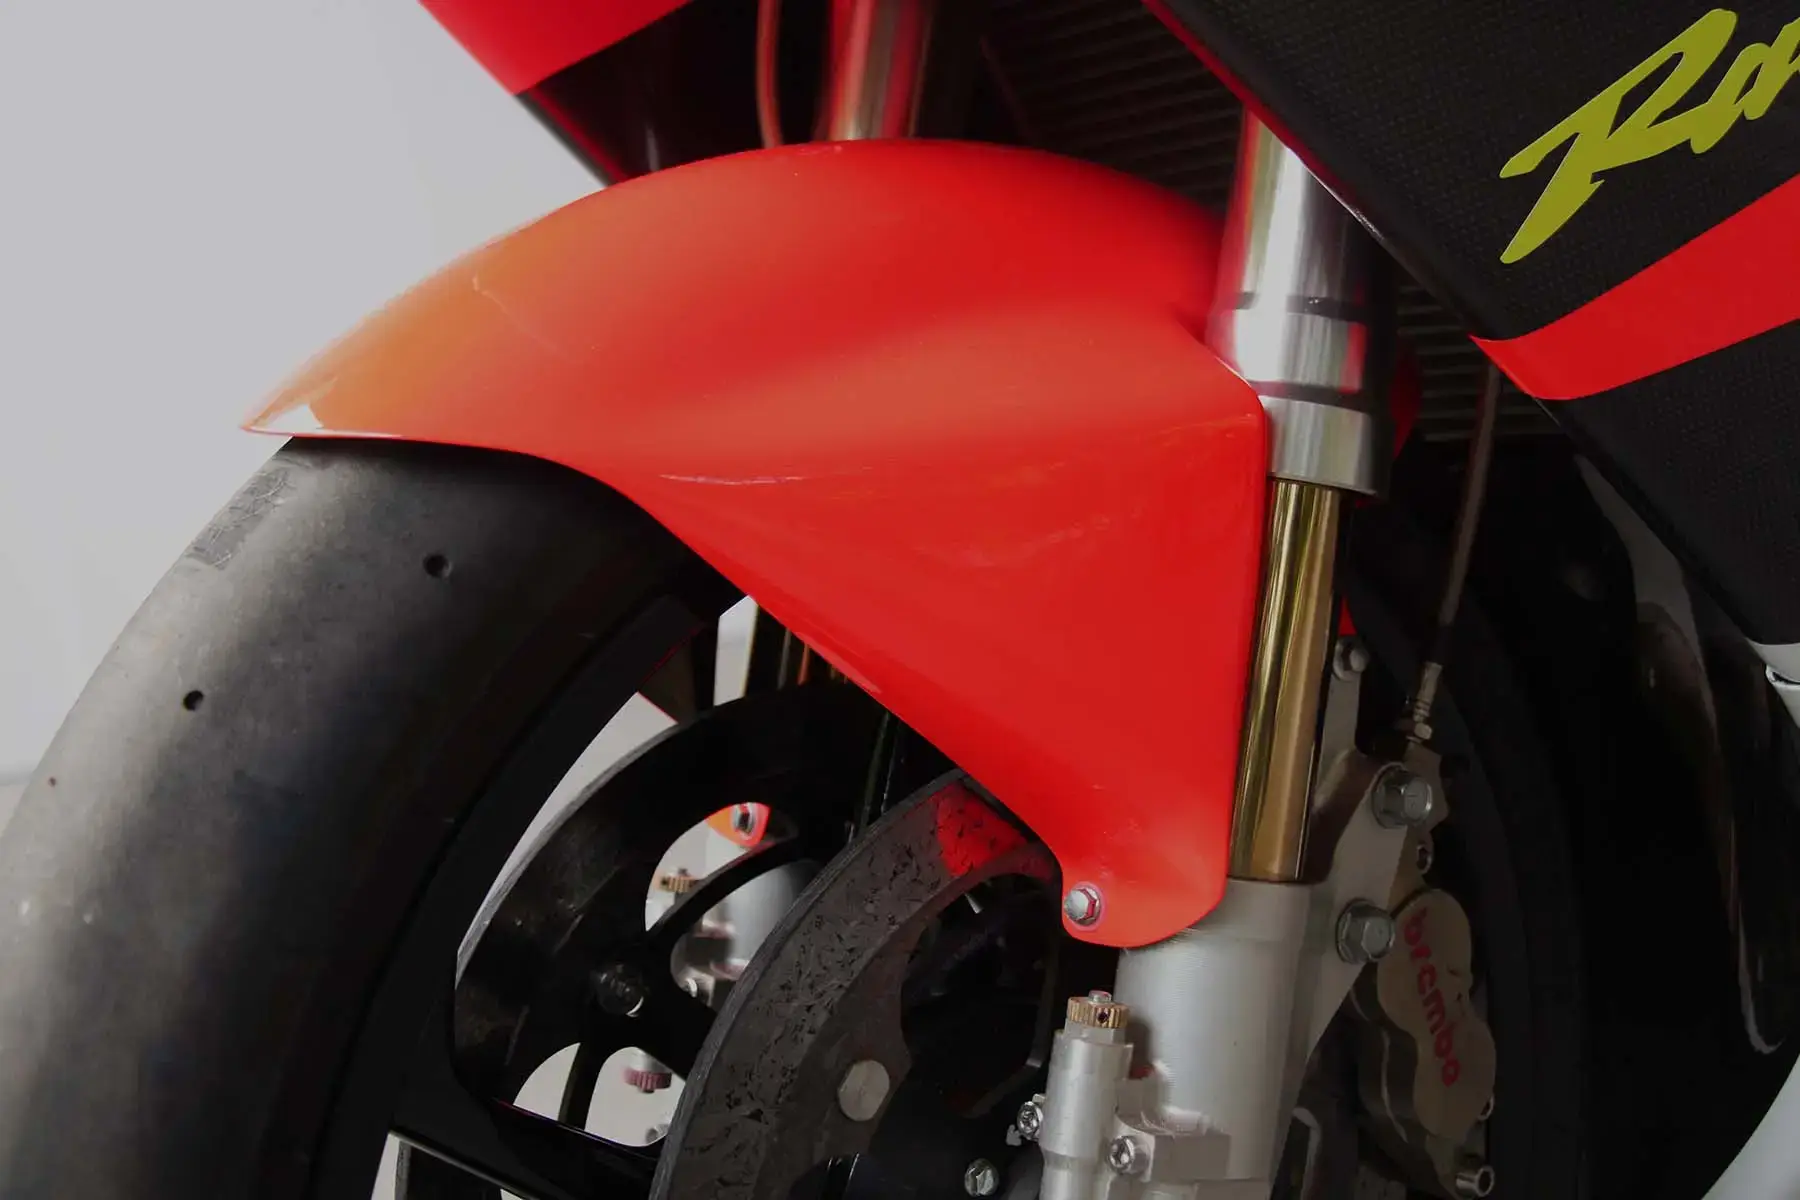
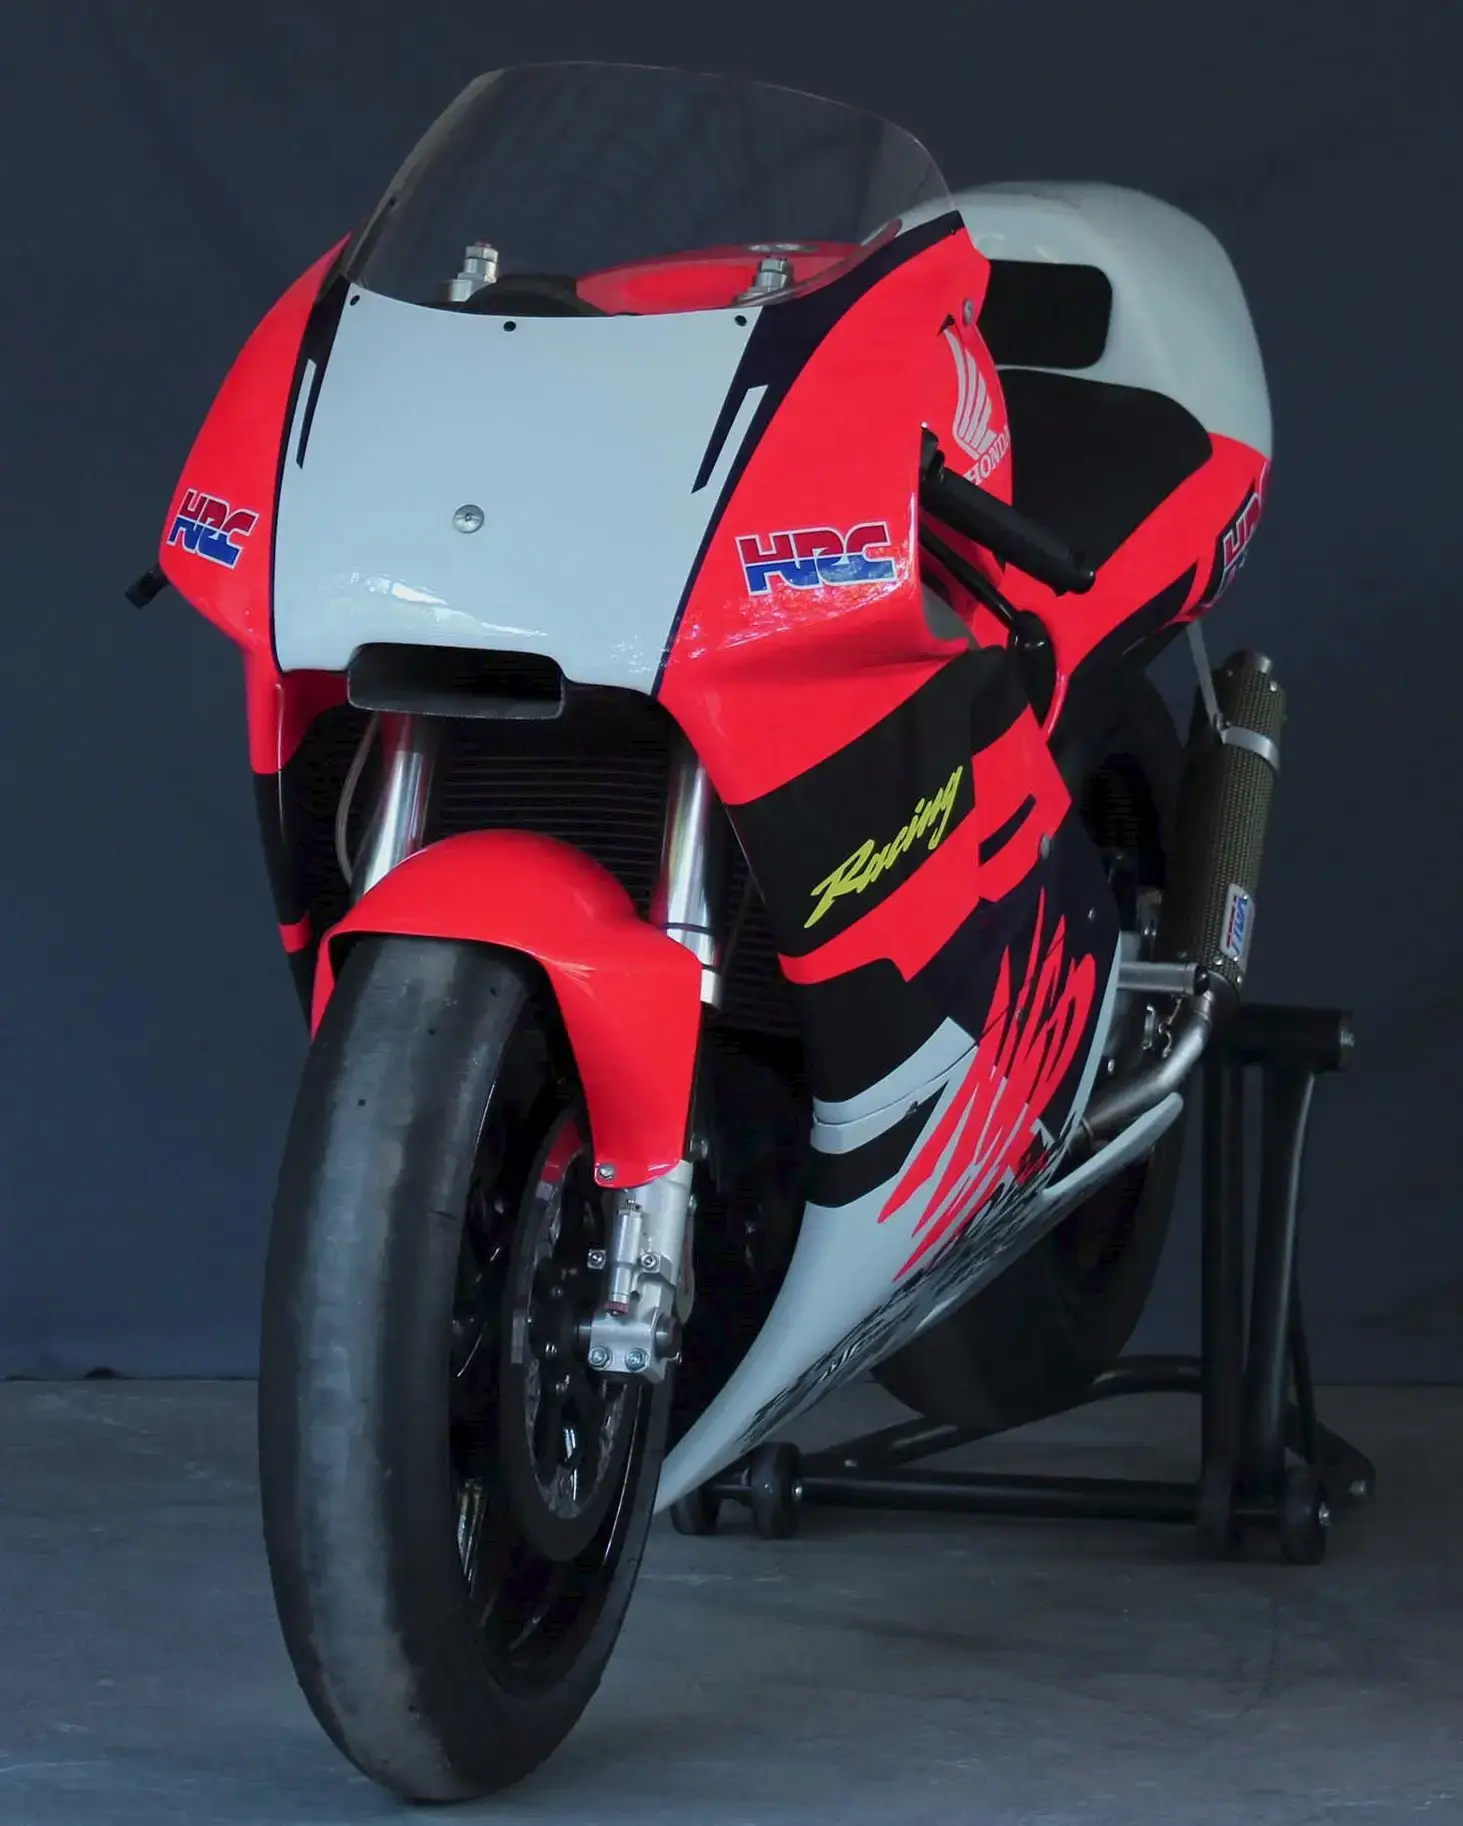
| Products Used: | Carbon fairing kit, carbon front fender, carbon air duct, carbon fuel tank, seat pad (HRC kit). All TYGA products used listed below. |
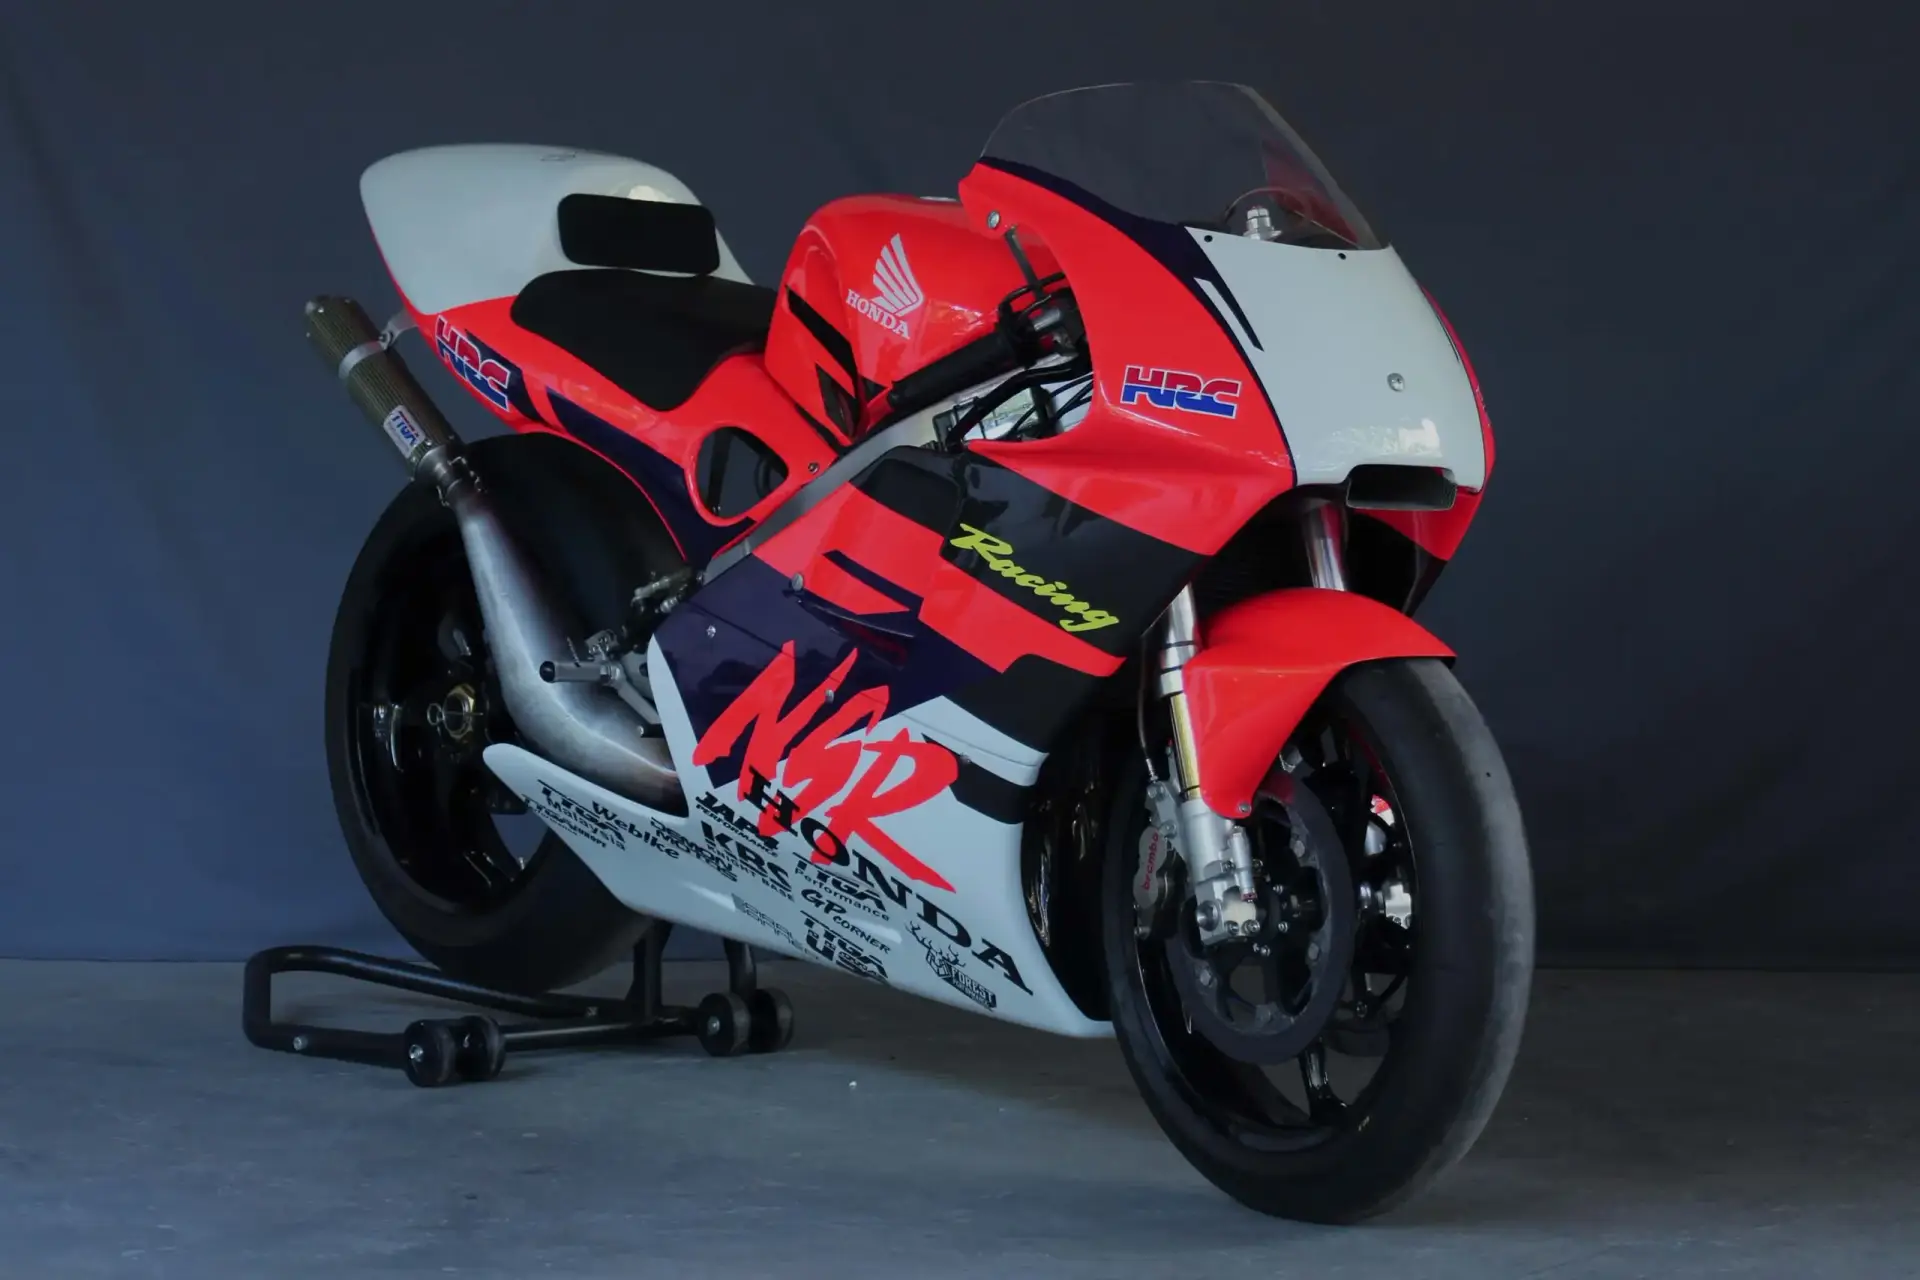
Honda NSR500V NX6. Building a Monster!
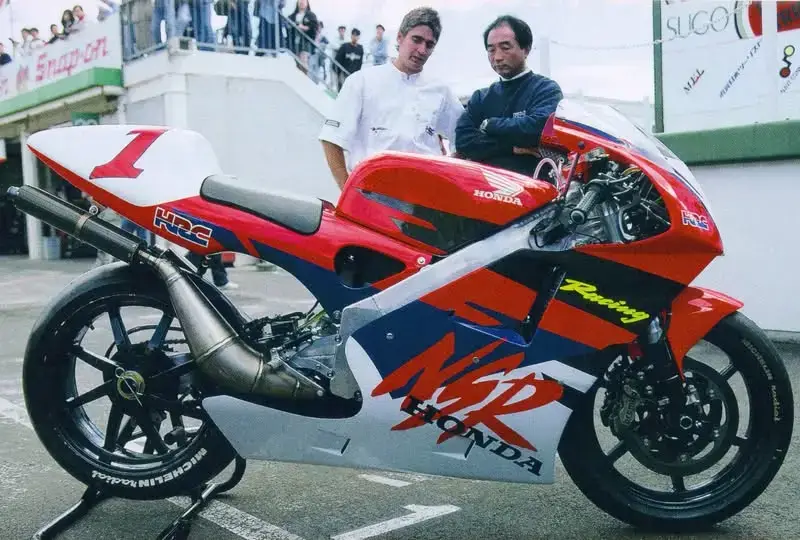
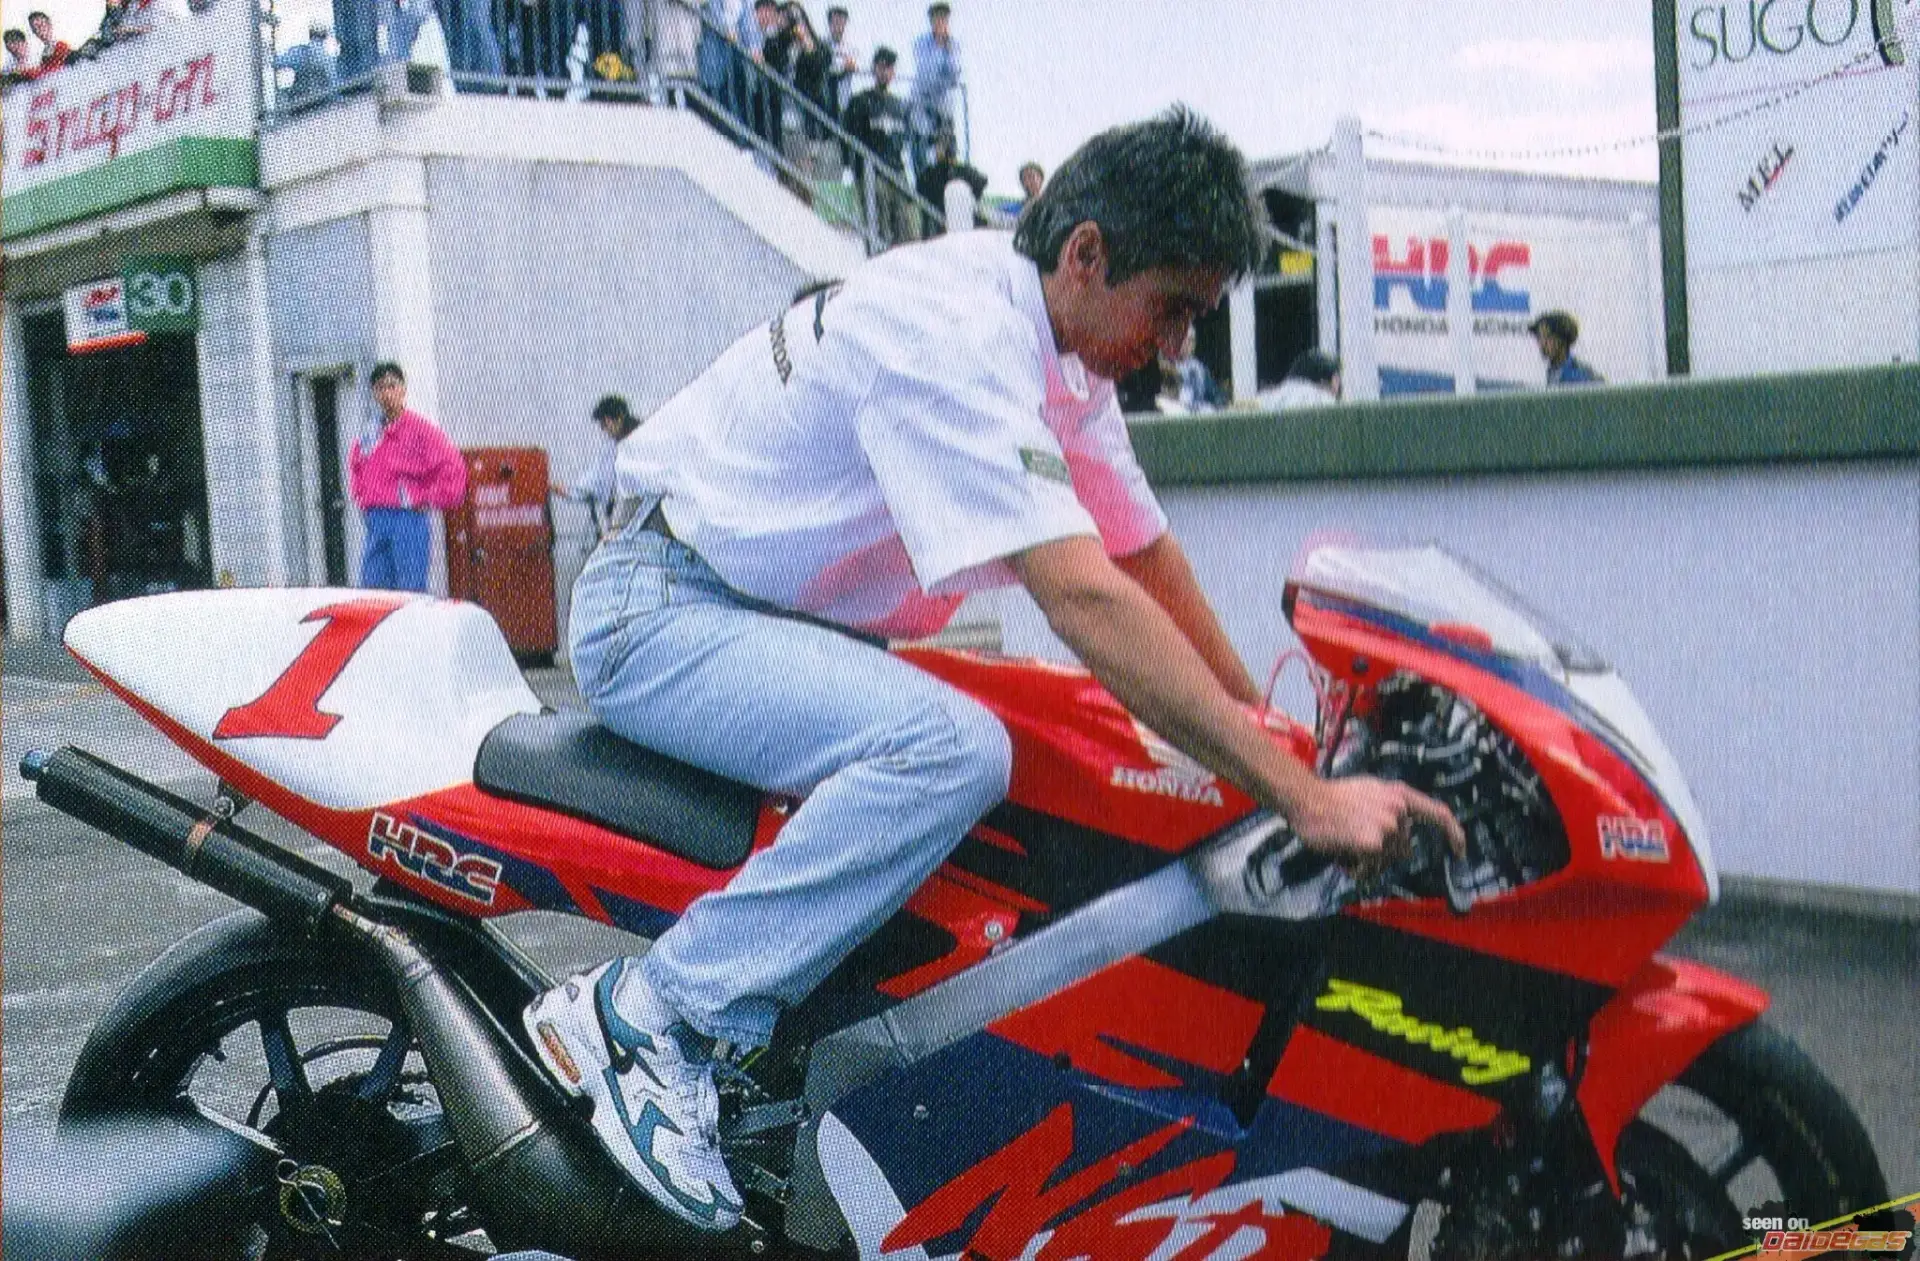
Let’s turn the clock back to 2012 when I was invited to Donington by GT Motorcycles to do a few laps on some of their race bikes. The highlight for me being a Honda NSR500V.
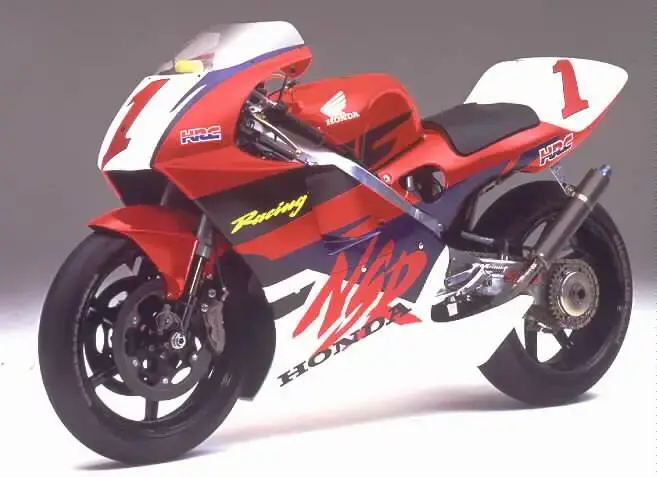
Two stroke race bike fanatics, like myself, have always had aspirations to ride or better still own a top-level Grand Prix bike. The best of the best is generally considered to be the Honda NSR500 V4, but actually getting your hands on one of these rare gems is going to be extremely difficult, if not impossible. So, we, Joe public, have to settle for the next best thing from Honda which is the NSR500V NX6.
Swinging my leg over the 500V for the first time was a bit of a worry as I’d been given very strict instructions to “ride it like you stole it”!
Trundling out of the pitlane and onto the track I was pleasantly surprised at how much torque the V2 appeared to have, as I short-shifted my way around the first lap to allow the tyres to warm up and get accustomed to the bike.
The usual comment that you hear about the NSR500V is that ‘it’s only a twin’. I too had of course muttered the same thing a few times. Well, all I can say is that the first time you wind the throttle to the stop, you forget that it’s ‘only a twin’ as you’re just way too busy trying to stop it throwing you off! One second, it’s wheel spinning and the next it’s rearing up on the back wheel.
After a couple of tense laps to get somewhat used to it I started having some fun. Passing 1000cc superbikes on the rear wheel as you drive onto the start/finish straight does make you giggle somewhat. But I have to say that if you let your guard down for just a split second it’ll try to bite you. I was out of the chair at one point on the exit of Redgate as it lost traction and snapped sideways and then I almost flipped it under the Dunlop bridge down the back straight. 6th gear, full chat and the front just went skywards. Thank goodness the rear brake worked!
Only a twin? The correct thing to say is that this a twin cylinder 500cc two stroke weapon with more than enough mojo to get you into serious trouble if you’re not concentrating. The NSR500V is certainly not to be underestimated.
While the specs of the NSR500V are not quite the brain numbing numbers that the mighty V4 boasts, they are still pretty impressive.
The liquid cooled 100° V twin engine has a 68mm x 68.8mm bore and stroke for a capacity of 499cc and pumps out around 127hp at 11,200rpm on 100 octane leaded fuel.
The horse power numbers don’t sound that much compared to a modern-day superbike but the thing to consider here is that the NX6 is not much more than an overgrown, big bore RS250, with a half dry weight of a mere 109kg. So, imagine losing 30kg from your race replica 250cc street bike and then doubling the power. Yes, put that way, it’s incredibly silly!
As you all know, we at TYGA have a bit of a fetish for two strokes, especially Honda GP bikes. And after having the opportunity to thrash one around the race track we had no choice but to try to add an NX6 to our stable.
A few years passed, but then Paul found one for sale in Germany. It was in decent condition, complete and after pooling all our cash together we could just afford it.
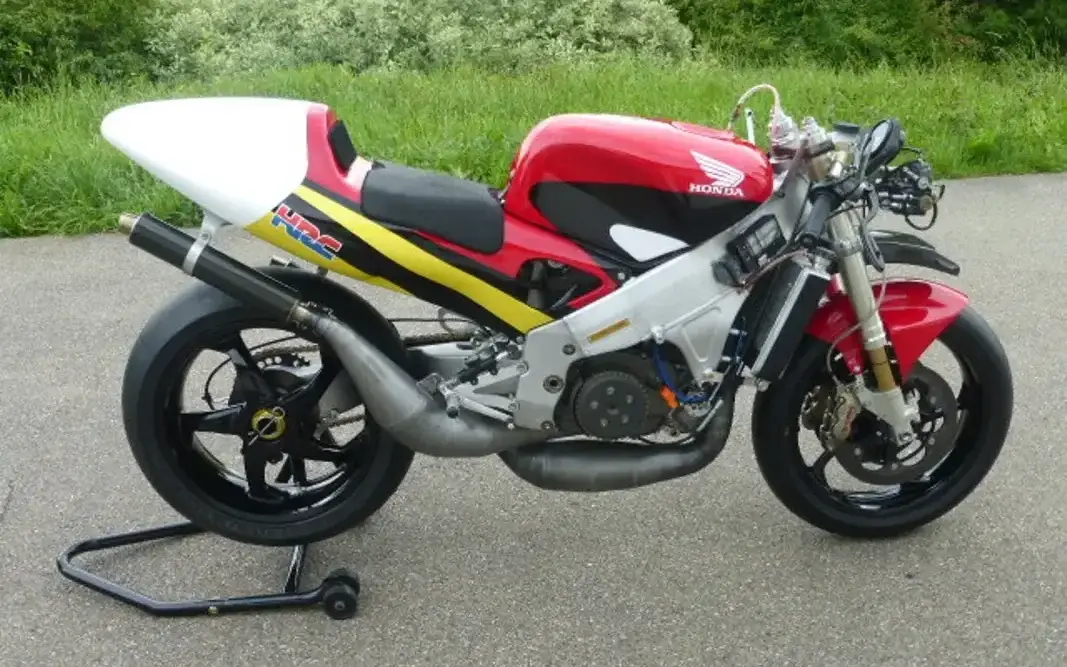
The thing was that with us being in Thailand and the bike being in Germany we would have to buy the bike ‘unseen’. We also had to make arrangements to pick the bike up and deliver to another location in Europe for dismantling. For this service we contacted Chas Mortimer Motorcycle Transport in the UK. Chas is an ex Grand Prix racer so he was the obvious choice for what we needed to do.
Chas drove over to Germany to check over the condition of the bike and start the engine. He declared it all good so we tried to make the payment transfer. This didn’t go quite as smoothly as it should have done with an overnight delay while the payment was processed. Thankfully, it went through the next morning and we were the owners of an NSR500V. Meanwhile, Chas loaded up the bike and went on his merry way to deliver to our friend in Spain.
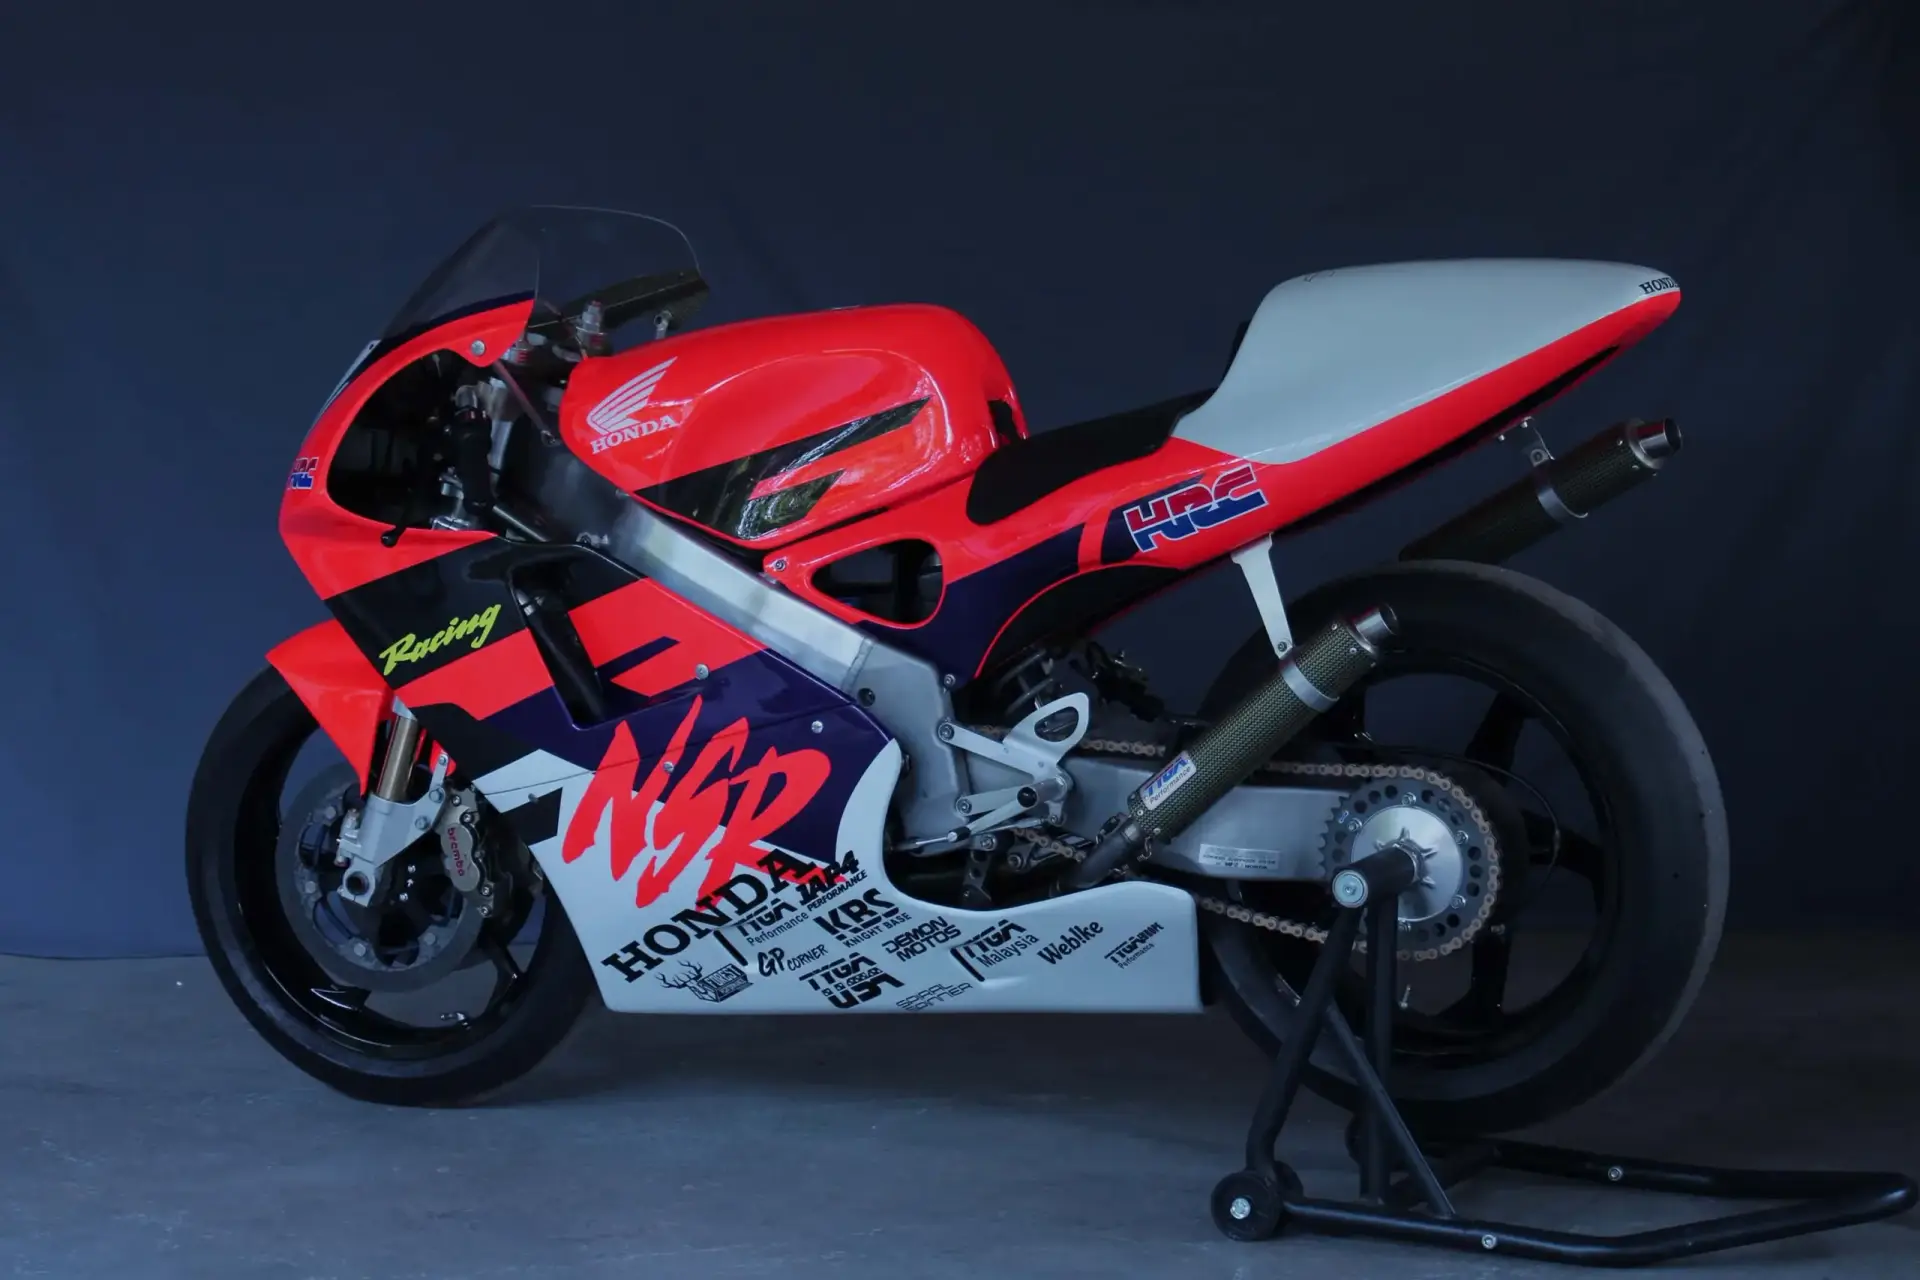
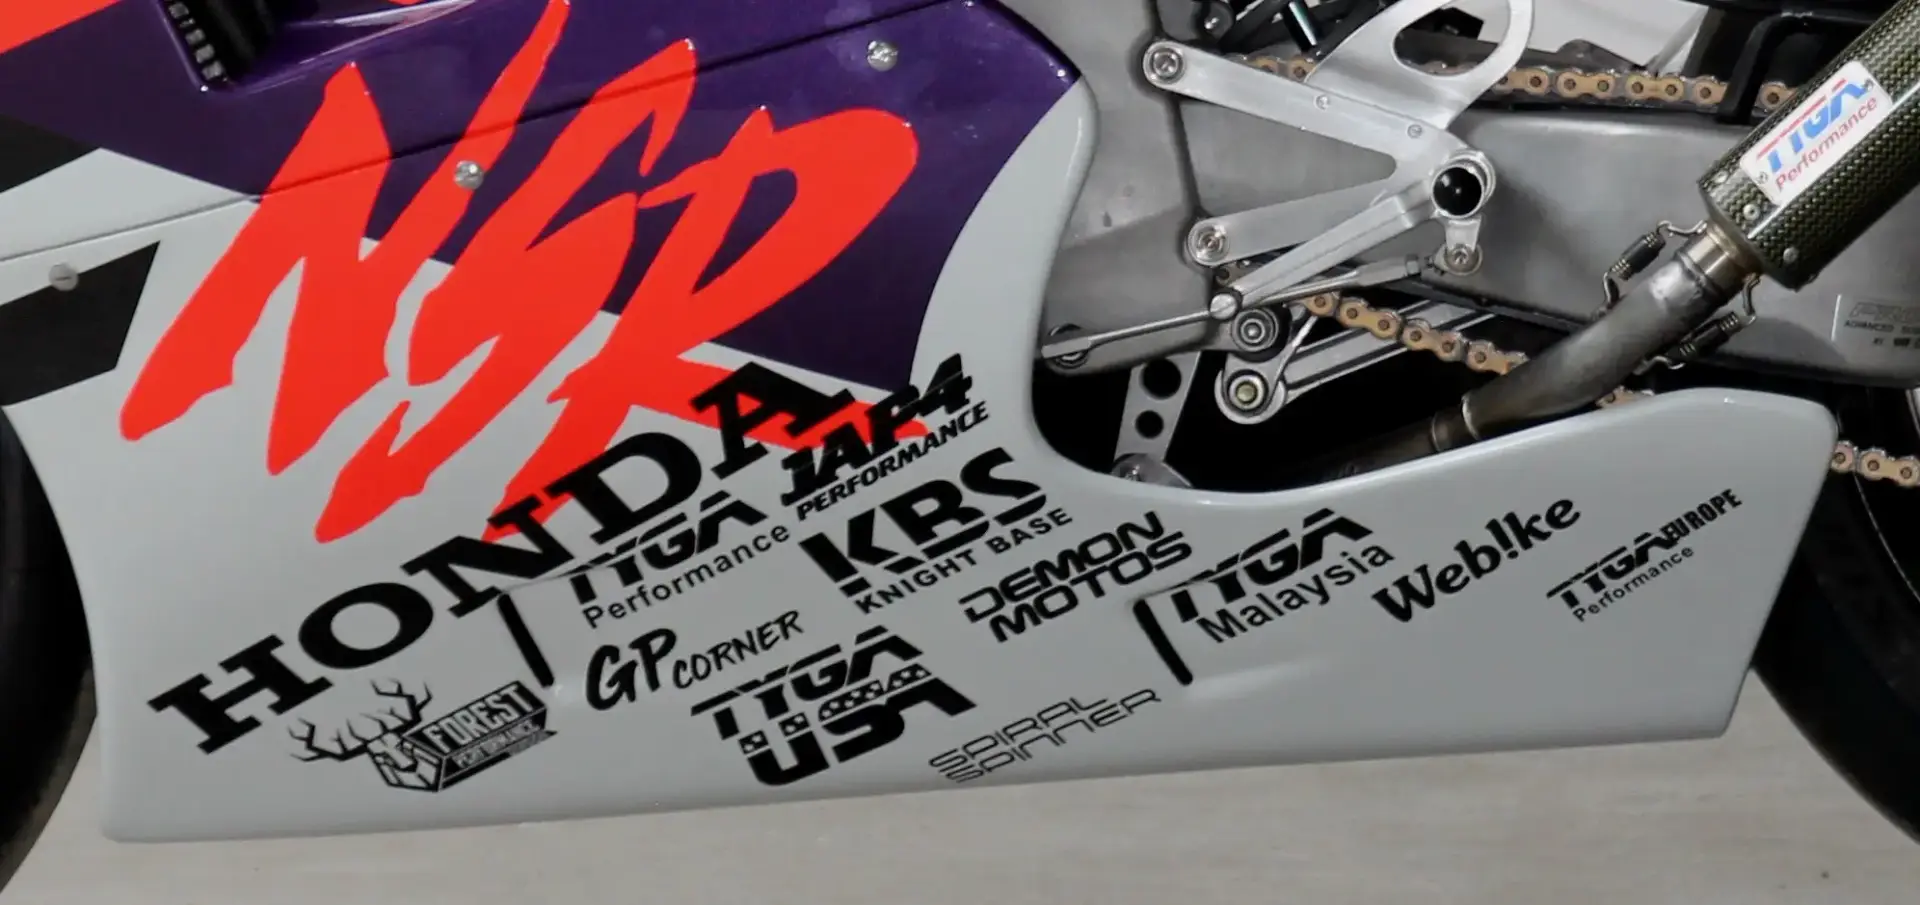
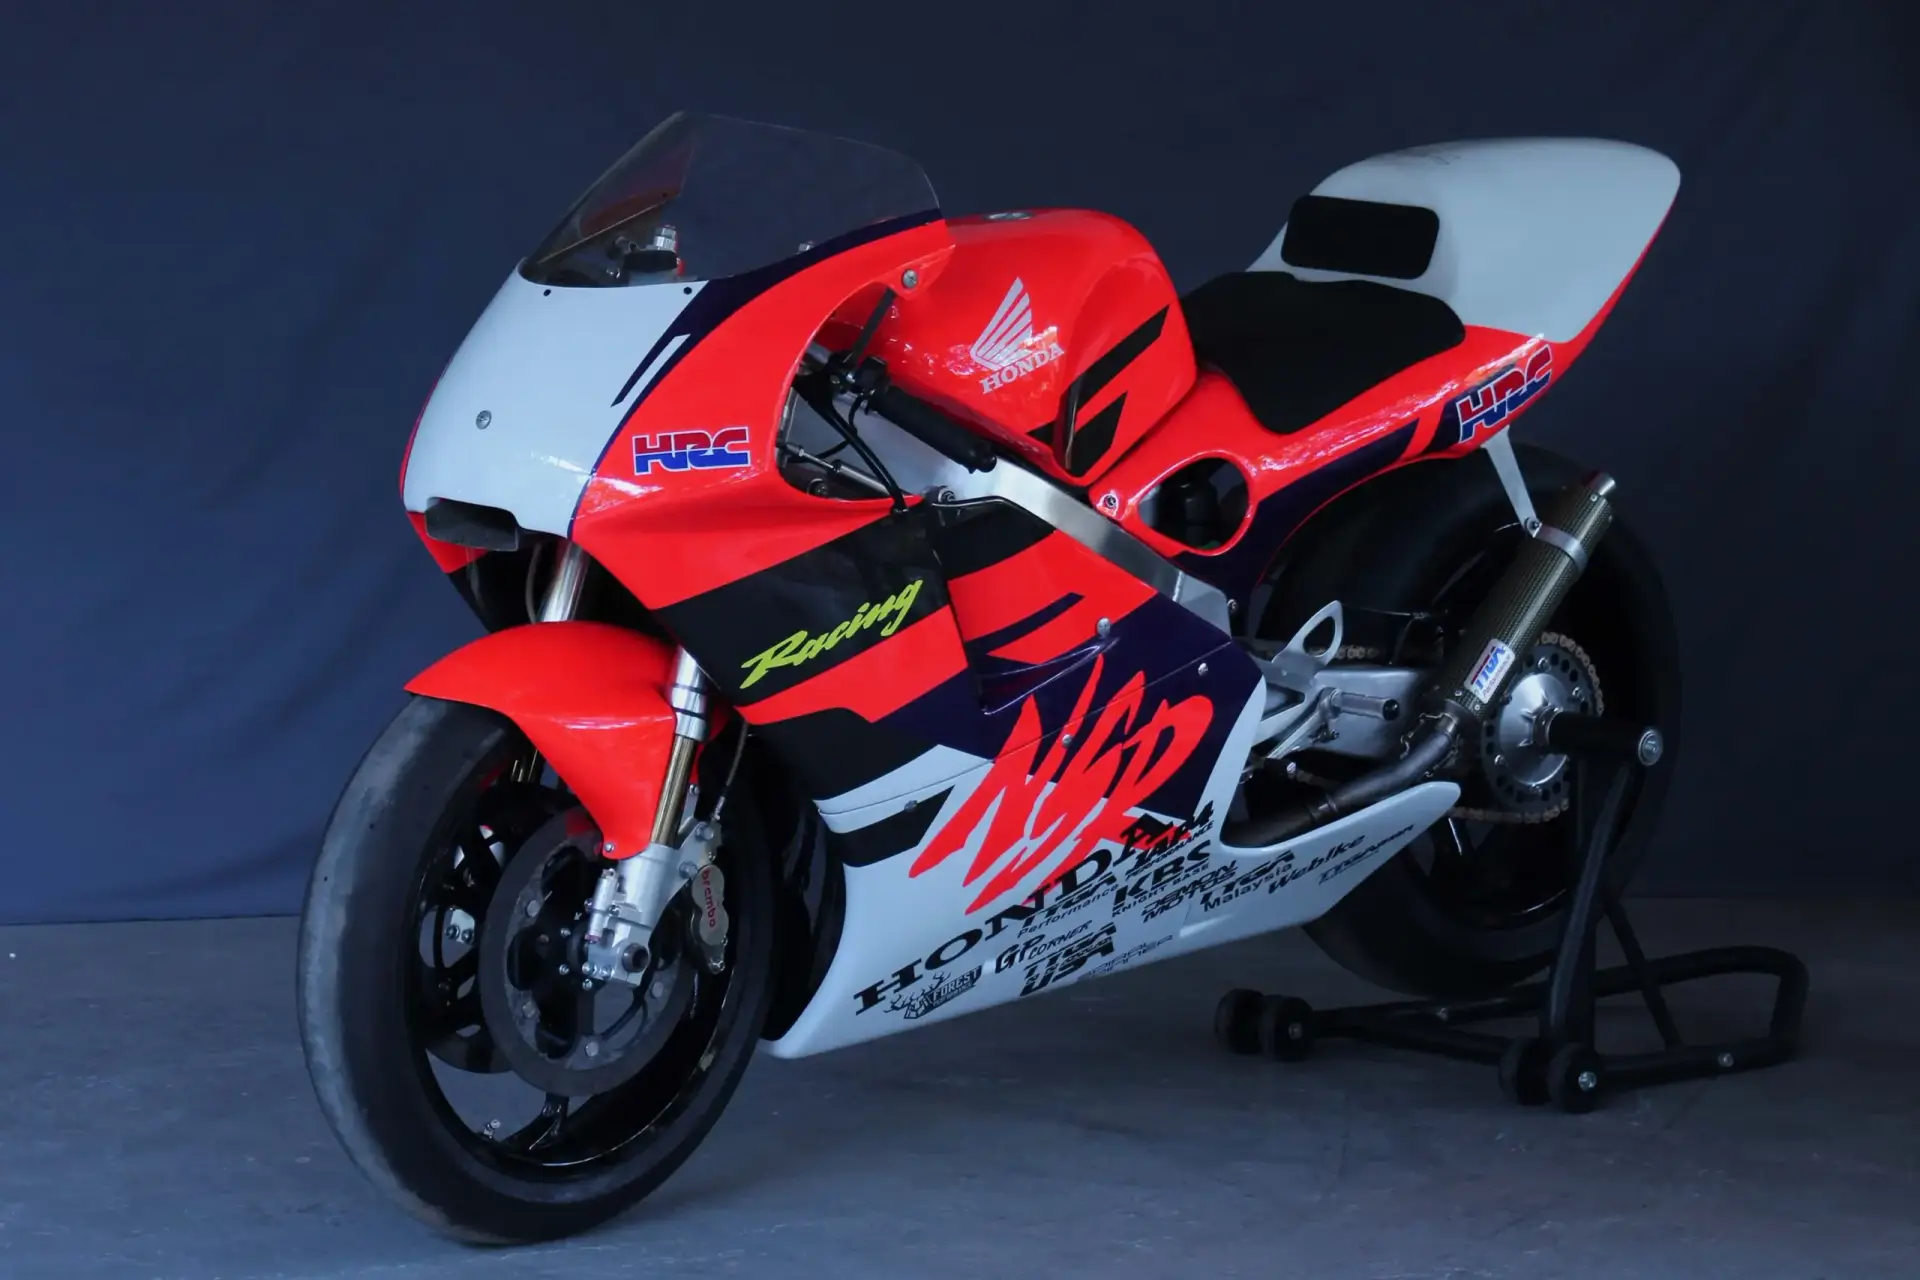
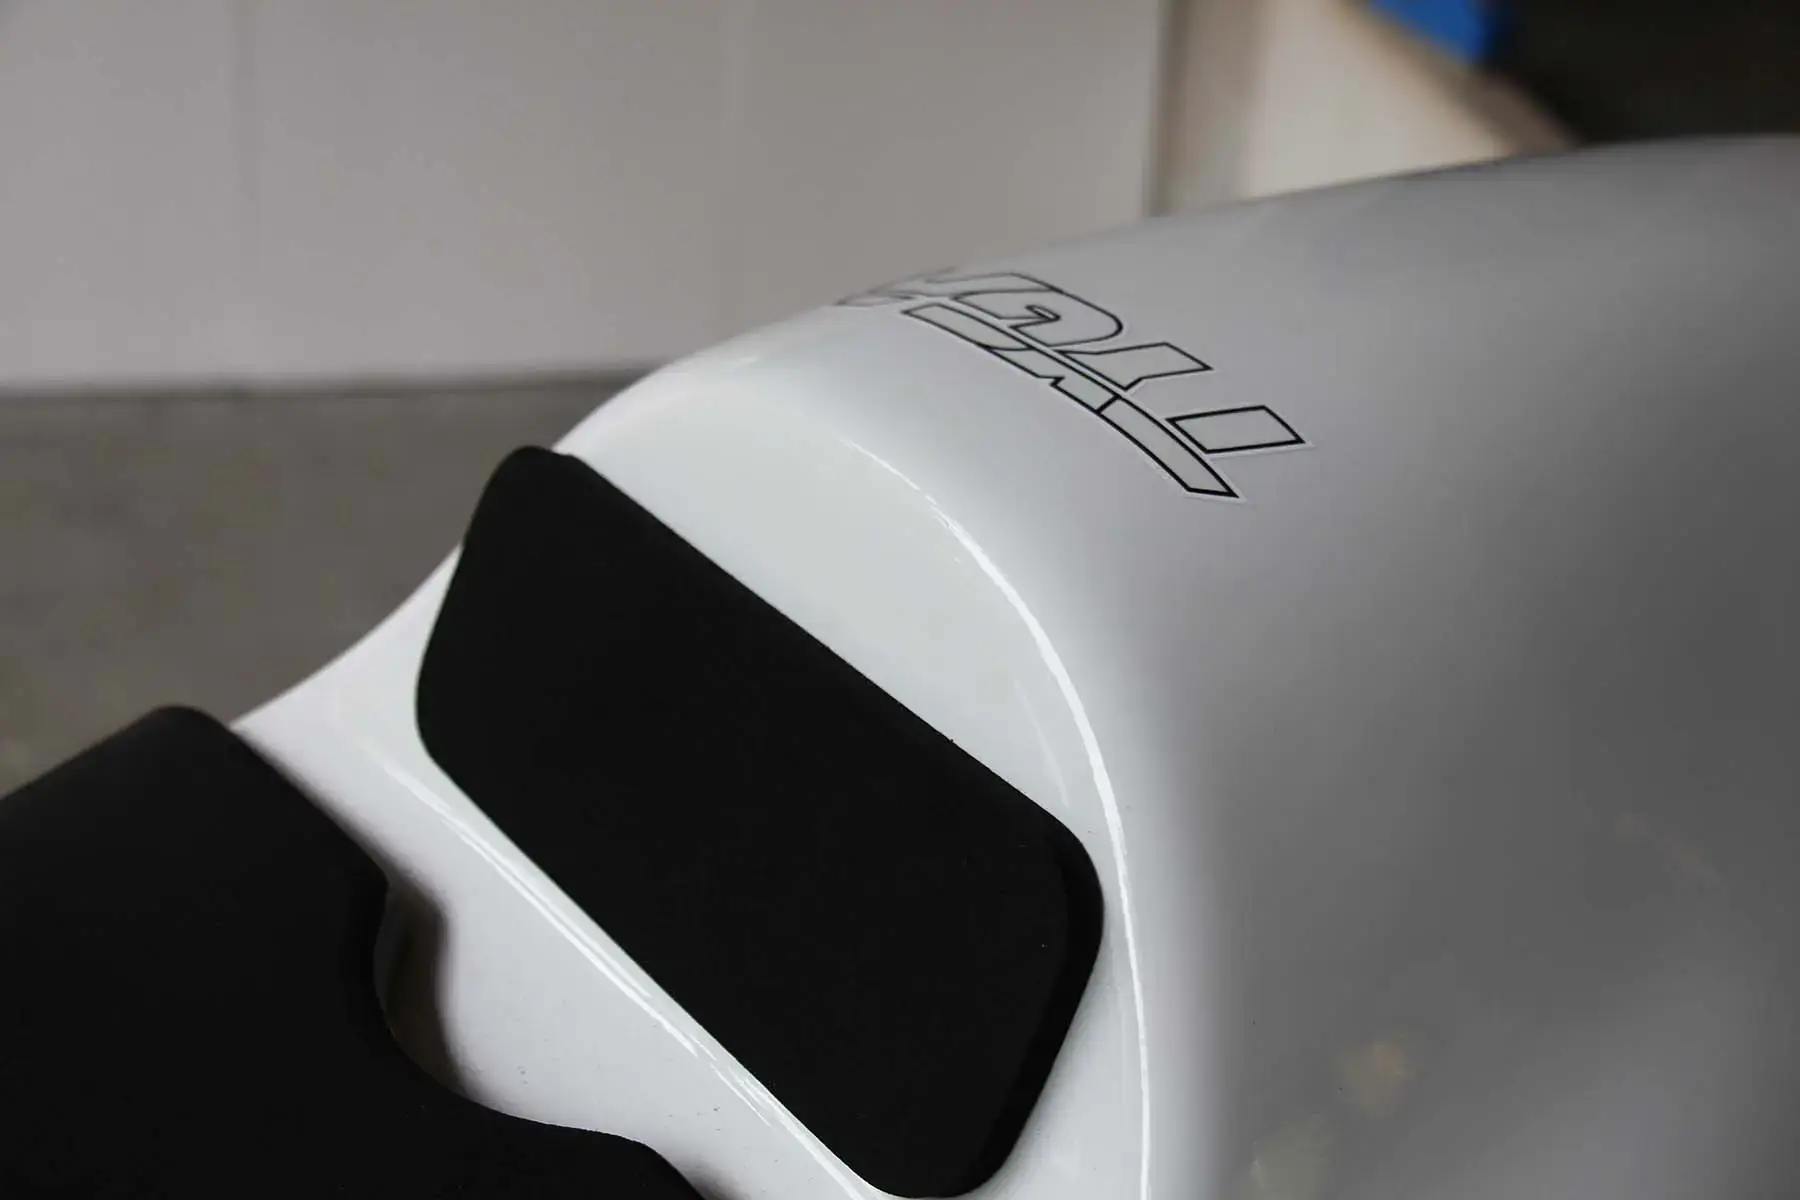
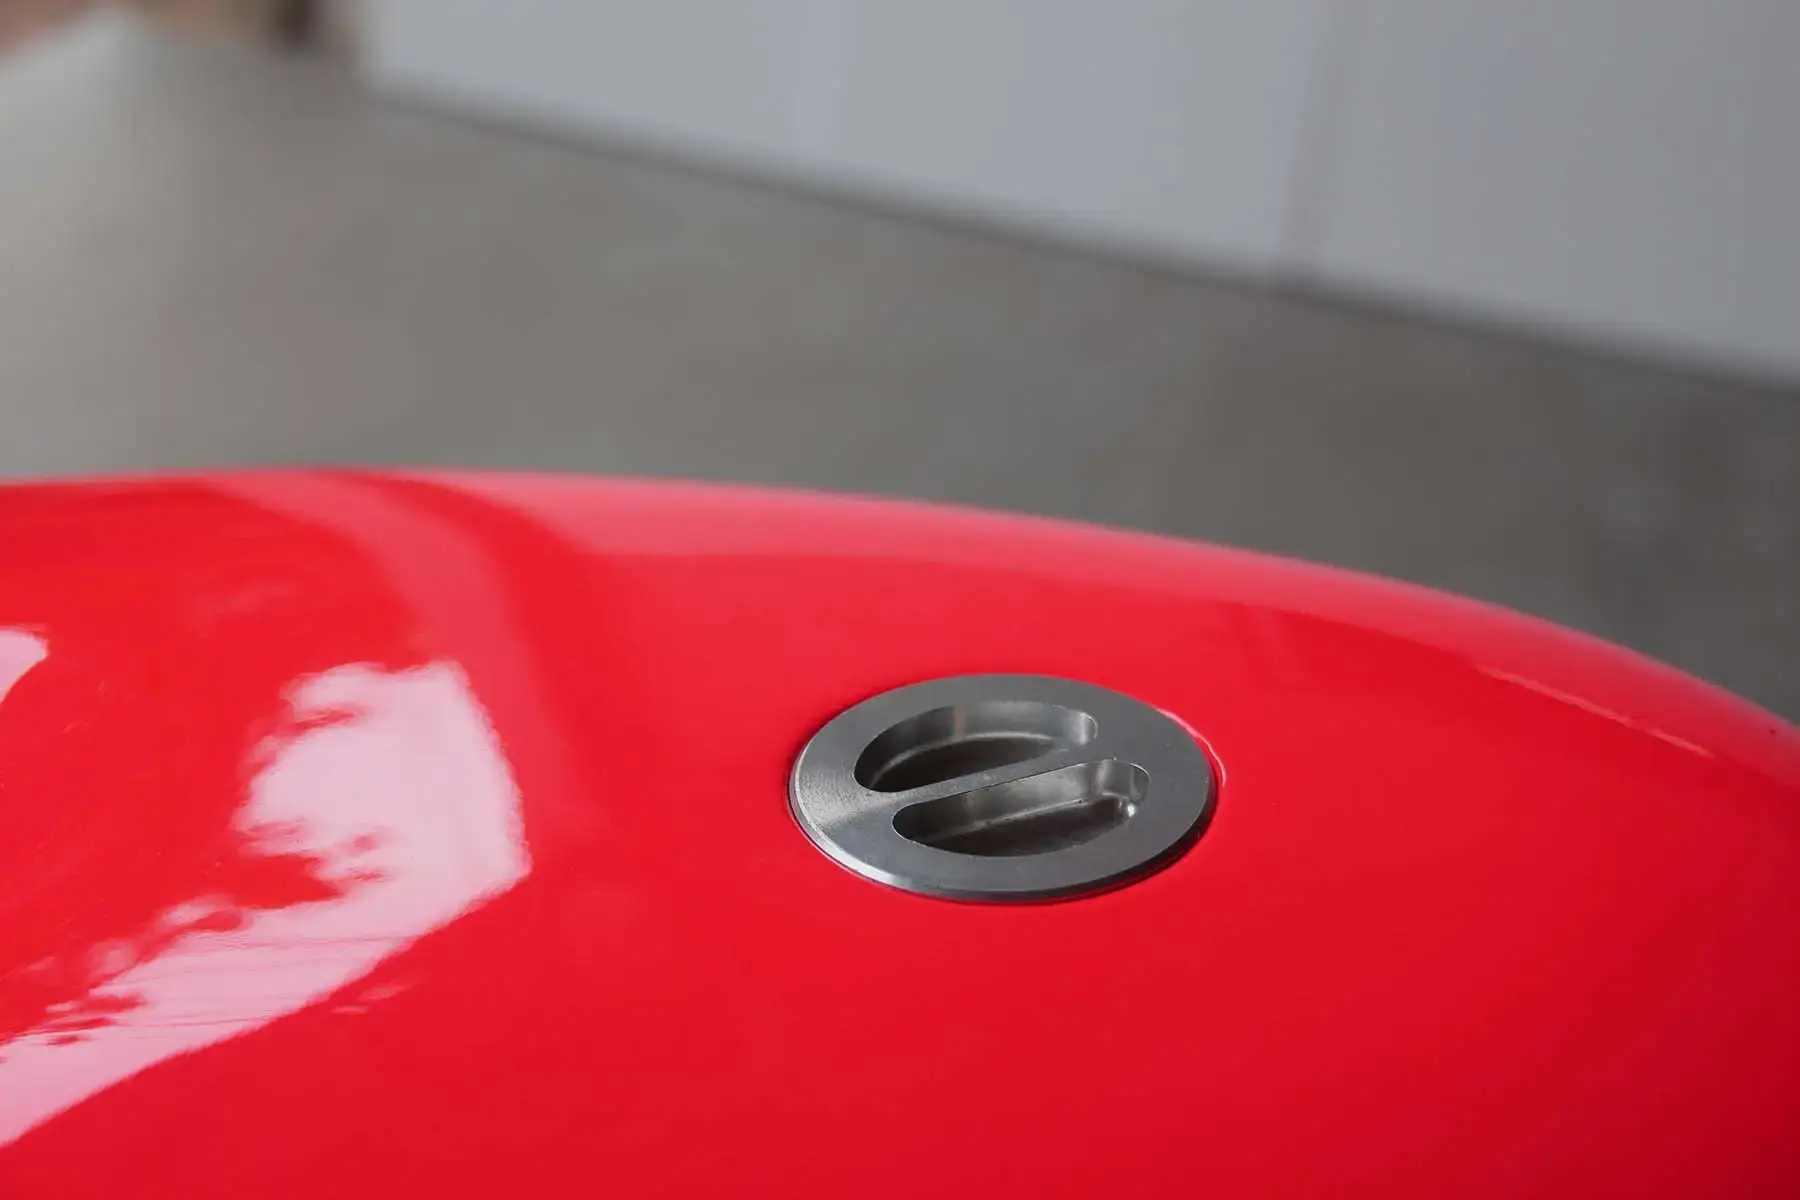
Once the bike was dismantled, we got a few parts sent over to our factory in Thailand so that we could reproduce them, such as the bodywork, fuel tank and silencers. Along with production parts, we made a set for ourselves and our painter K. Pong worked his magic with a stunning paint job.
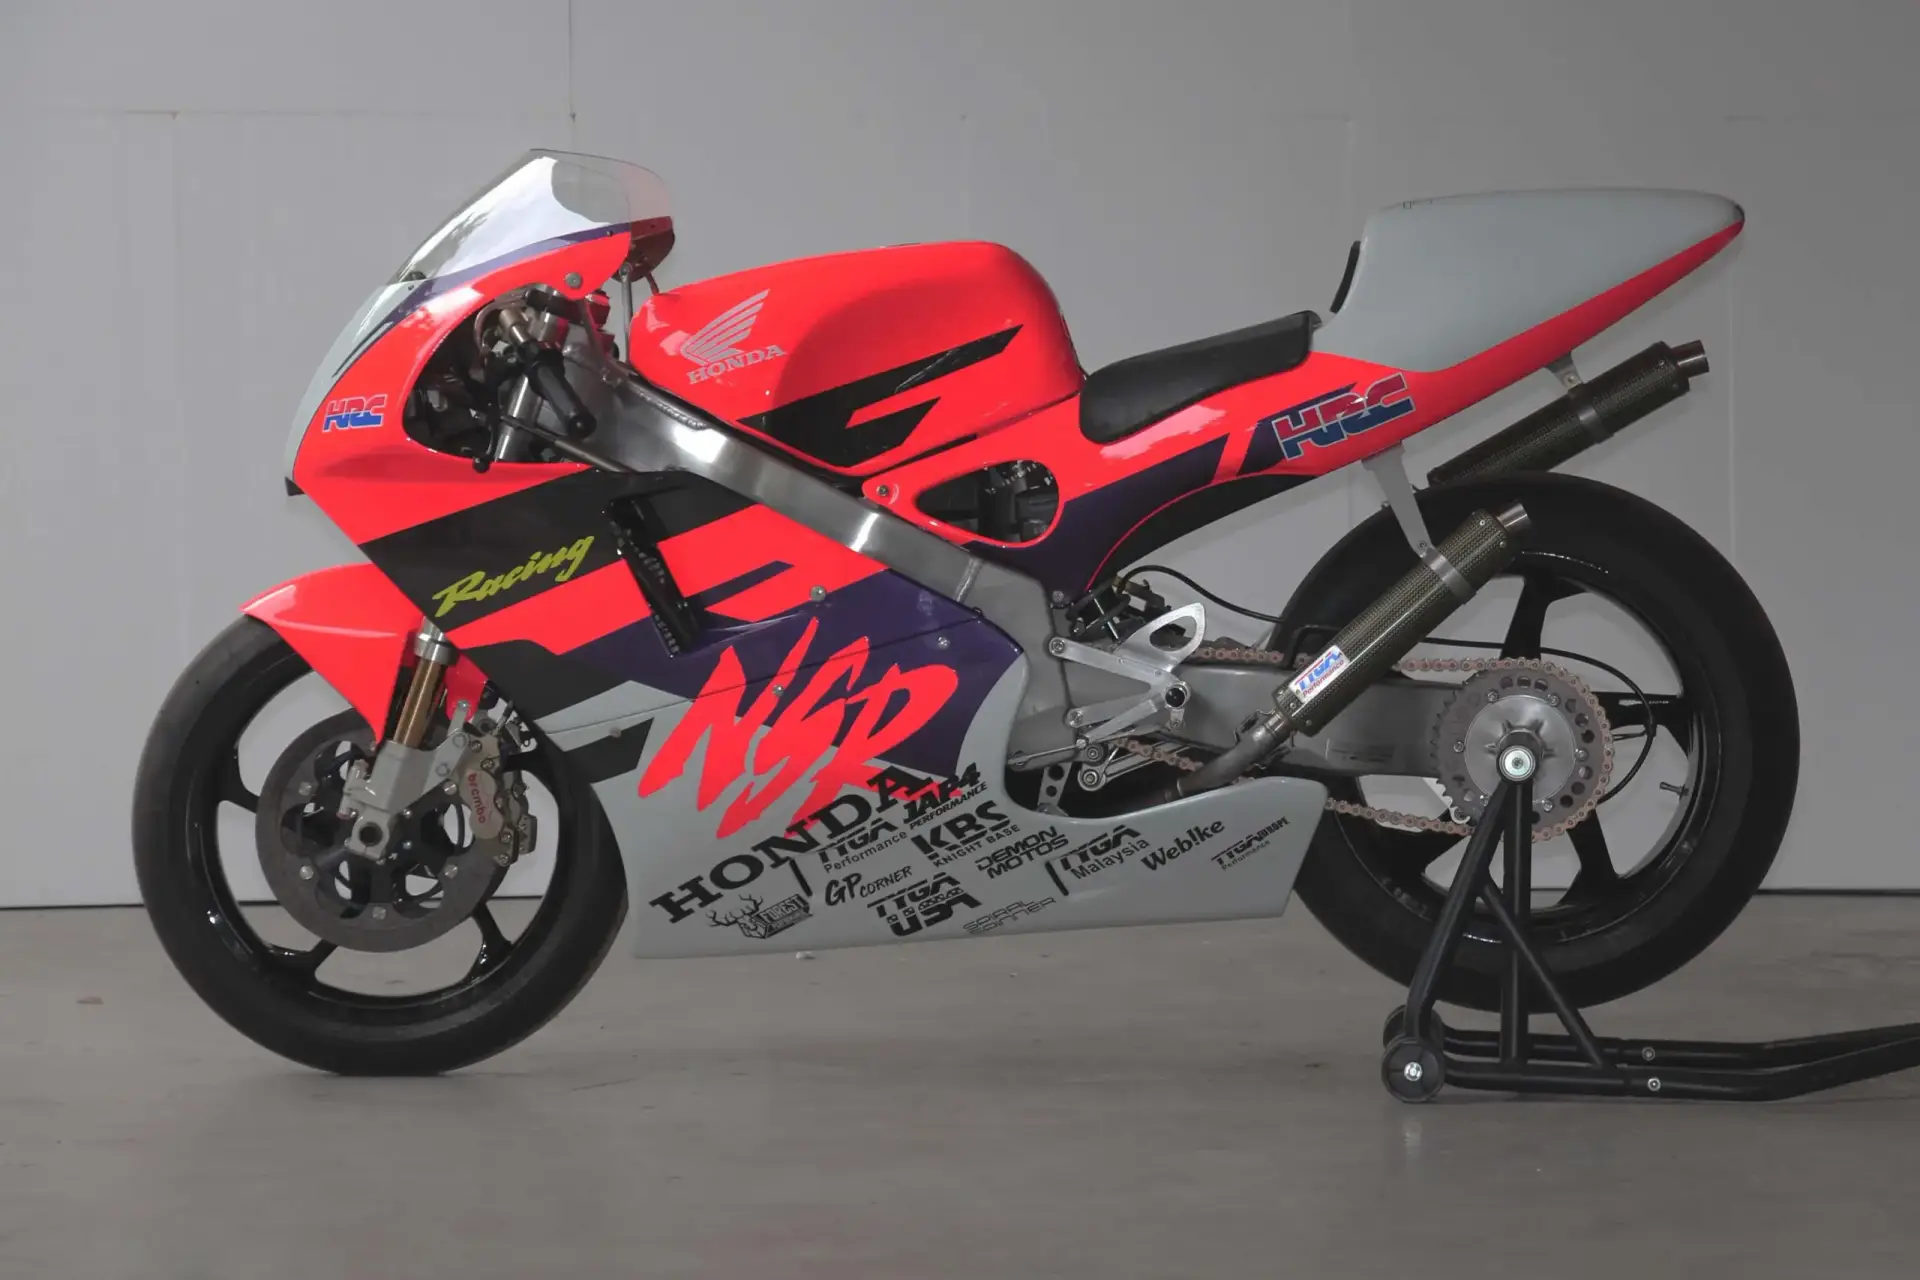
And while we had those parts in hand we were inspired to make the NSR250V bodywork kit and pipes for the Honda NSR250, as can be seen on our website. The similarity to the real thing is quite uncanny and has fooled several visitors into thinking it is indeed an actual NSR500V.
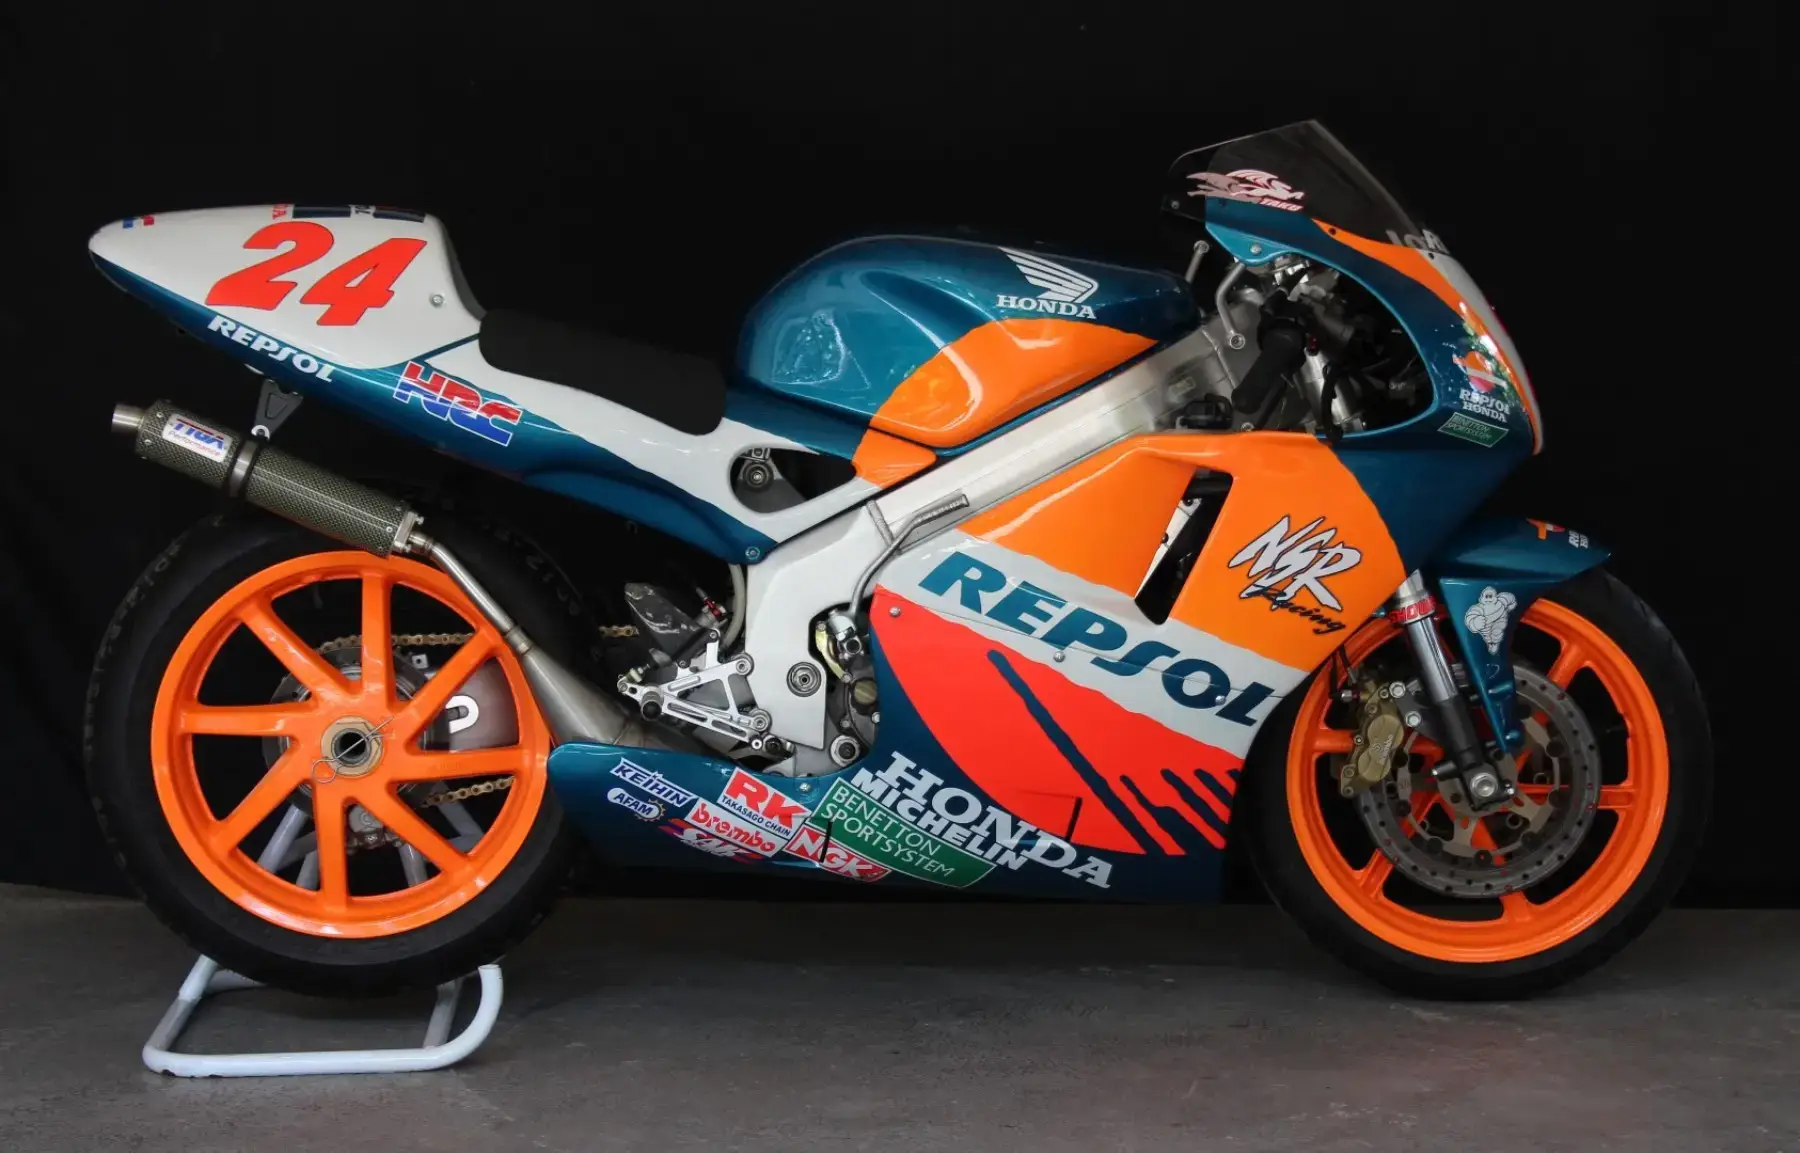
The remaining parts were boxed up and found their way into storage at GT motorcycles in the UK. The plan being that during a trip to the UK I could nip down to Plymouth and build the bike back up.
Finally, back to the present day.
I had eventually got around to scheduling a trip to England to visit my family, and while I was there, I’d planned on spending a couple of days at GT to work on the bike.
The day of my trip to GT Motorcycles finally arrived as I was rudely awakened by my alarm at 5am. After a quick scrub up and a coffee (or two) I hopped into my rental Toyota Yaris hybrid and set off on the 200 mile journey to Plymouth, which was a pretty boring and uneventful drive.
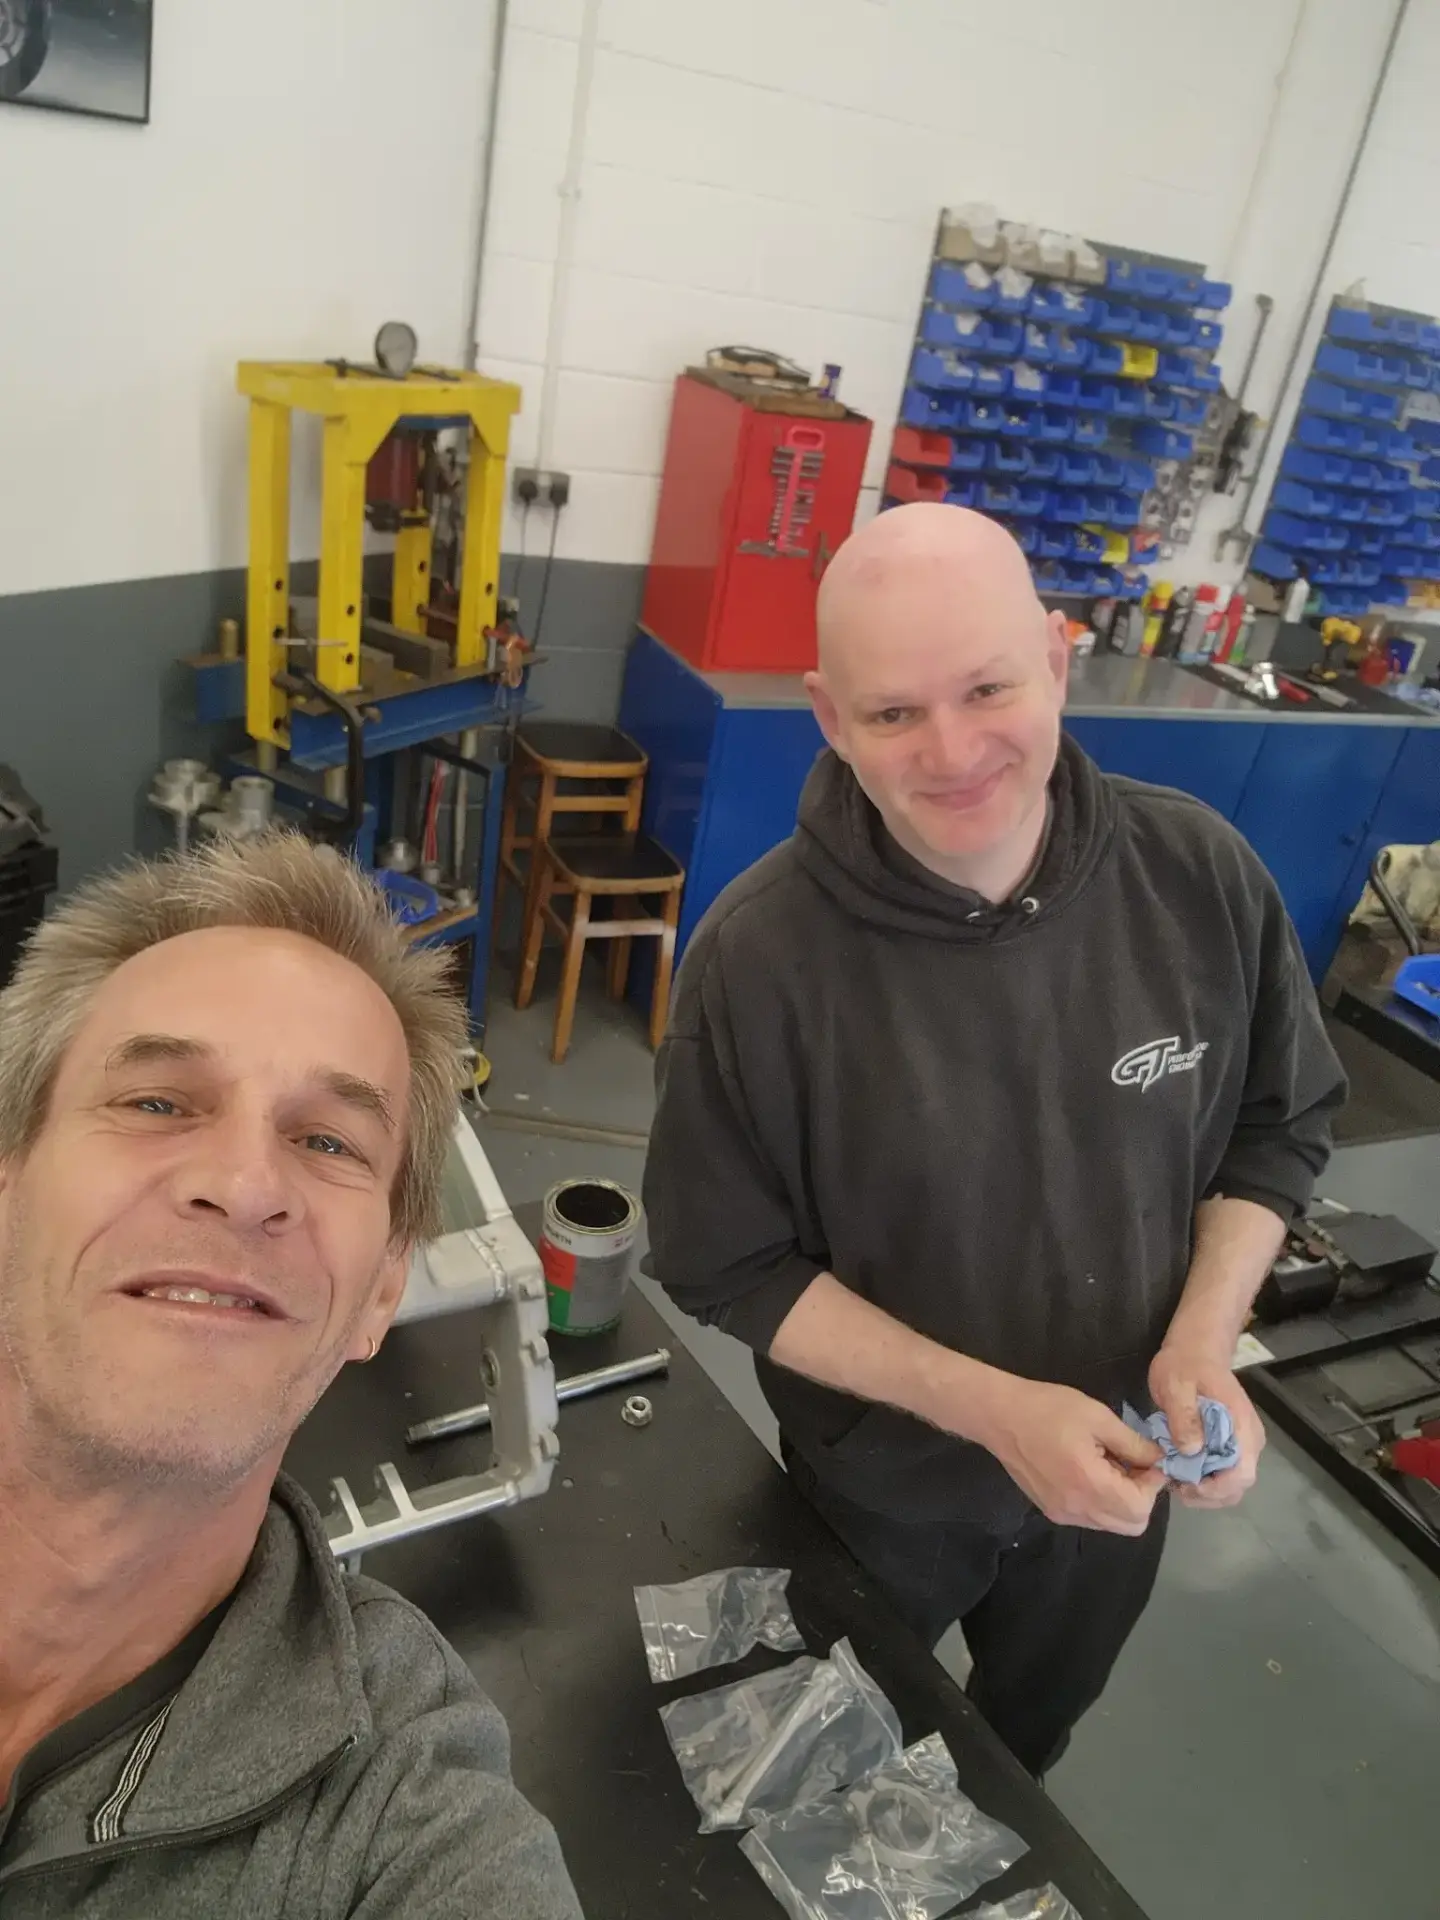
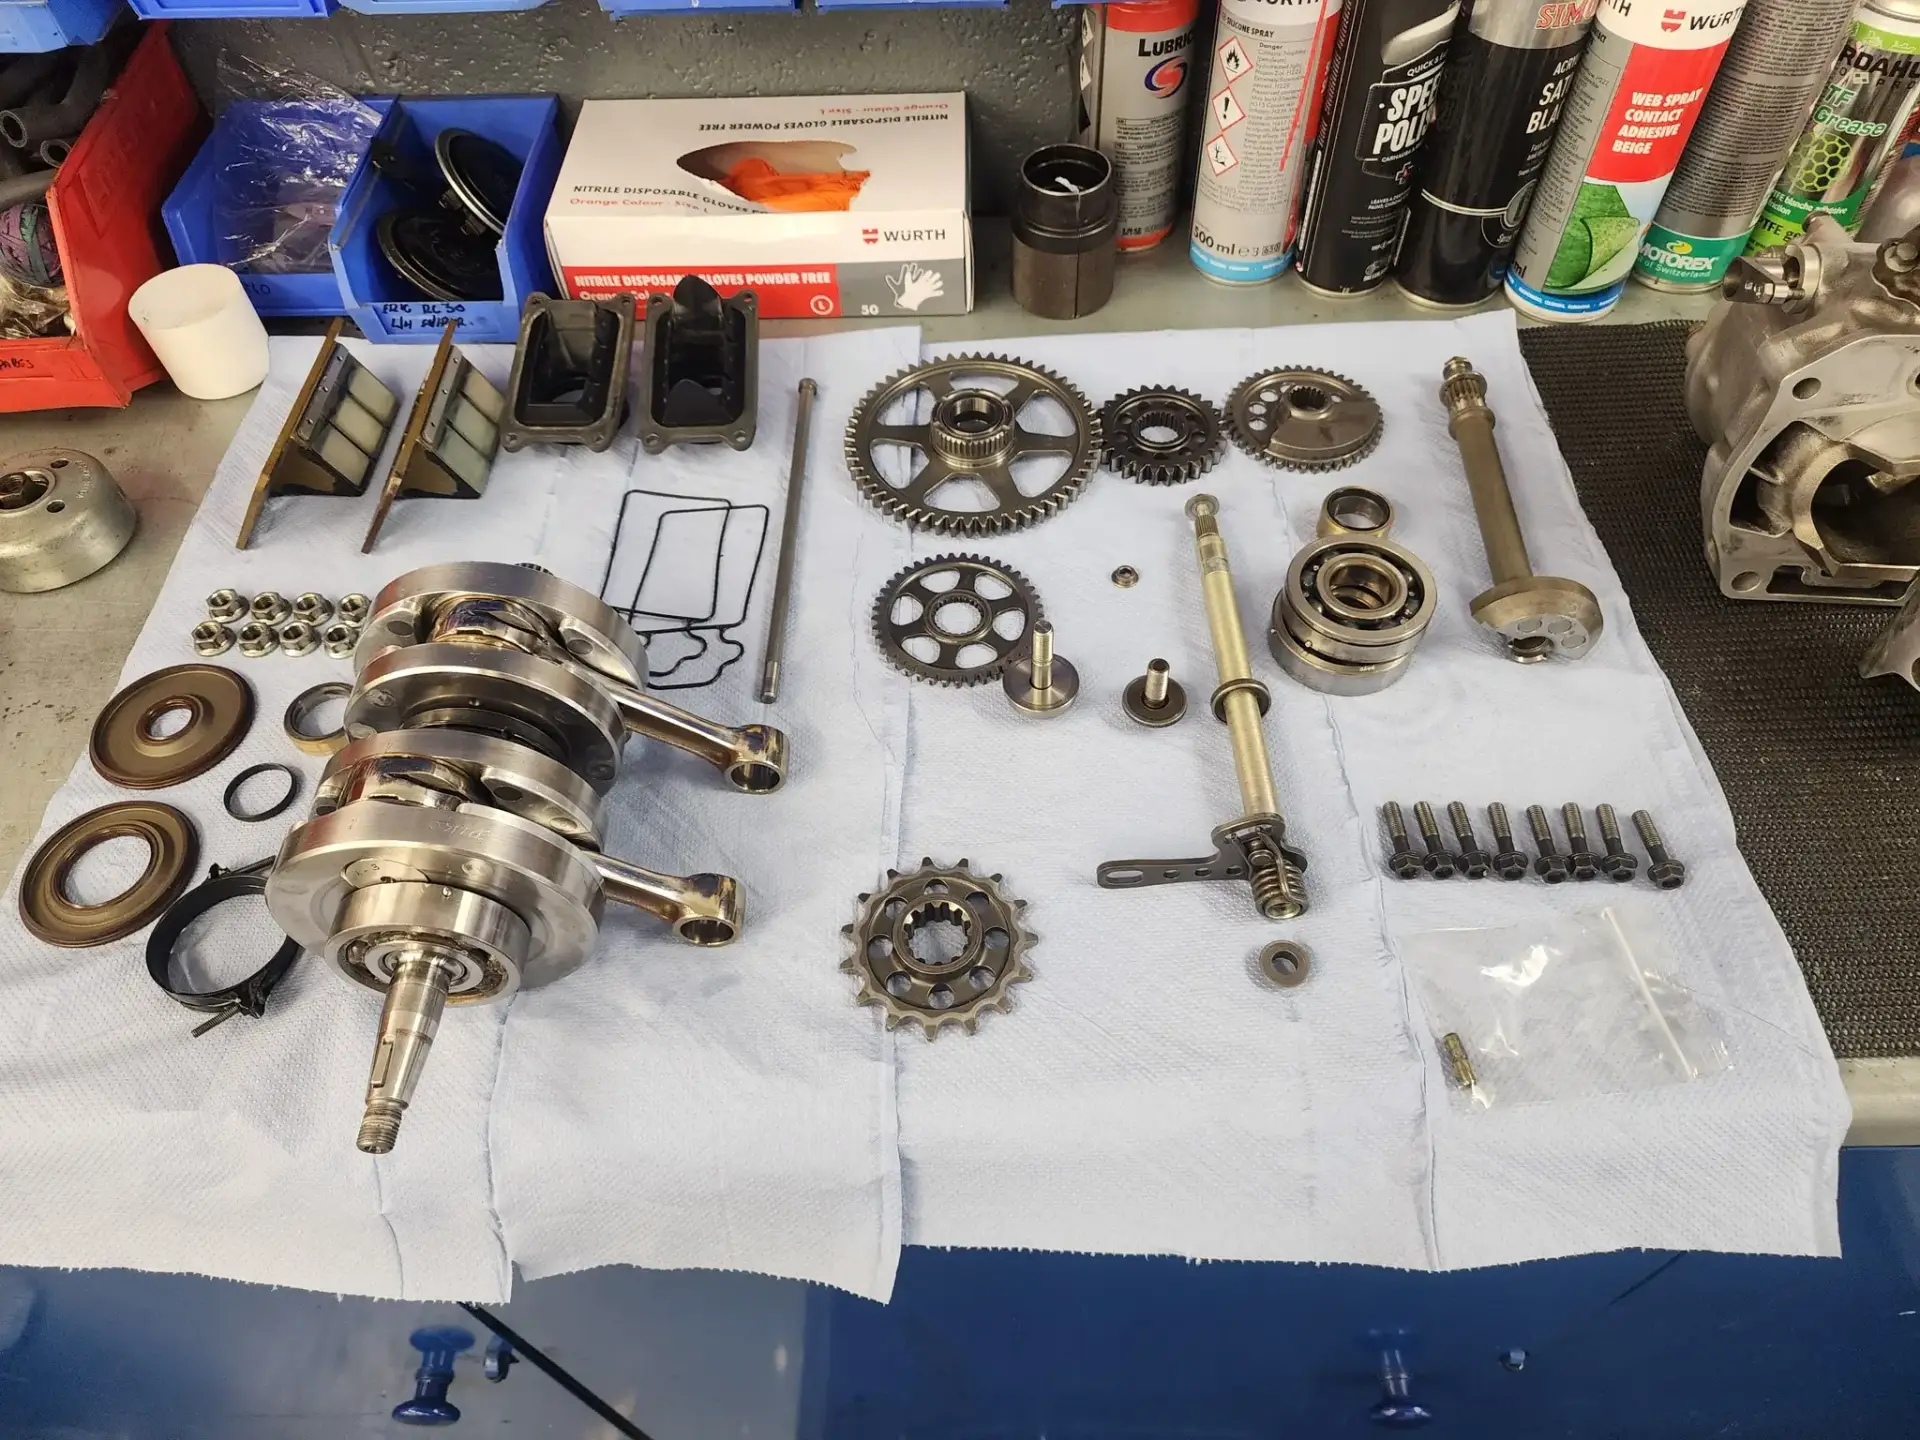
I arrived at GT around 9.30am and after a quick catch up with a few of the staff, assembly of the NX6 started with general cleaning of parts. It was pretty handy that the bike had been broken down to every last nut and bolt (including the engine), so each and every component could be cleaned and checked.
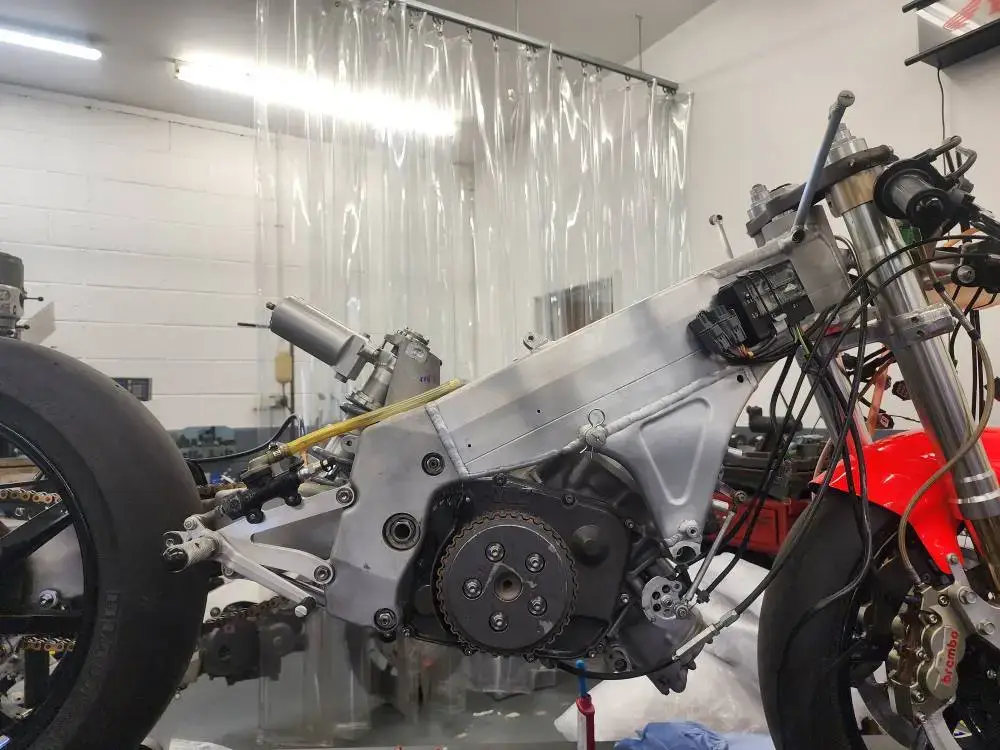
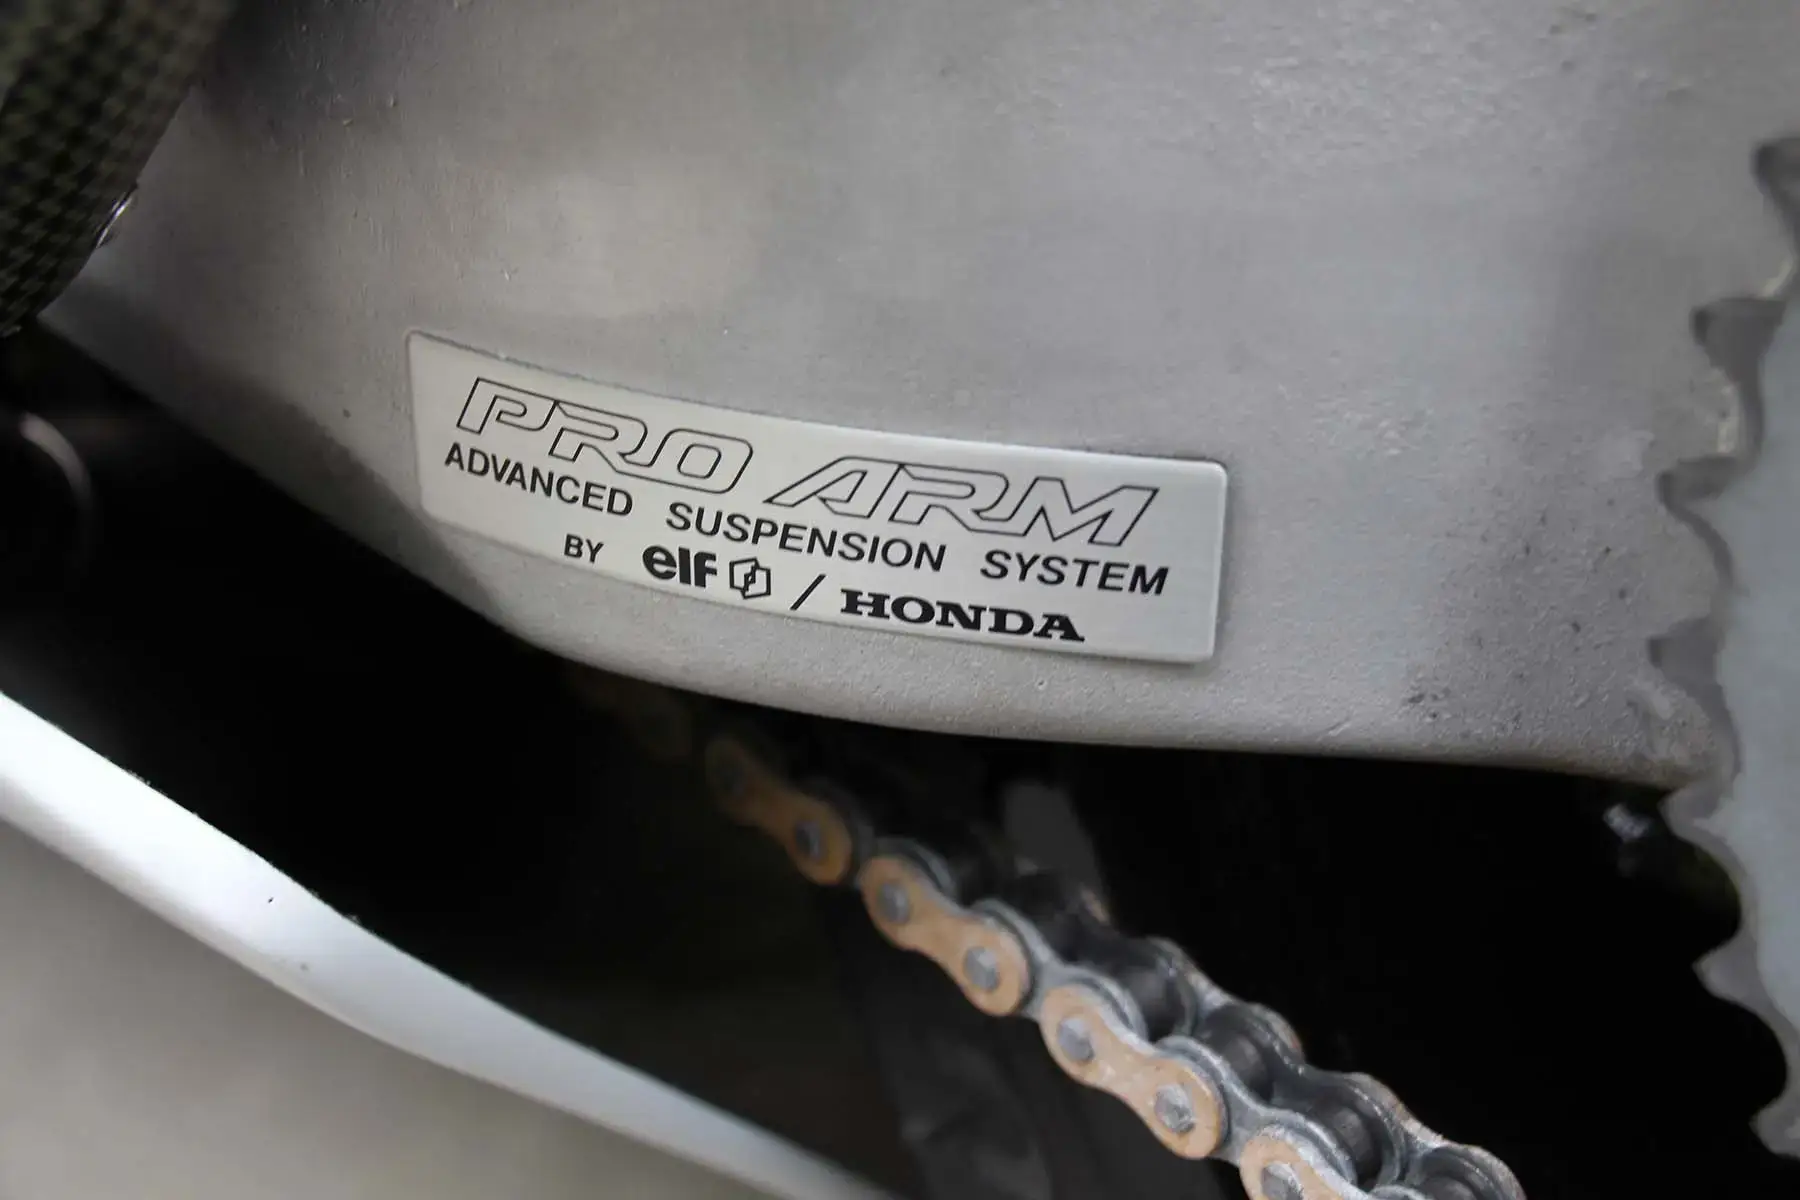
As I mentioned earlier, the NX6 is really just a big brother to the RS250, and I’ve put quite a few of those little rockets together over the years, so it didn’t take too long to get the frame, swing arm and front and rear suspension together. The main differences between the NX6 and say an NX5 are that the frame and swingarm are just a little beefier, and the suspension is a step higher quality. To be honest, most time was spent by me flicking through the manual to make sure that every fastener was tightened to the correct torque setting. As expected, very high-quality tools were at hand so things went quite smoothly and without mishaps.
After a cup of tea all the little bits and bobs such as footrest hangers, cowling stays and so on were fitted. Every fastener doused in thread lock, we don’t want stuff to come loose on one of these brutes.
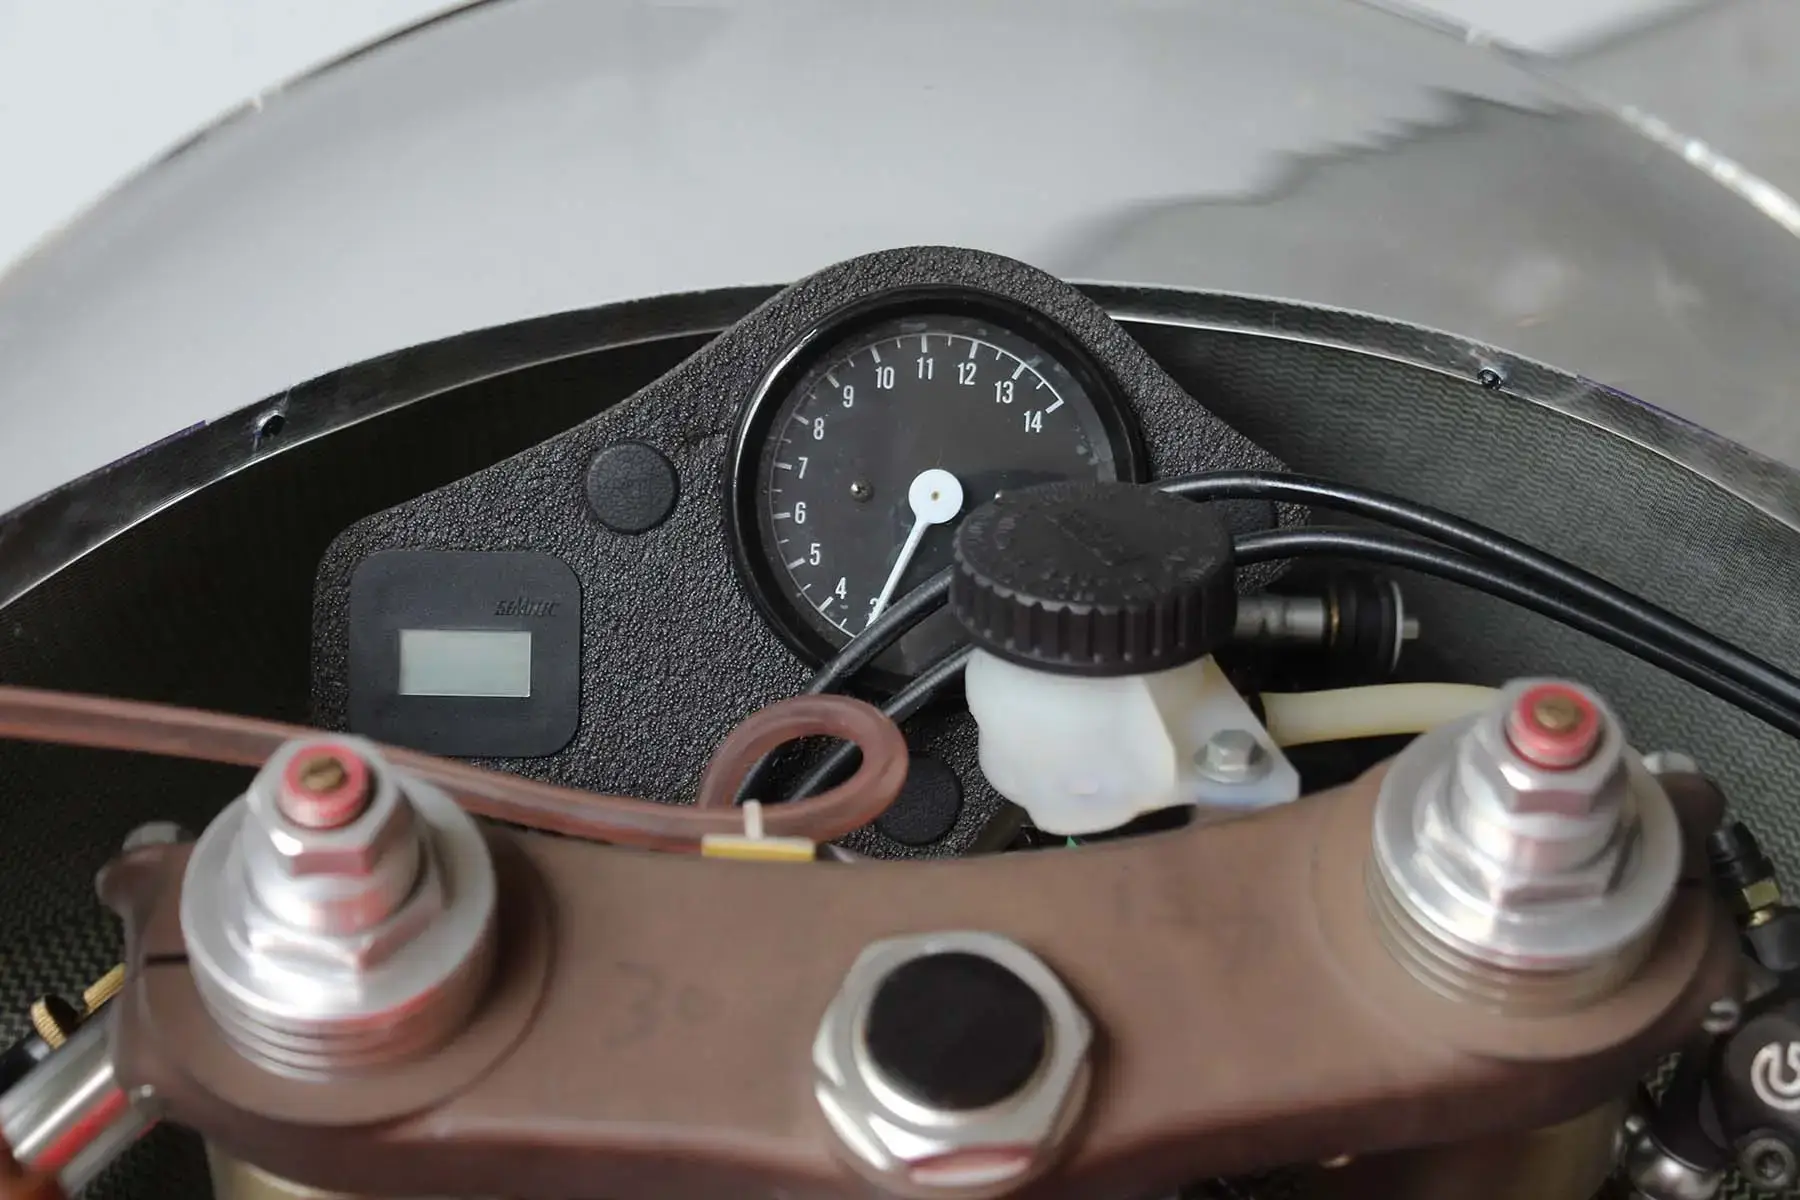
The meter stay with tacho etc. was slipped into position on the headstock and just nipped into position. We’ll need to adjust it later when the bodywork is fitted.
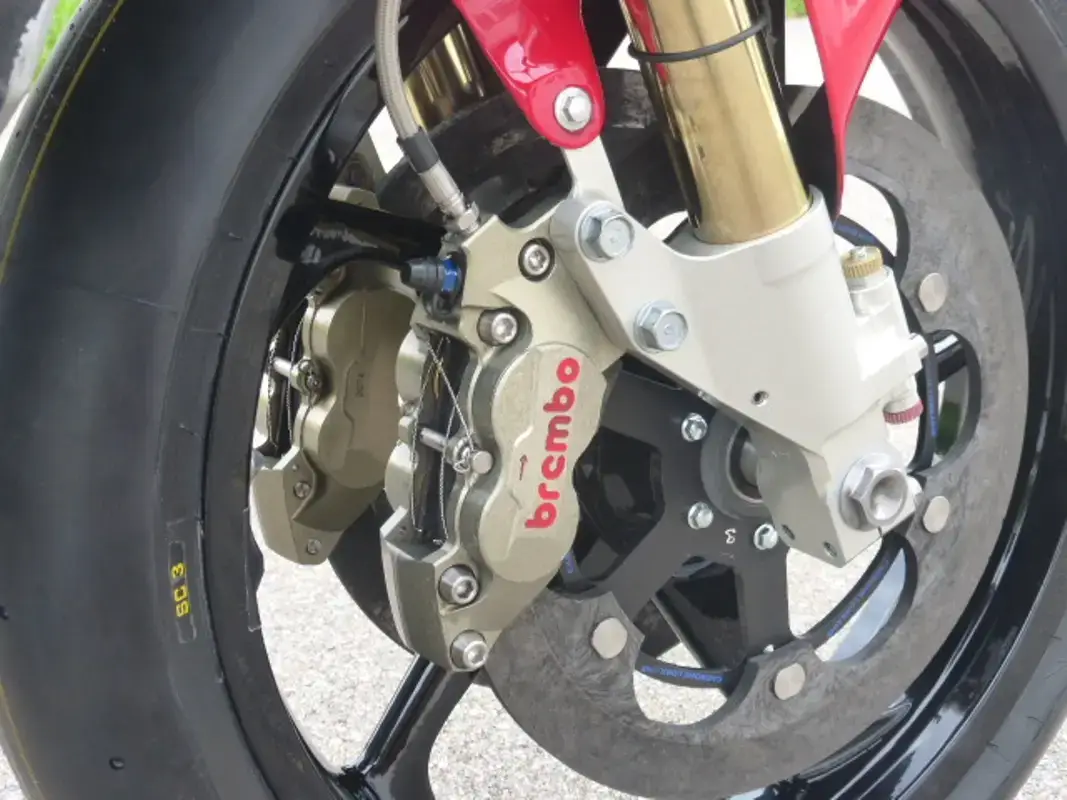
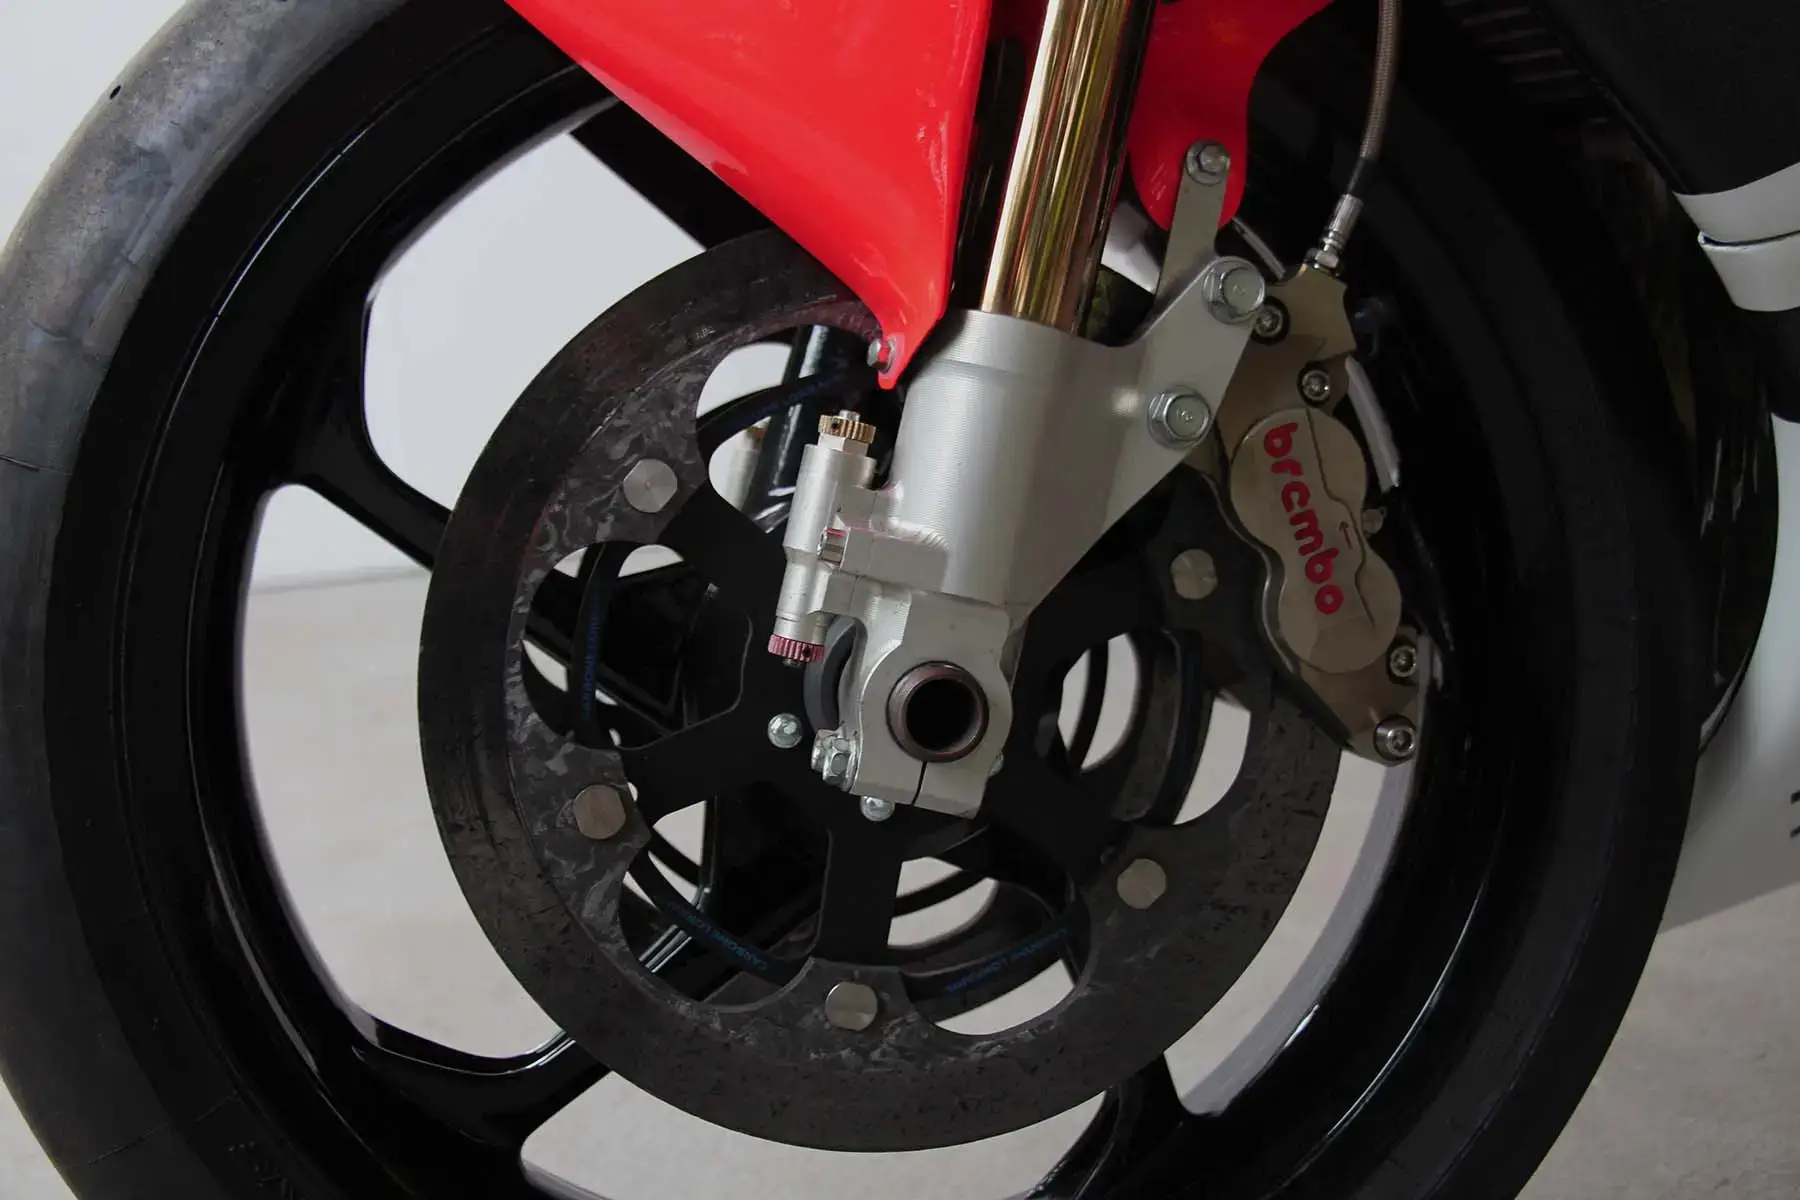
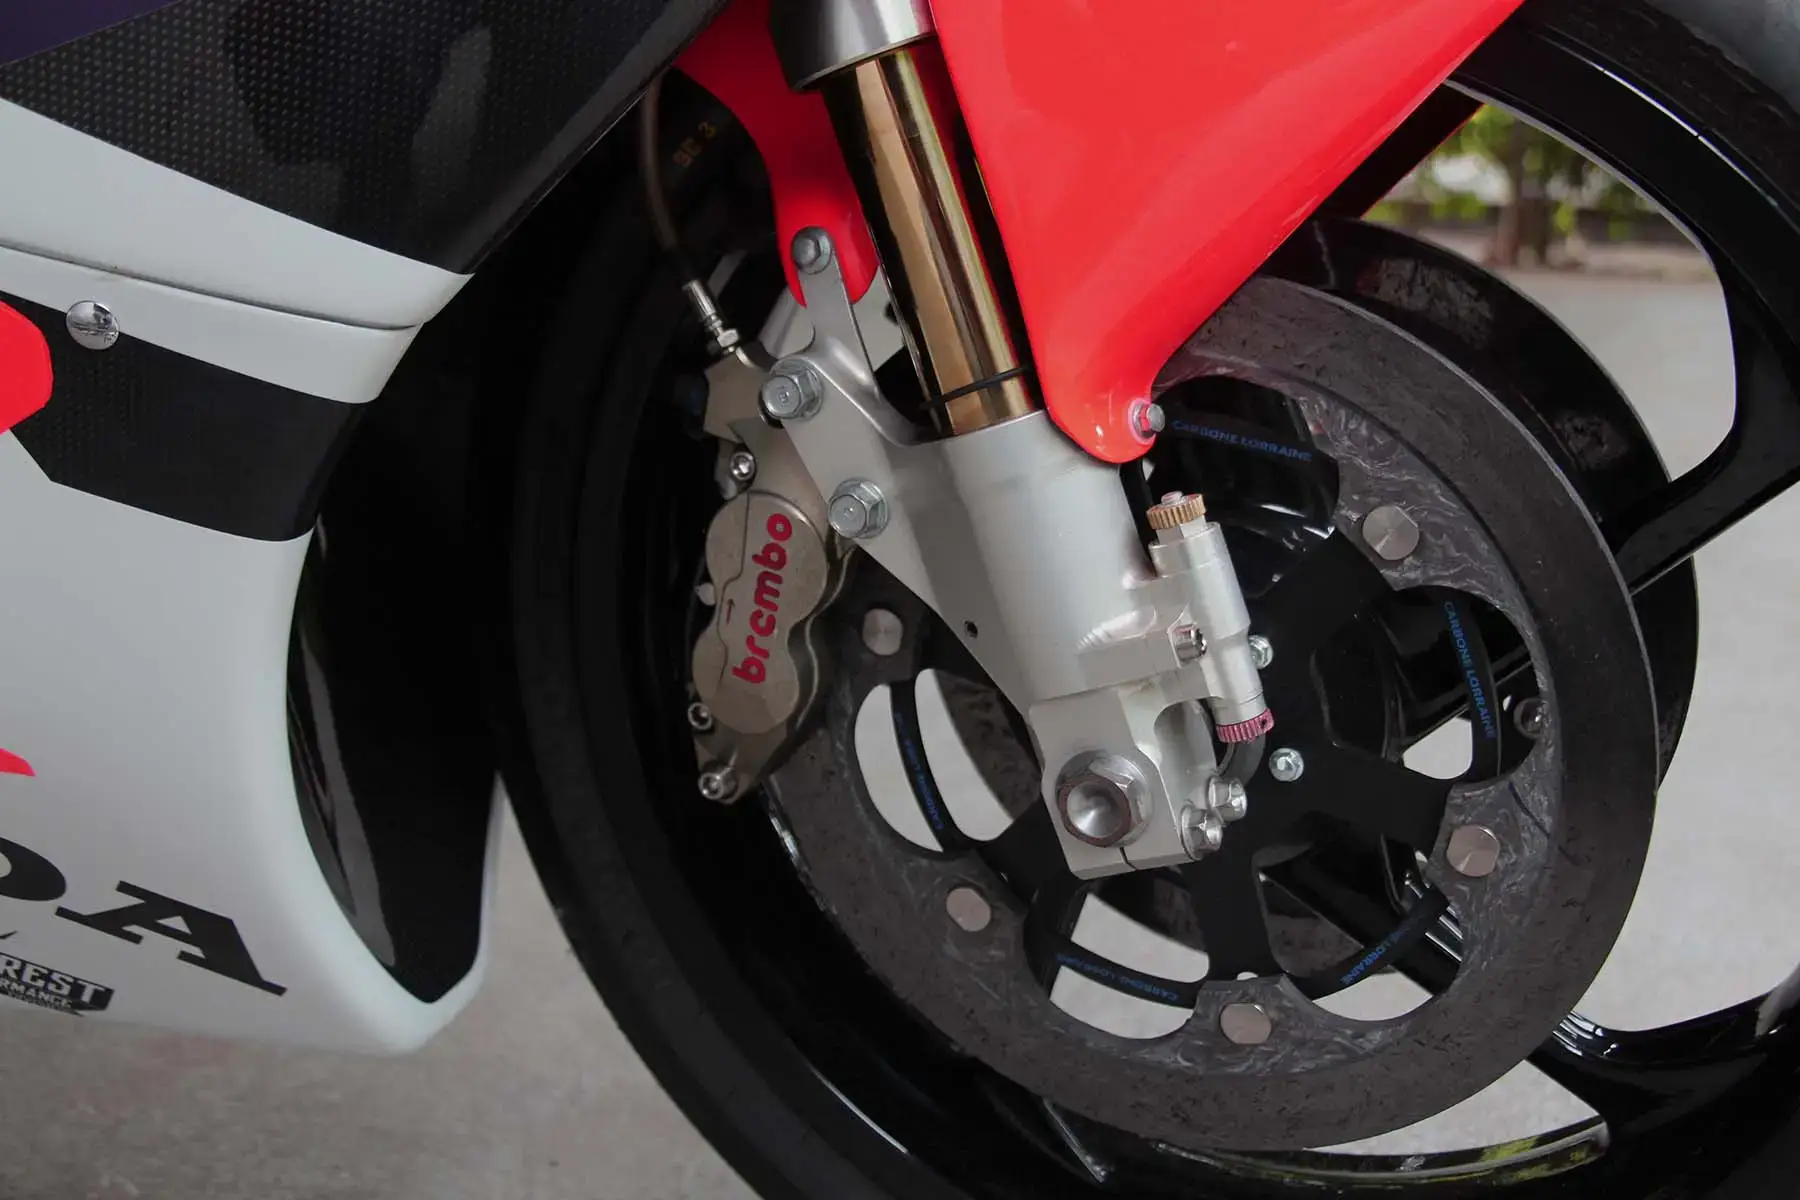
Now we had what almost resembled a bike on the bench. This is always a good milestone and gives you a bit of added enthusiasm, so I bolted the wheels in and offered up the Brembo front brake calipers……First problem……The wheel wasn’t exactly centre, and with brand new discs and brake pads, there was a very slight drag which wouldn’t do at all. After a bit of measuring I popped over to the lathe armed with the wheel spacer, skimmed off a little and reassembled. Perfect!
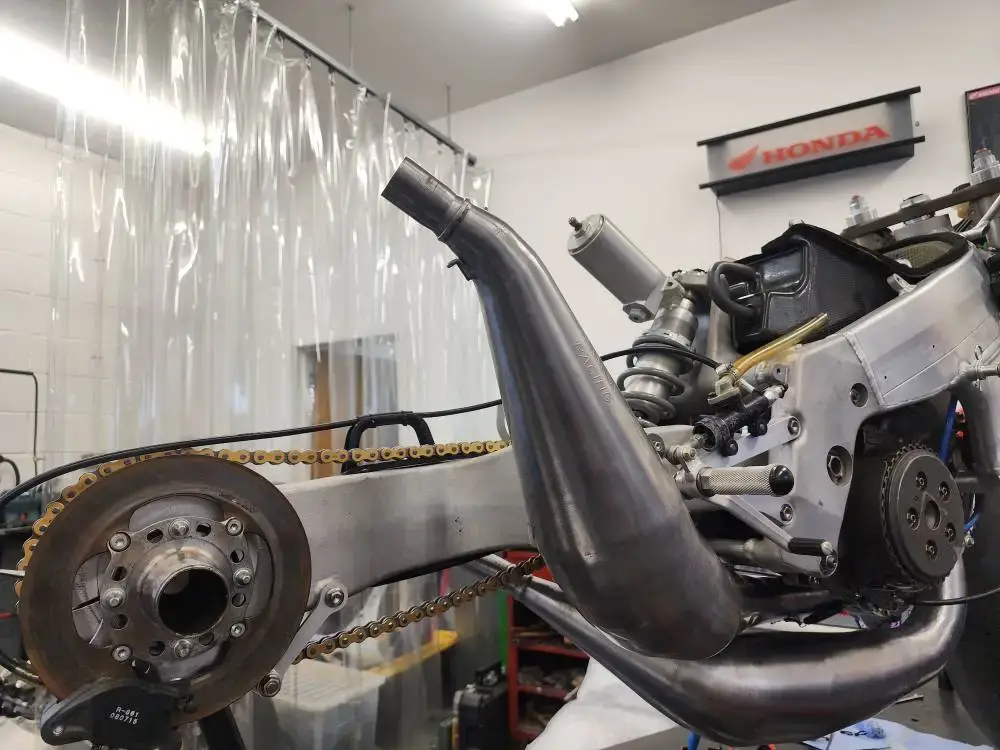
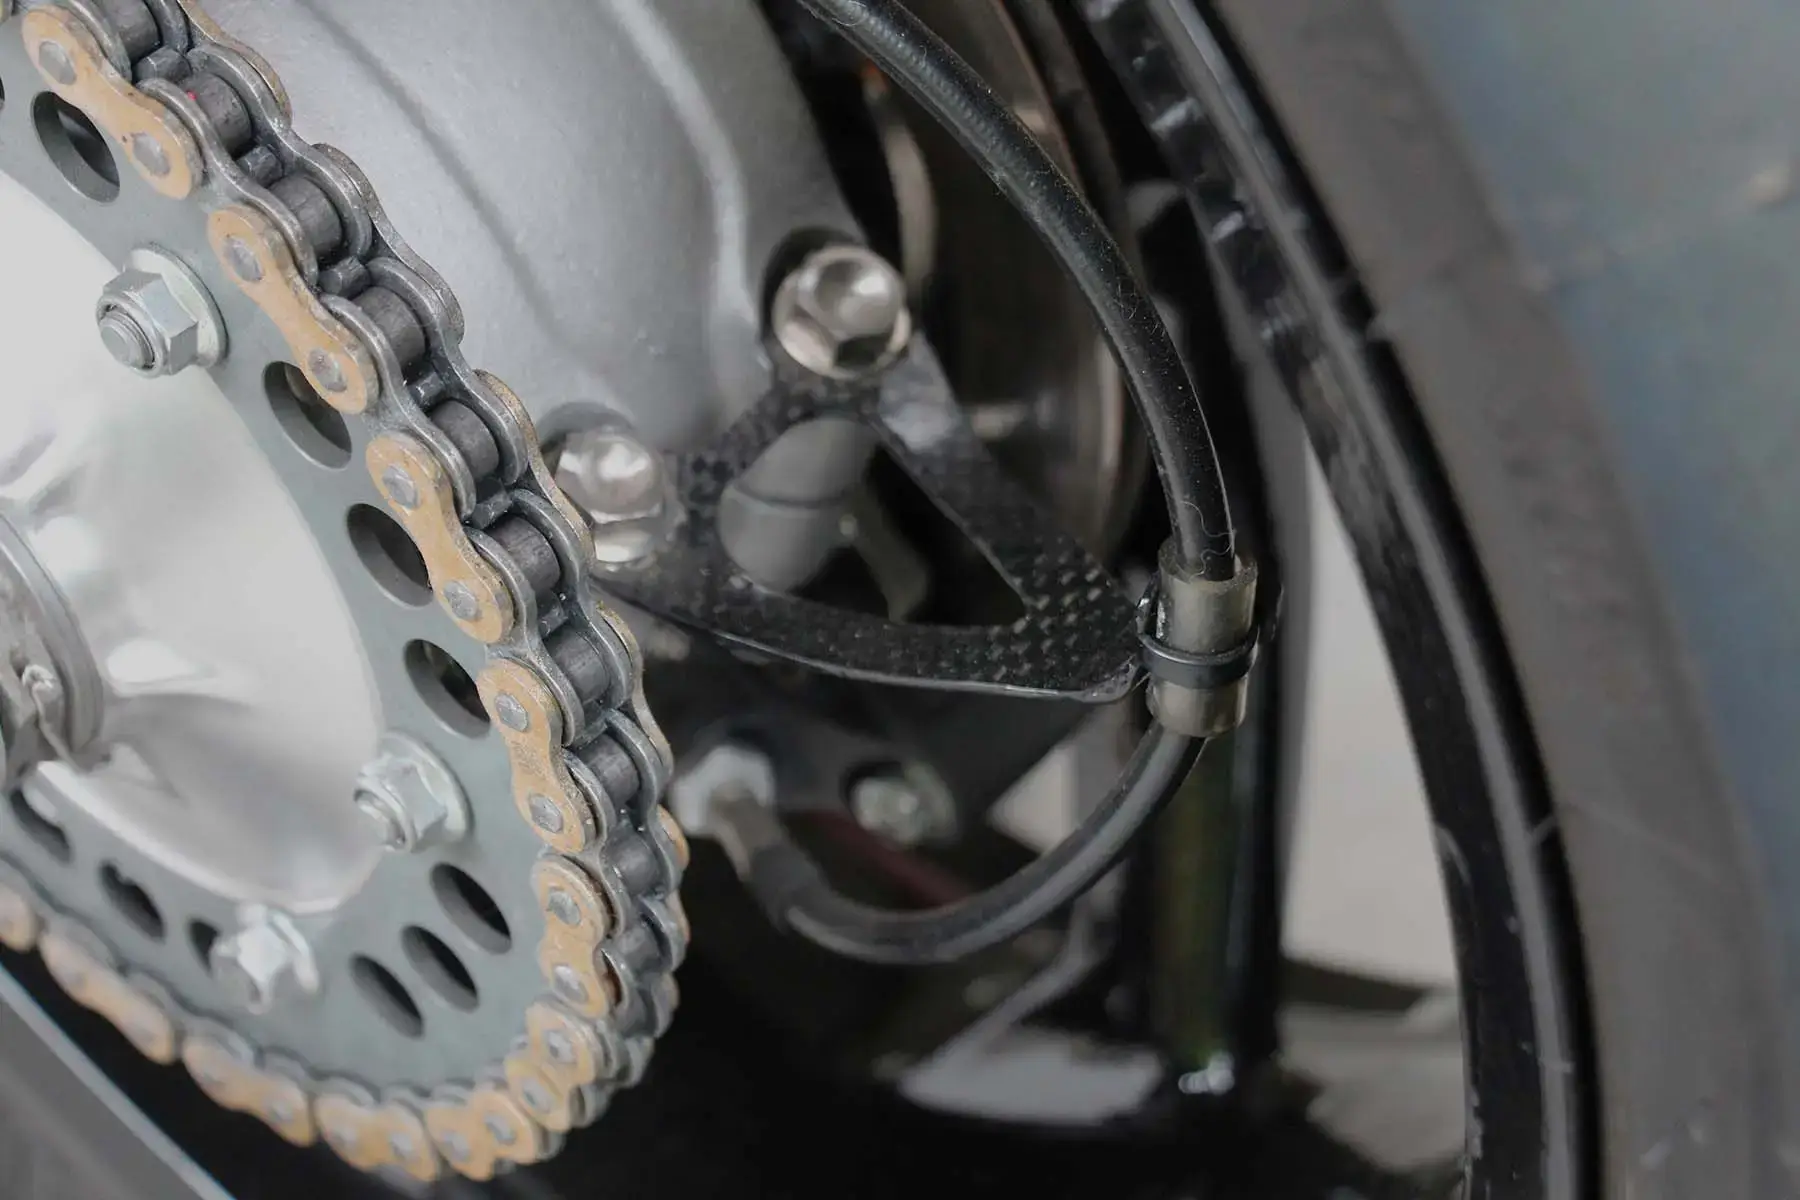
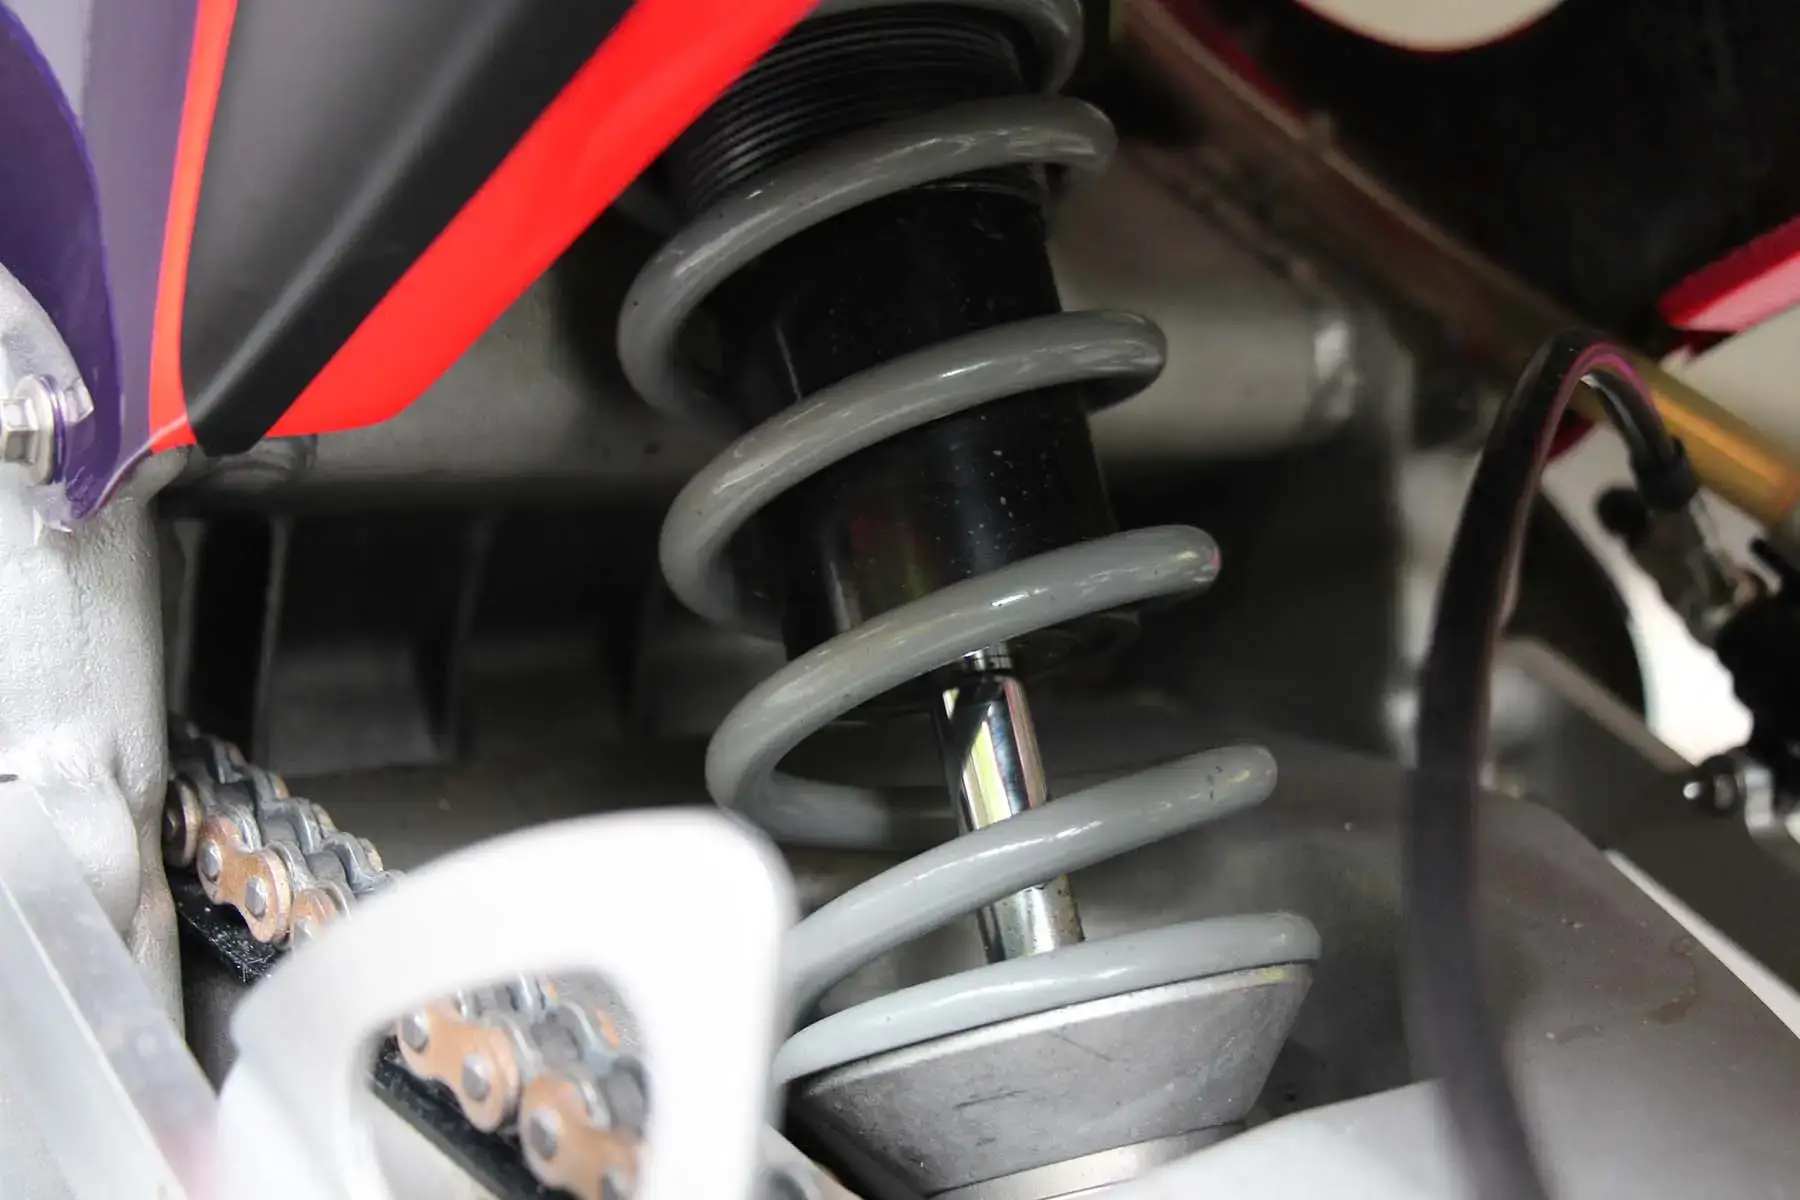
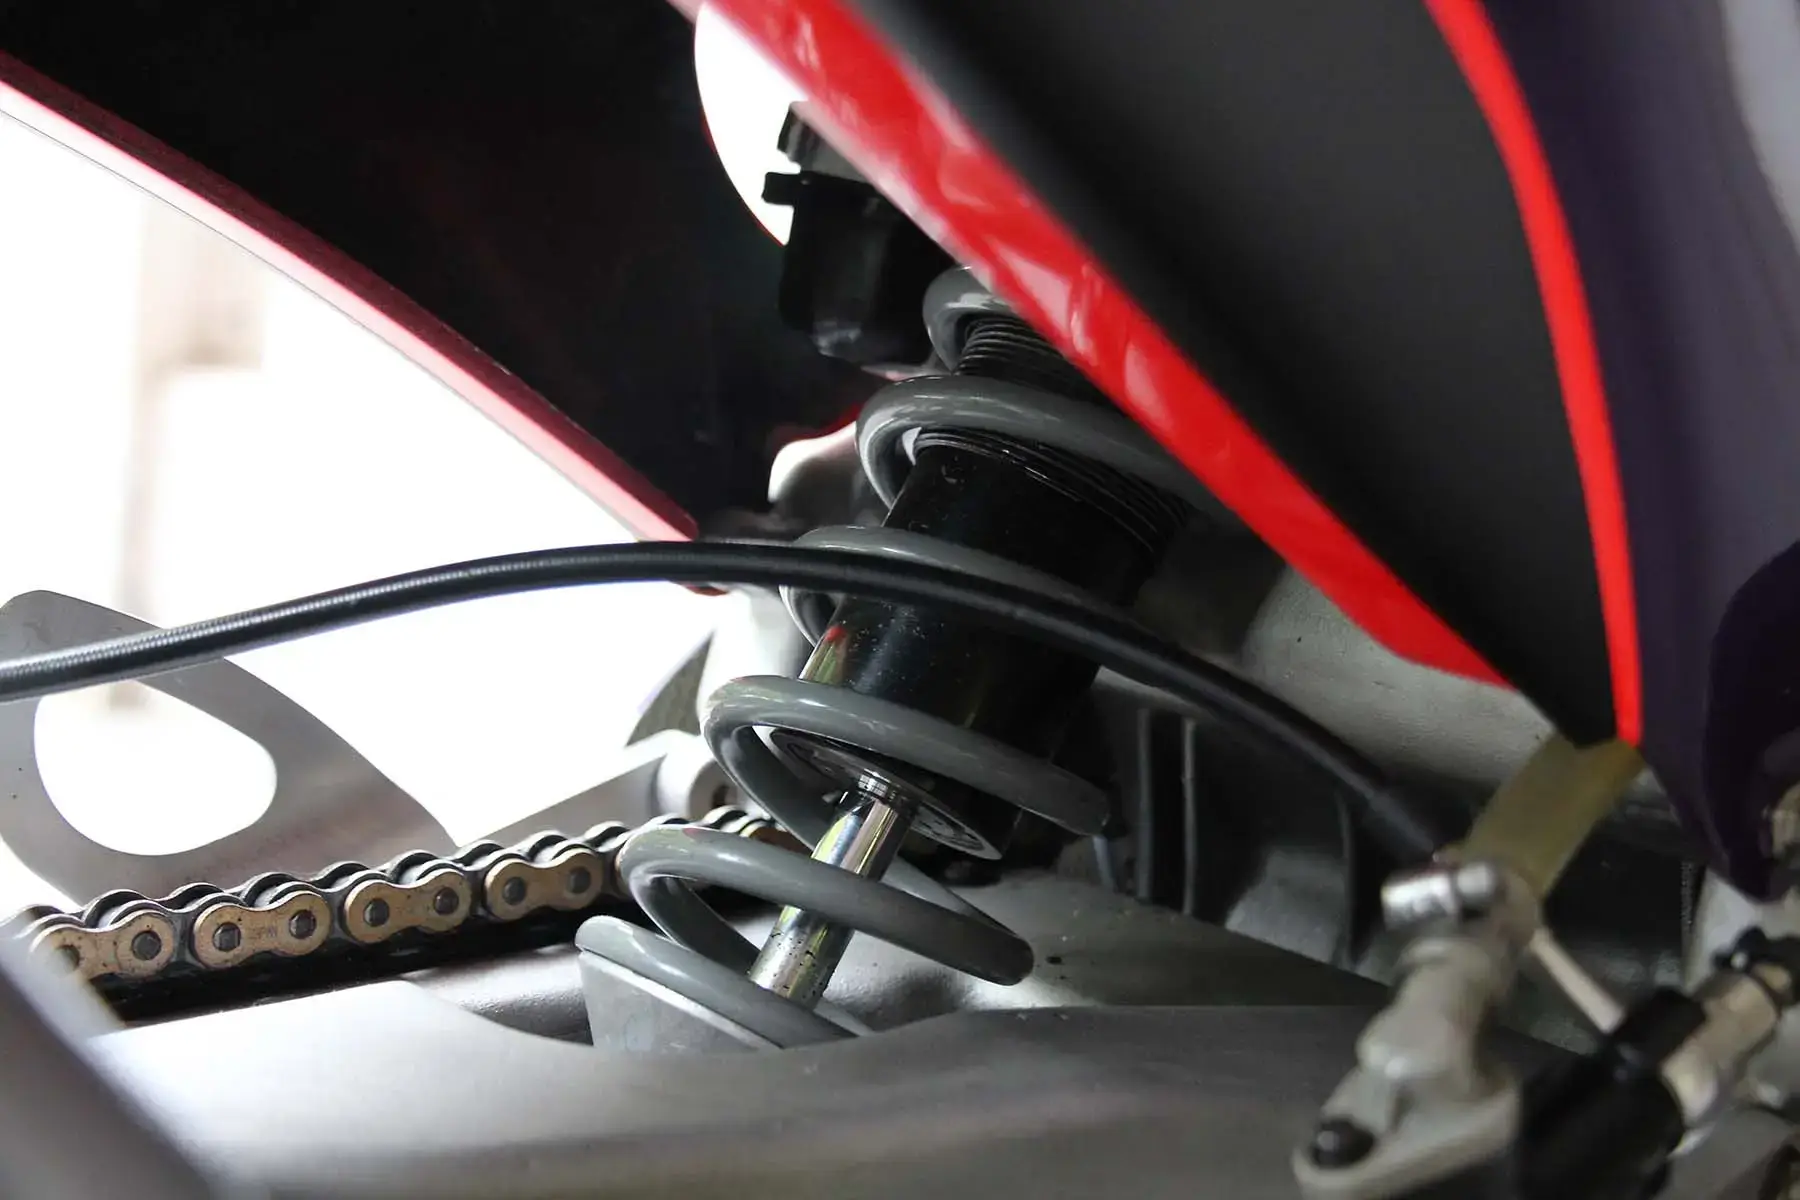
The next issue found was that while there was clearance between the rear shock ride height adjuster and the frame, it probably wasn’t enough. I charged into the race section of the showroom and compared our bike to the other NSR500V’s, and sure enough, it would be safer if we had a bit more clearance. So, back to the lathe with some aluminium round bar to make a spacer. 30 minutes later and the spacer was fitted and had the necessary clearance.
Now we get to the power plant…….
The next half an hour was spent rummaging through old boxes and all the dark corners of the workshop in the vain hope that I’d find the box with the engine parts. No such luck. A quick call and I found out that by mistake the engine components hadn’t been sent and were still sitting in storage a long way away, so with help from Paul back at HQ in Thailand he got the courier to pick up the package and get it on its way to Plymouth.
At this point there was really nothing more I could do, so my planned 2~3 days at the shop were cut to just one day. The only thing to do in these situations is to head off to the local Beefeater restaurant for beers and a good feed. The next morning, I jumped back in the Yaris and drove back to my parents place. They were so happy to see me back home again, but a little upset that I’d need to zoom back to Plymouth as soon as the missing box arrived. Oh well.
A couple of days later I got a call to say that the box had turned up and everything that I needed was there.
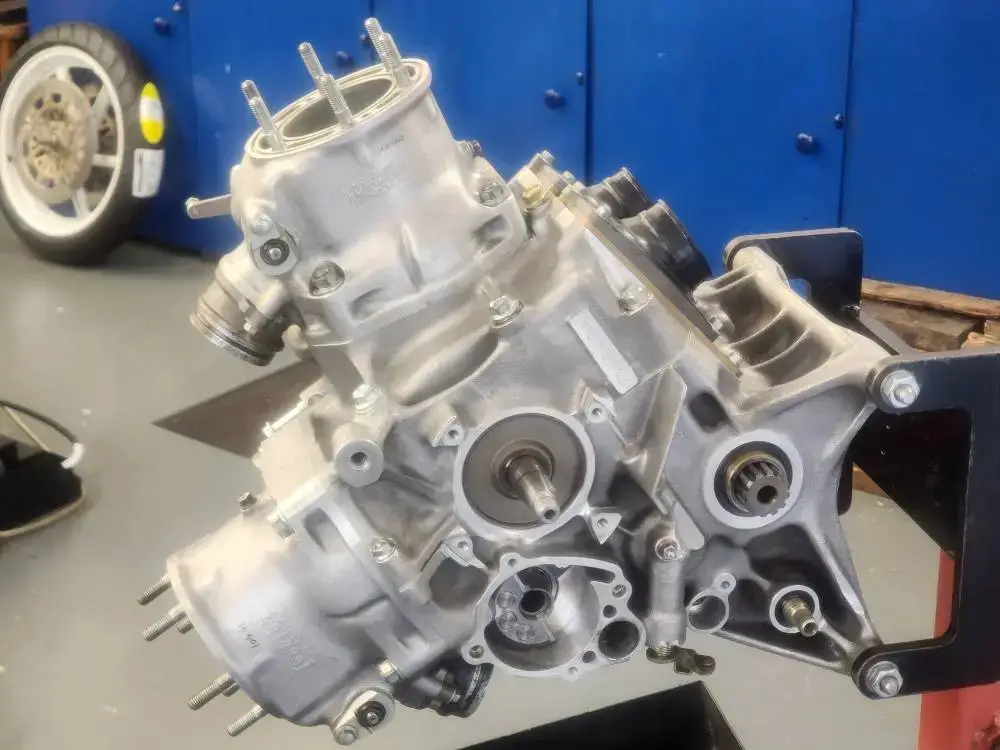
The NX6 engine is a bit more focused than say an NX5 or NXA engine. More like an A kit engine with O-rings sealing the cylinders to the crankcase for example, but having said that, there’s really not much to it.
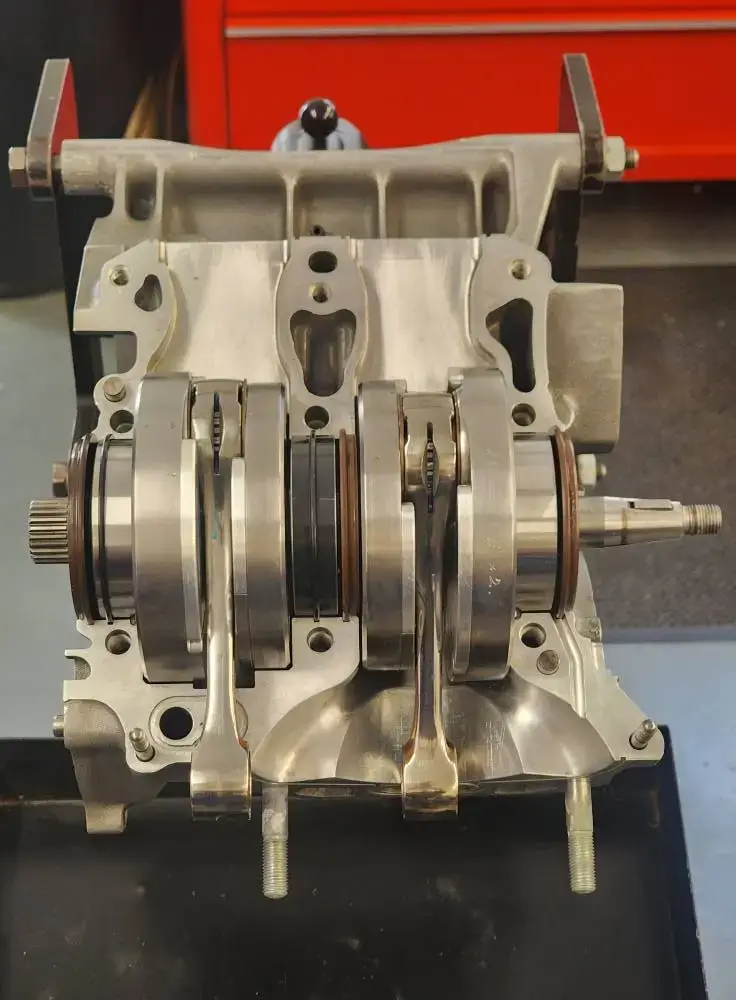
The outer crank bearings were a little suspect, so these were replaced. The crank was also a little out of true (0.01mm), but a few cracks with the copper hammer got this within 0.005mm. That’s probably closer than factory built, so I’m happy with that.
Next, I set about measuring head volumes and piston to bore clearances. It’s nice to work with high quality bore gauges and micrometers. The ring end gaps were a little on the tight side, but after a couple of minutes I’d dressed them to the recommended spec. All was good.
Clutch plates were measured and all well with spec.
The transmission on these have a bit of a reputation for breaking, so I studied every tooth on every gear and couldn’t see any issues. The selector forks and super lightweight selector drum looked almost brand new, which is a bit of a bonus.
The upshot here was that with the brand new top end components, the good as new crank and all the rest of the engine parts comfortably within service limits I could get onto the fun bit; engine assembly.
I have OCD when it comes to putting horizontally split cases together. They have to be spotless. So just to be sure I cleaned the gasket faces a second time with brake cleaner and then got onto dabbing on the ThreeBond 1215 sealer. Again, I’m a little fanatical about this and aim for a super consistent colouring across the face. I think this is a throwback to working for Harc-Pro in Japan where they would shout at you if the ThreeBond wasn’t applied perfectly.
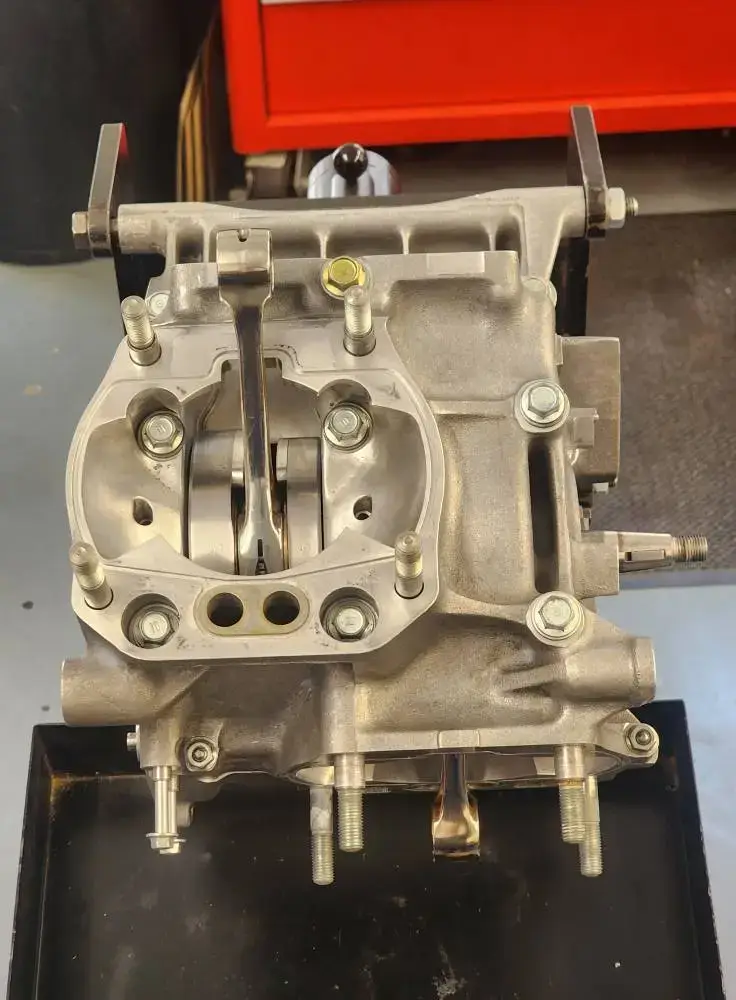
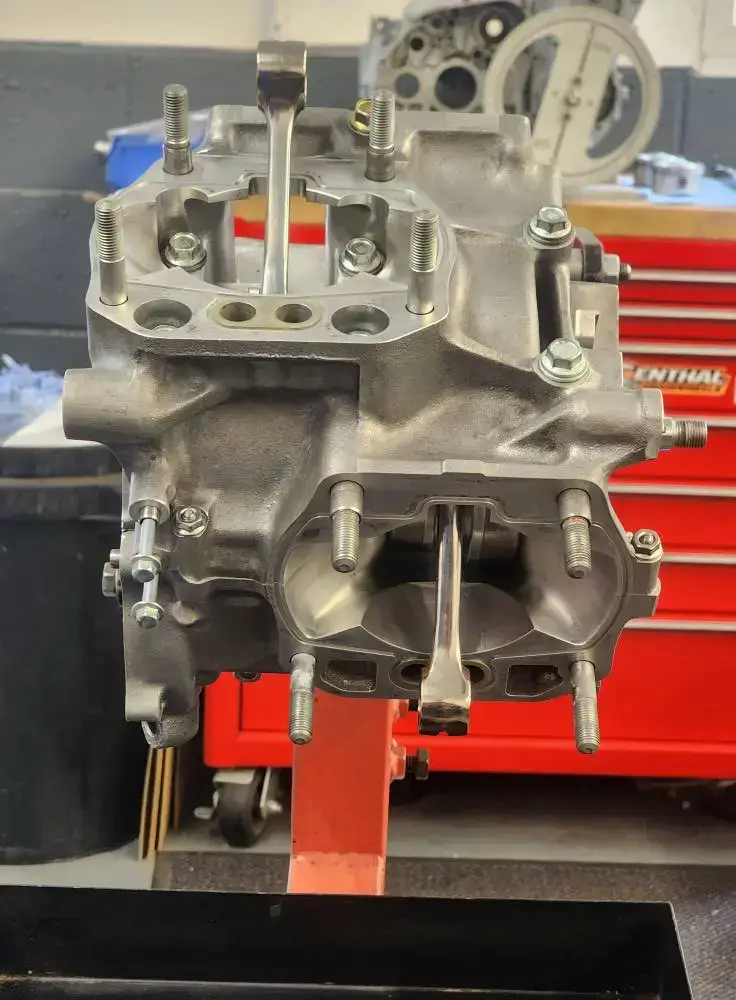
The crank fits into the cases with the centre main bearing located with a big fat dowel pin. Then, the top case is dropped on and bolted up, religiously following the torque specs and order of tightening. Once fully tight, there is almost no friction, even with good crank seals. It was quite amazing. Compare this to an NX5/NXA and it honestly is nothing like the same. Compare it to a run of the mill street going 250, and it’s surprising that they run at all with such massive friction!
At this stage you need to take a rag with a bit of brake cleaner and make sure that no excess sealant has squeezed out between the cases. It won’t help performance in any way, but it can look very unfinished if not cleaned up from the outside of the engine. It’s a clear indicator of the difference between an engine builder and someone that has put an engine together if you know what I mean. It only takes a minute and looks so much more professional. And it means that I can sleep at night.
Now to fit the top end parts.
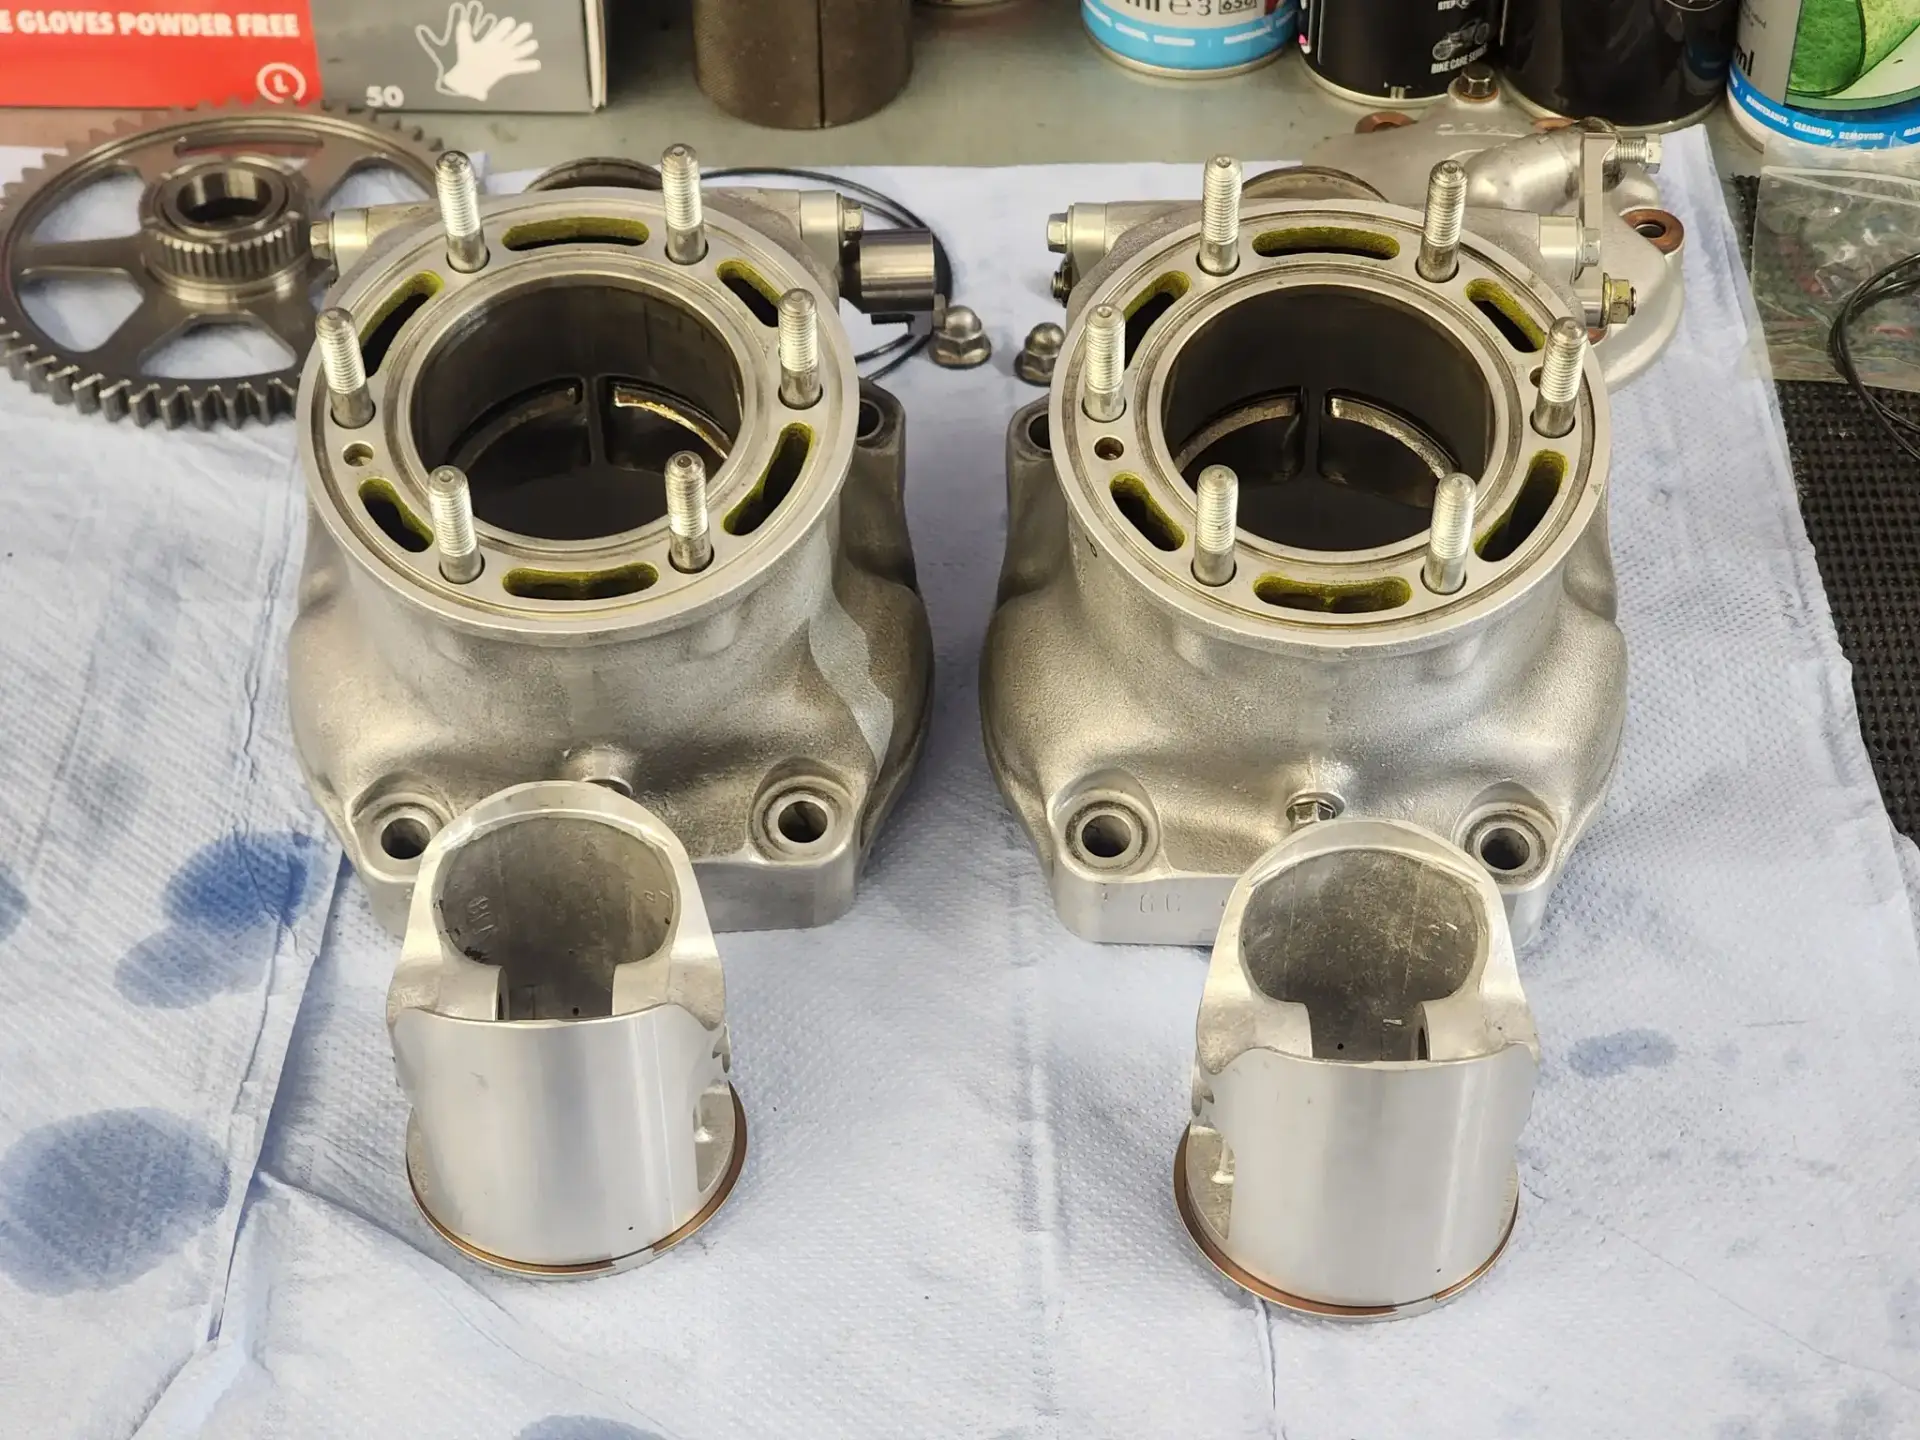
First job is to fit the O-ring that seals the cylinder to case face. I think this is a great idea. The only issue is that it doesn’t allow you to play with different gasket thicknesses, but it gives the cylinder added stability.
It’s always a pleasure to fit brand new parts. They just feel right. I always pop in one piston circlip first. Probably normal procedure for everyone as it’s just easier to do than when the piston is trying to flop around on the con rod. Then the bearings and pins get a good coating in 2T oil, along with the piston pin bores, and assembled carefully noting that the piston orientation is correct of course. You don’t want to get that wrong as the top end would be destroyed immediately. Then the second circlip is fitted. I always fit the clips with the end gap either up or down. I don’t know if the clip can ‘bounce’ in the groove, but doing it this way makes sure that that cannot happen.
A generous lube of the piston and ring, and then the cylinder can be slid down over the piston and bolted to the cases. Finally, the head can be bolted on. The head is sealed with a couple of O-rings in typical HRC style.
Rinse and repeat on cylinder #2.
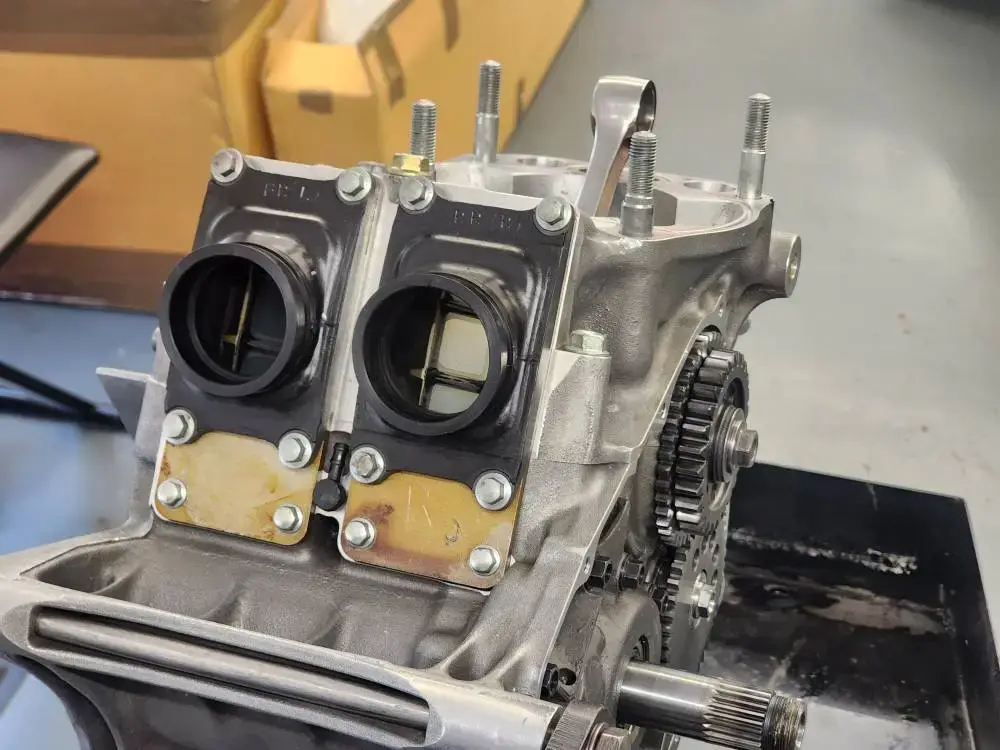
Reed valves and insulators are next to go on. Pretty straightforward and clearly labelled L & R, so even idiots like me can get them on correctly.
The cassette type transmission assembly was the next thing to be fitted. Sliding effortlessly into position. Followed by the gear selector shaft.
Next, we fit the balance shaft and the balance and primary gears. Making double sure that all the dots line up as required. Thread lock applied to the bolts and tightened to the required spec.
The primary driven gear is the final thing we need to fit before we can fit the right engine cover with a crisp new gasket.
The last job on the right side is to fit the clutch assembly. The push rod shim may need playing with to get the correct clearance.
Now to the left side.
Next problem…….
The NX6 comes as standard with a magnesium water pump housing and cover. Both these covers had crumbled into dust. This is a pretty common issue and thankfully GT Performance Engineering have some lovely CNC aluminium NSR500V waterpump housings and covers, which were duly fitted of course. They look fantastic and we won’t have to worry about corrosion.
Finally, the stator and flywheel were bolted into place. I set the ignition timing to the 0° mark just so that we have a starting point.
With the engine all buttoned up, I wrestled it over to the bench and fitted it to the frame.
Not a major task. Just remember to put the bolts in the correct way round the first time ???? LOL!
Once the rear bolts were tightened, I shimmed the front mounts as necessary and torqued up the mounting bolts. If you don’t know, these GP bikes (NX4/NX5/NXA etc.) all need various mounting points shimmed to avoid stress on the frame during tightening of the engine. They’re never a perfect fit, and actually move all over the place during riding, so shimming the gaps is needed every time you remove and re fit the engine. And they very rarely use the same shims twice. Just gives you an idea of the stress that go through the frame when you’re out on the track.
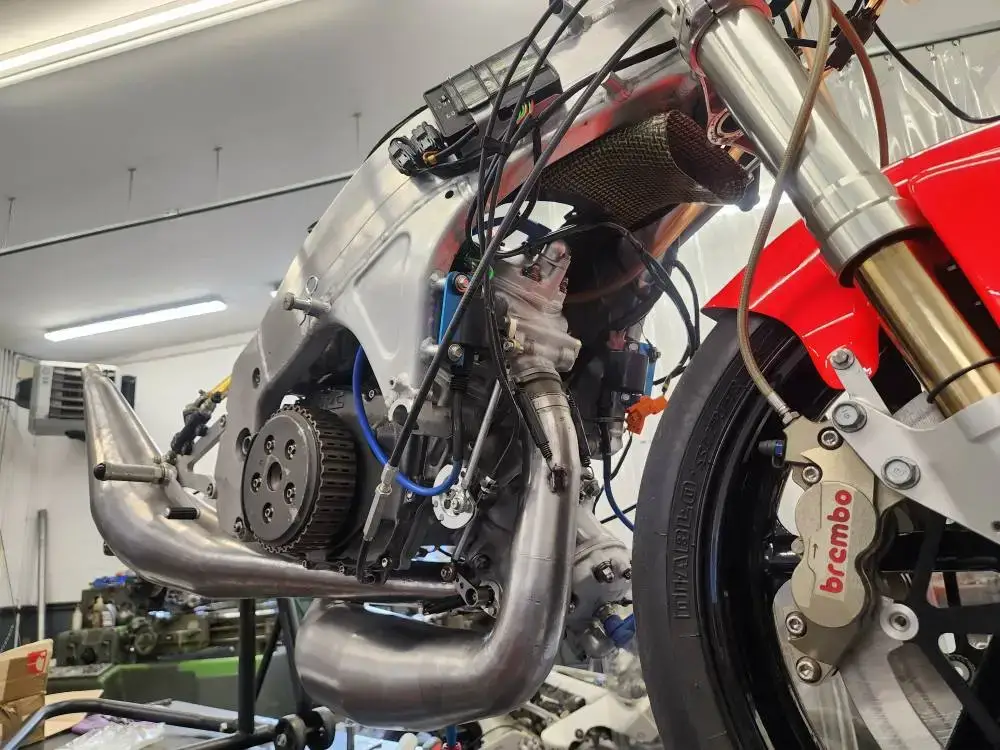
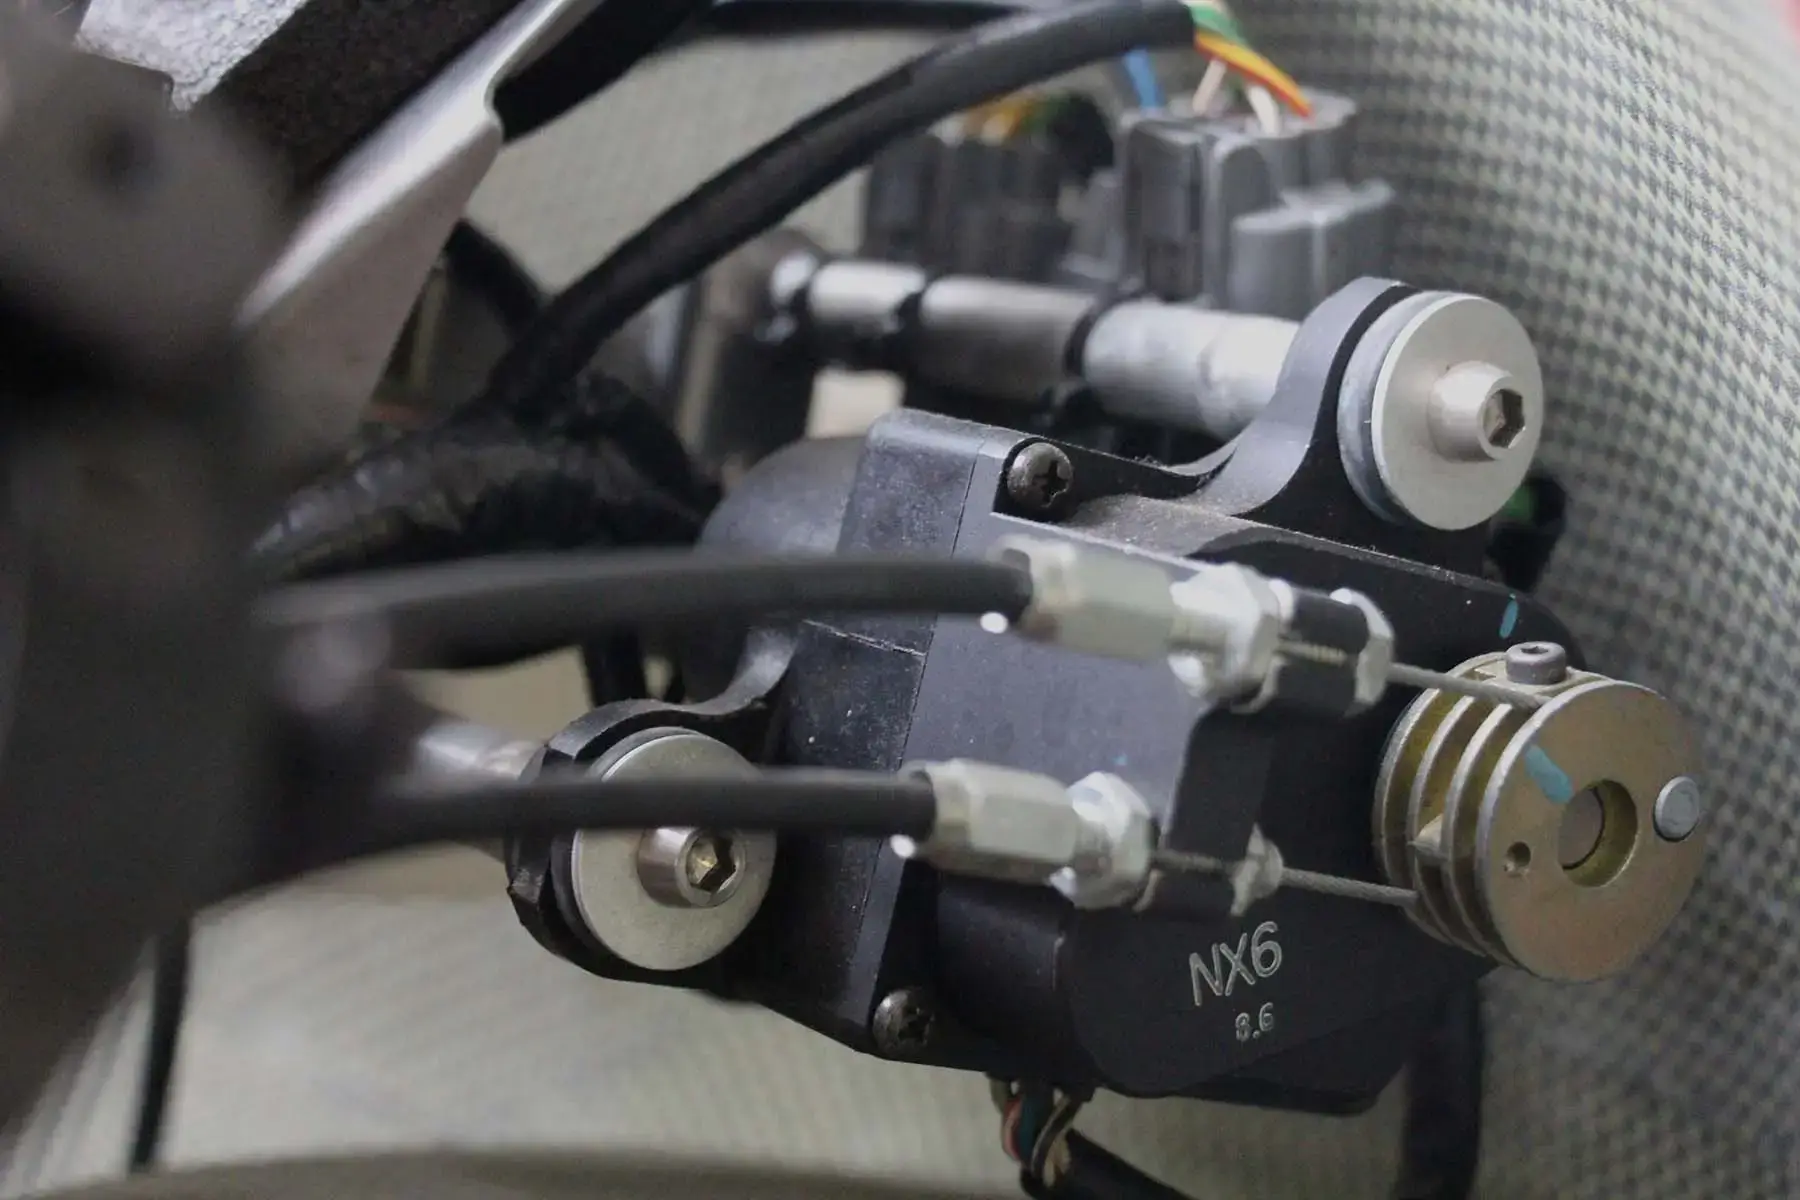
The exhaust RC valves are controlled by just a single pair of cables, just like a regular RS250 and only take a minute to hook up.
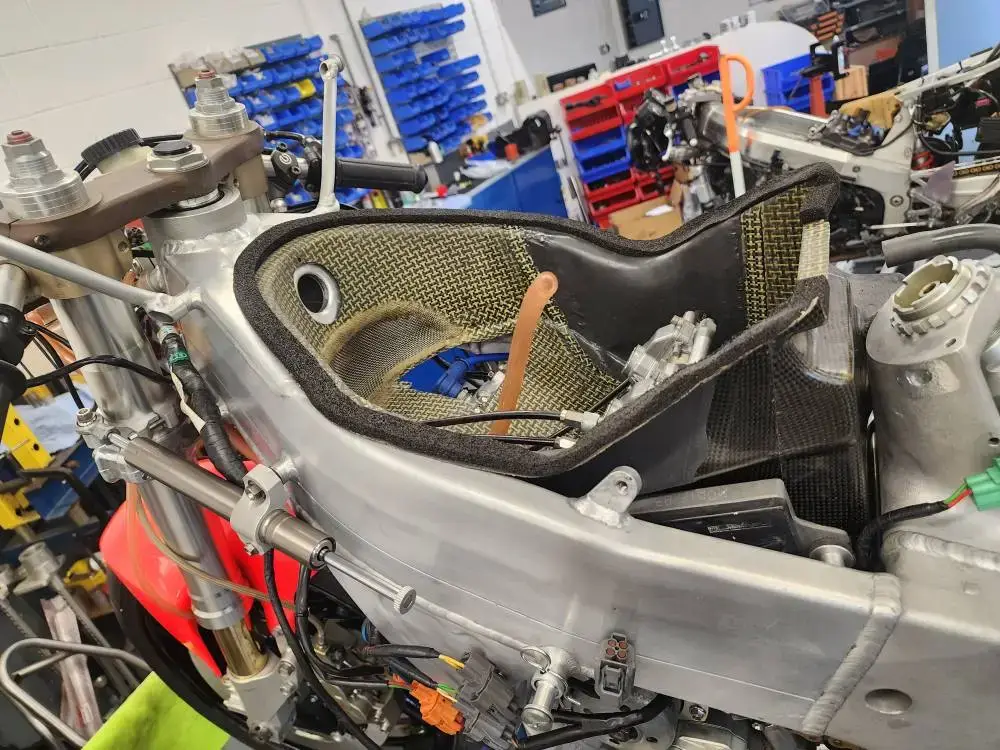
The wire harness is pretty minimal. The bike is not exactly covered in electronic gadgets so there’s not many things to plug in. It’s just a five minute job to route the harness.
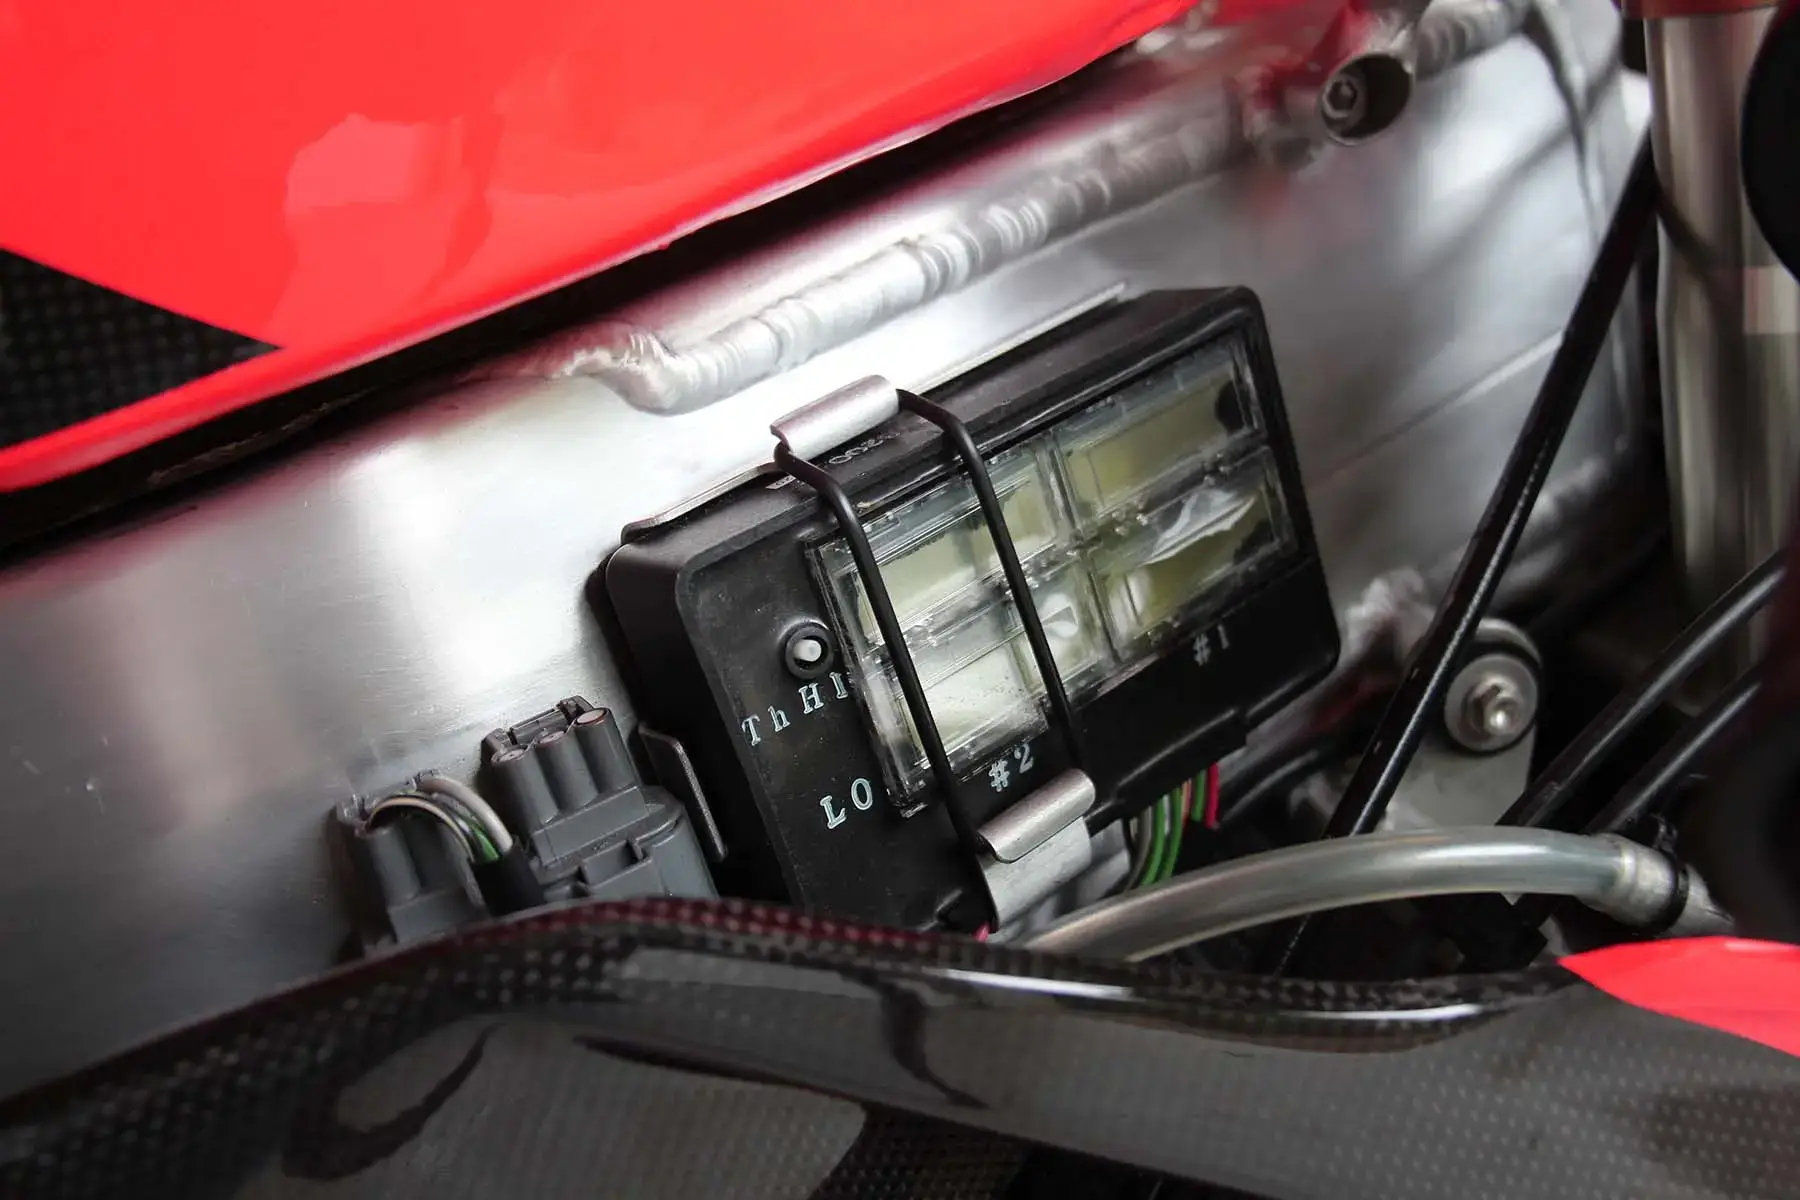
The PGM, det counter and coils were fitted and plugged into the harness. Spark plugs too of course, with the associated det counter rings.
The Radiator went on without hassle, but it did need a bit of cleaning.
The airbox is a lovely bit of kit. It’s hinged with rubber so fits easily. Then the carbs went on and cables and TPS hooked up.
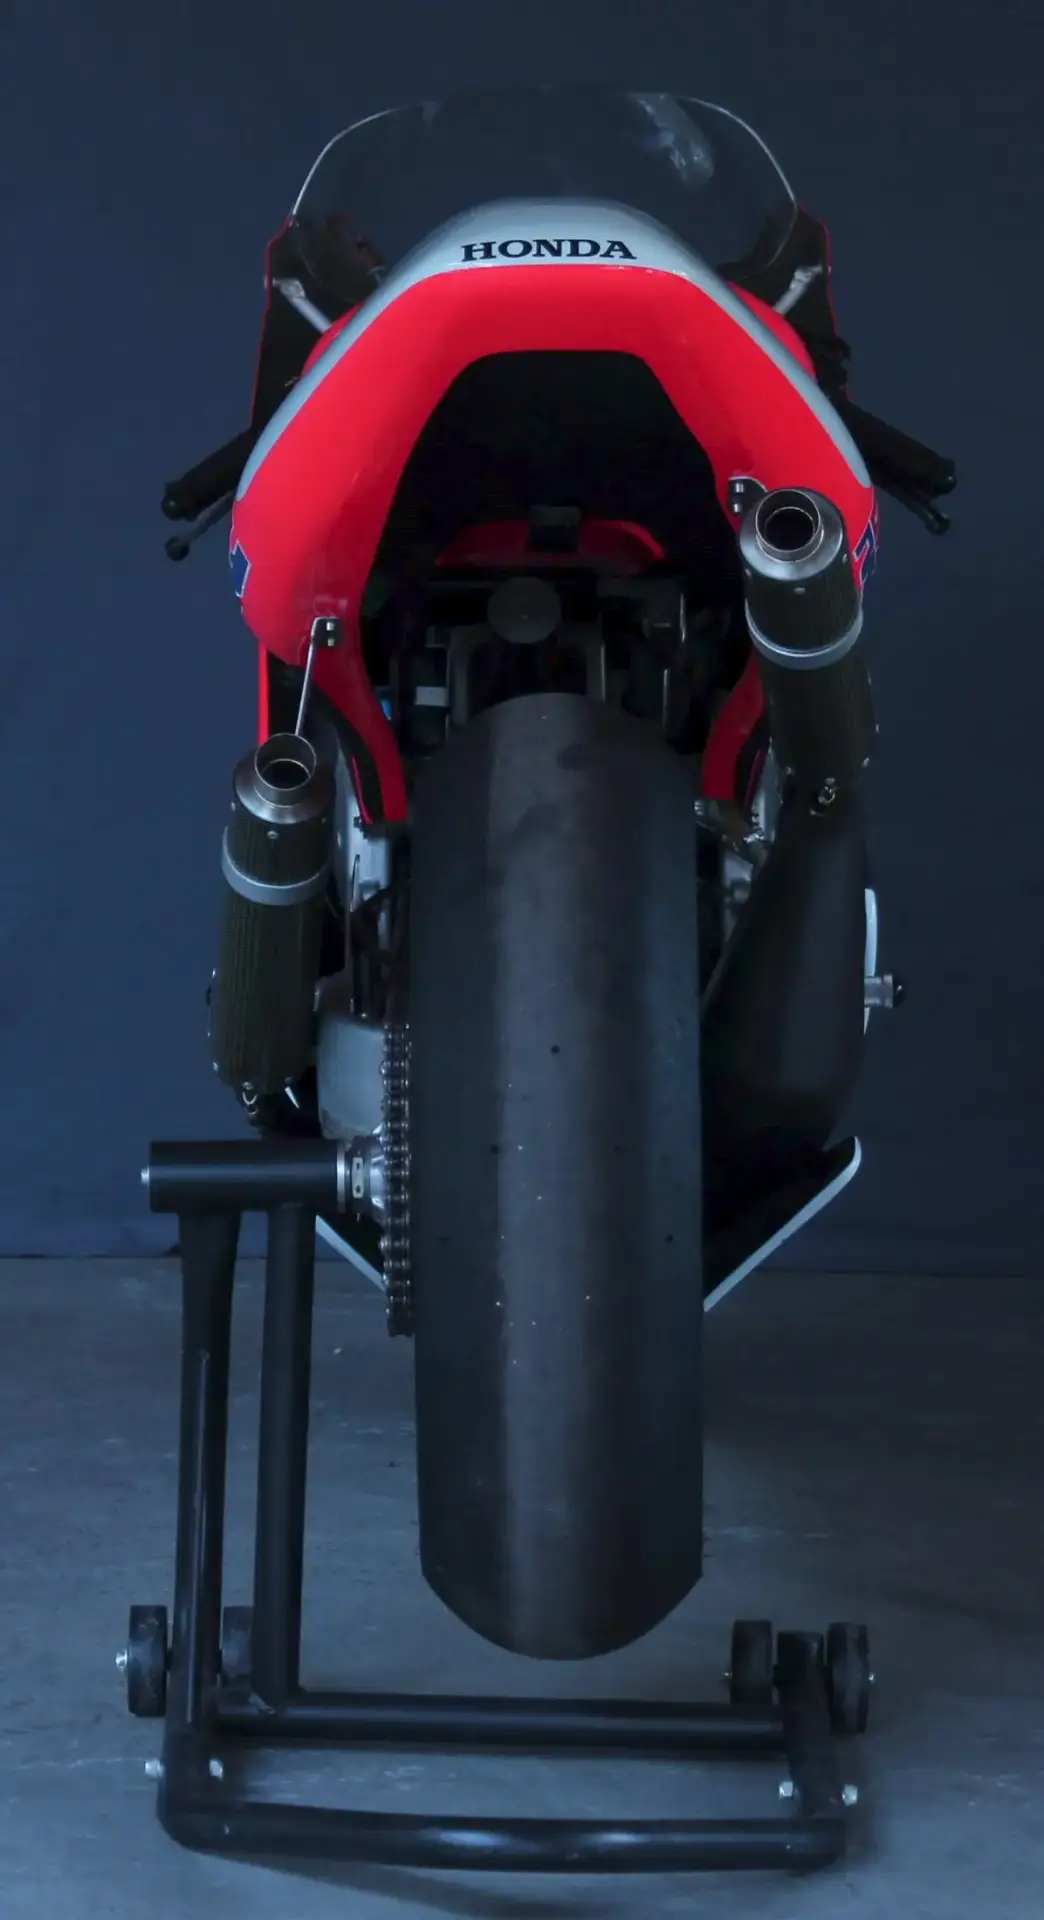
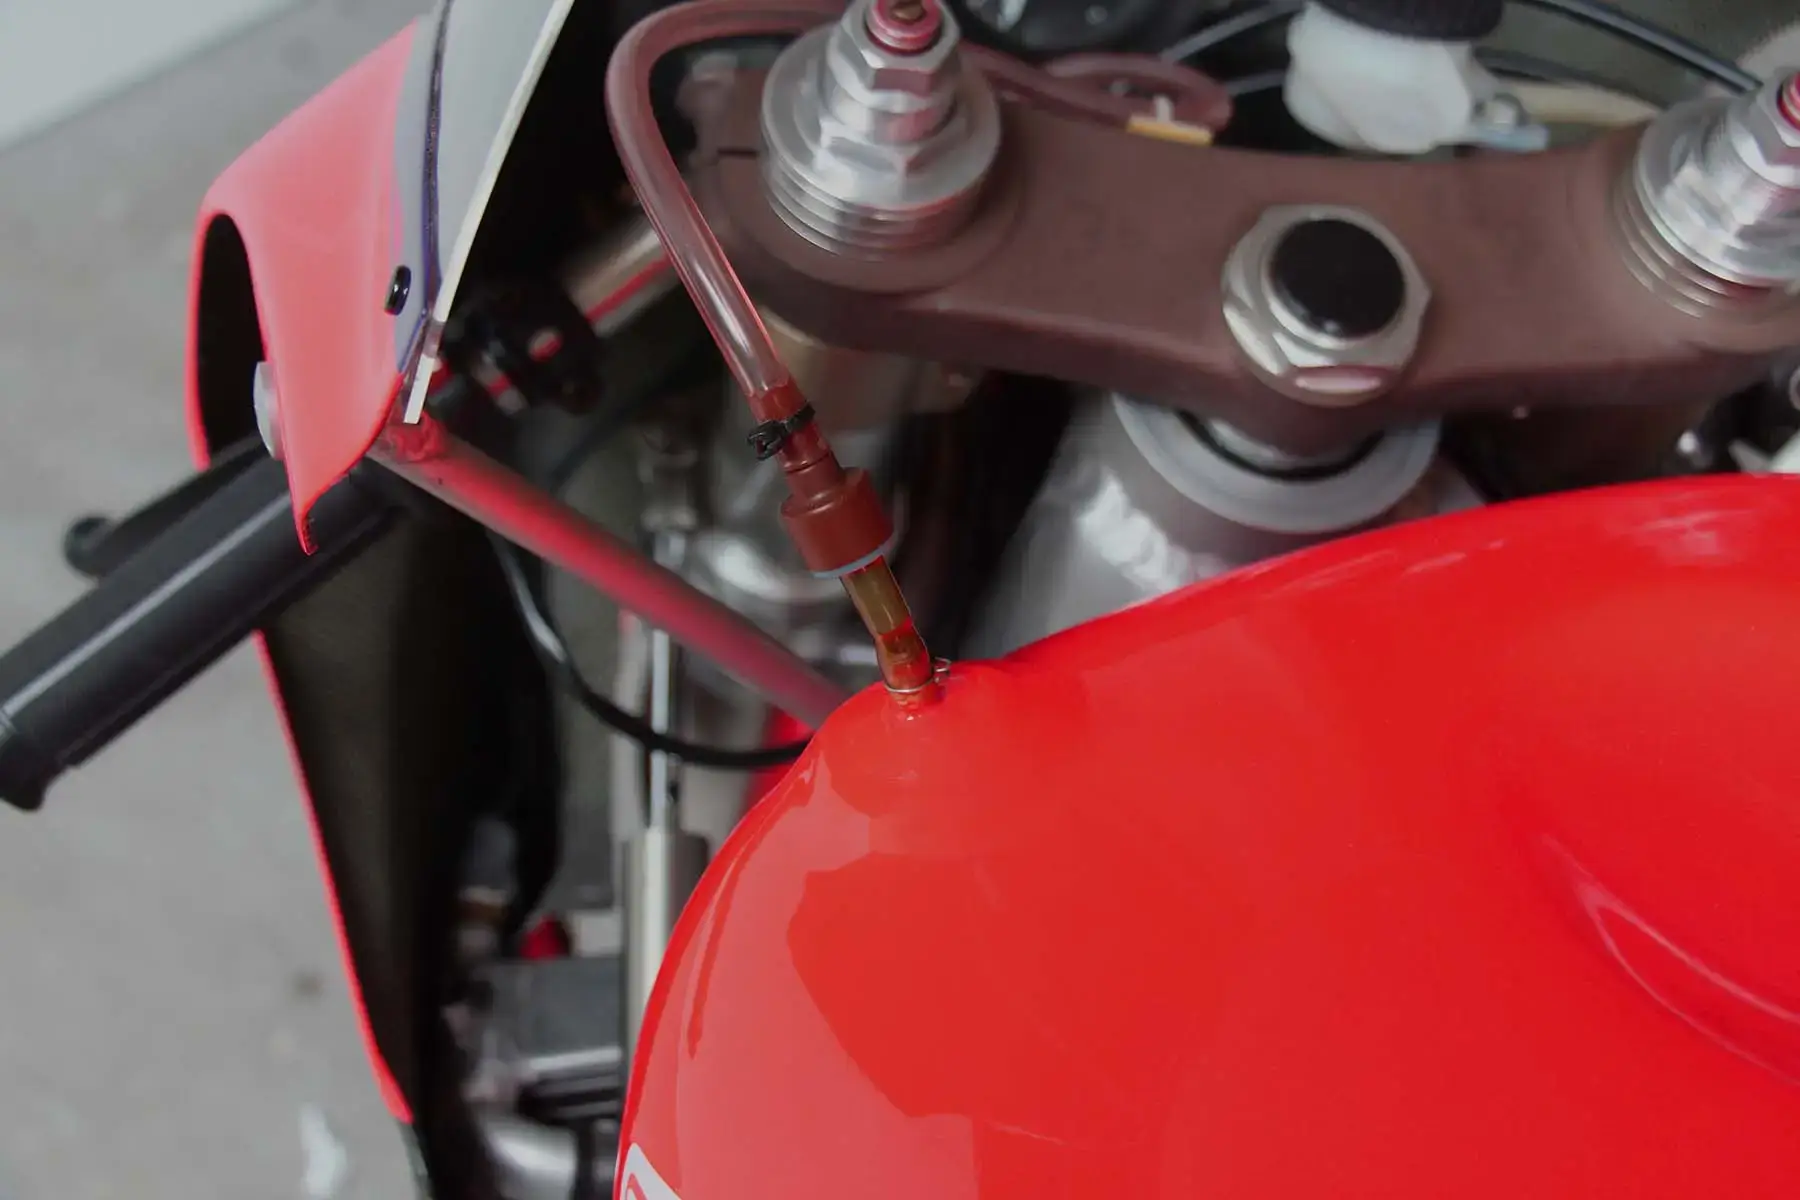
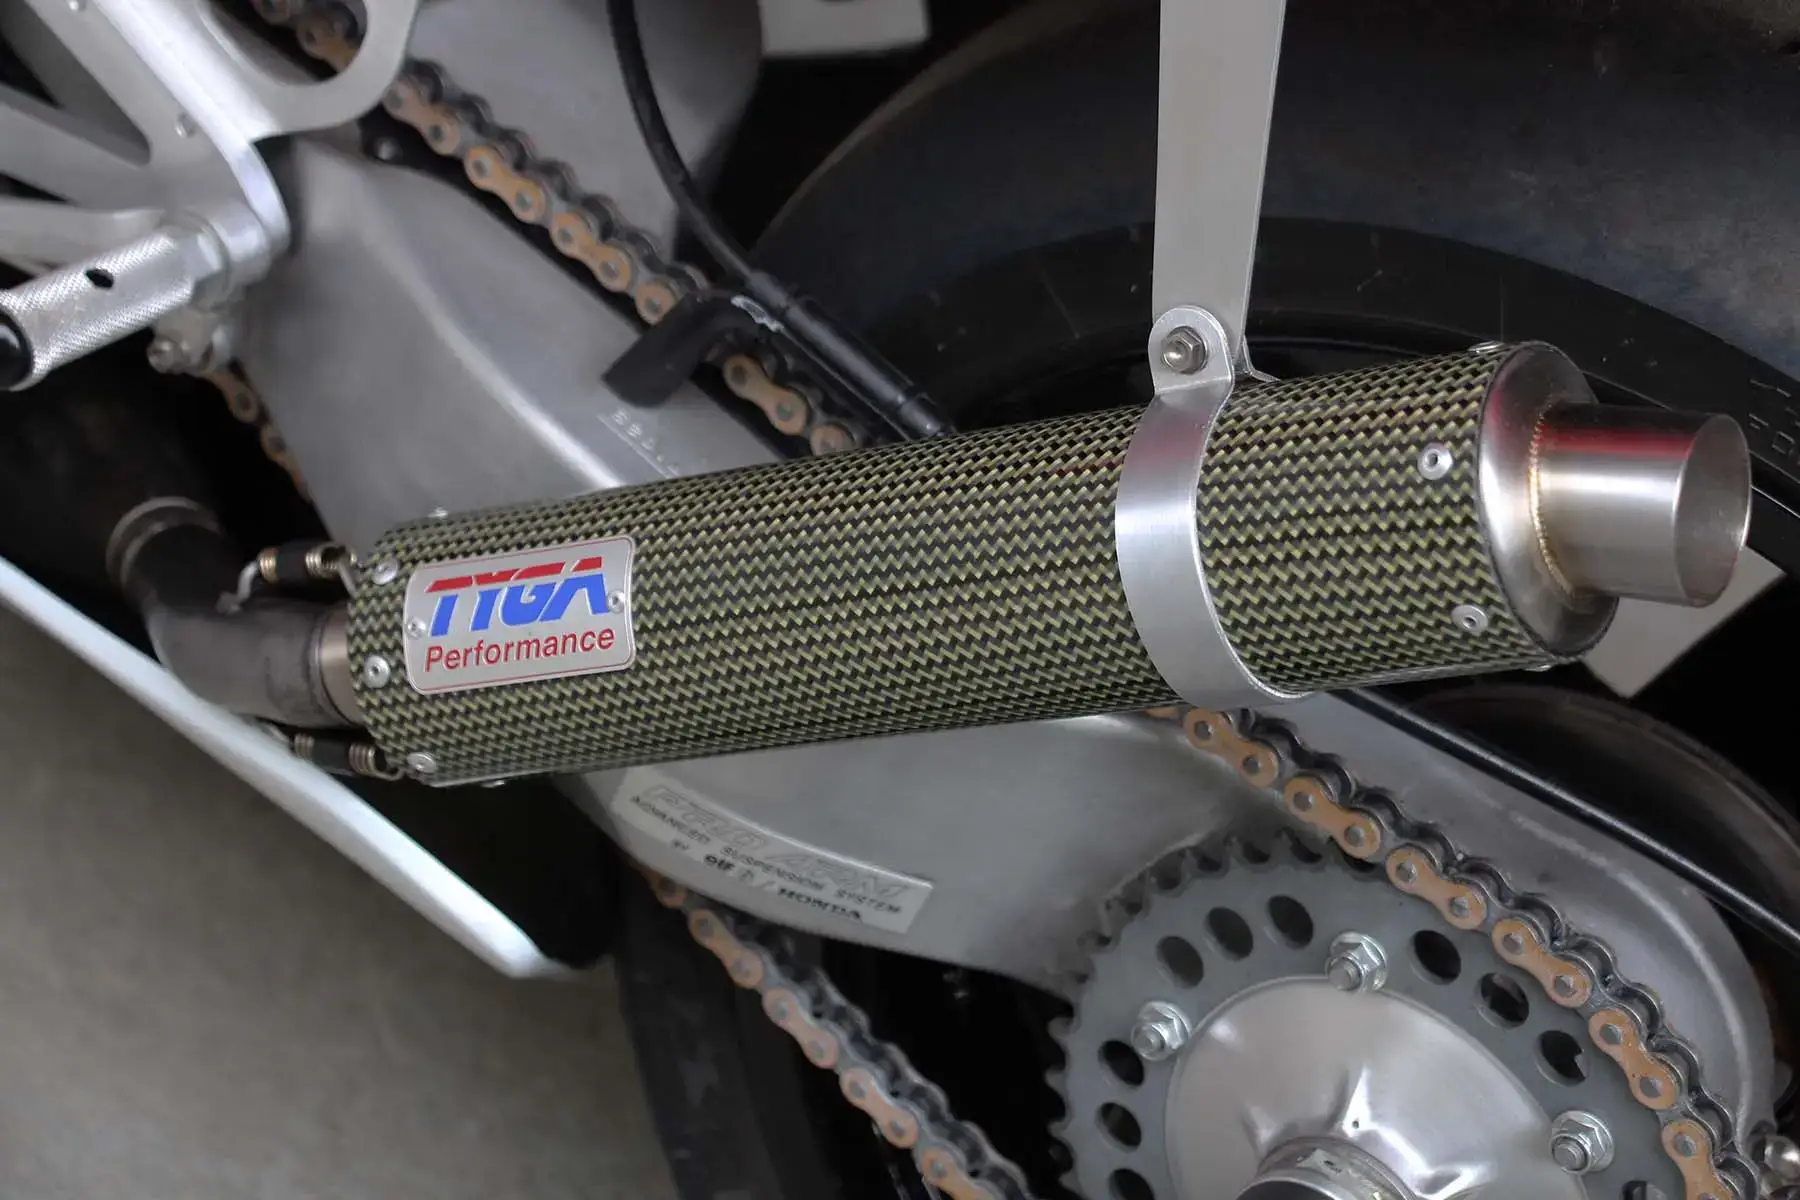
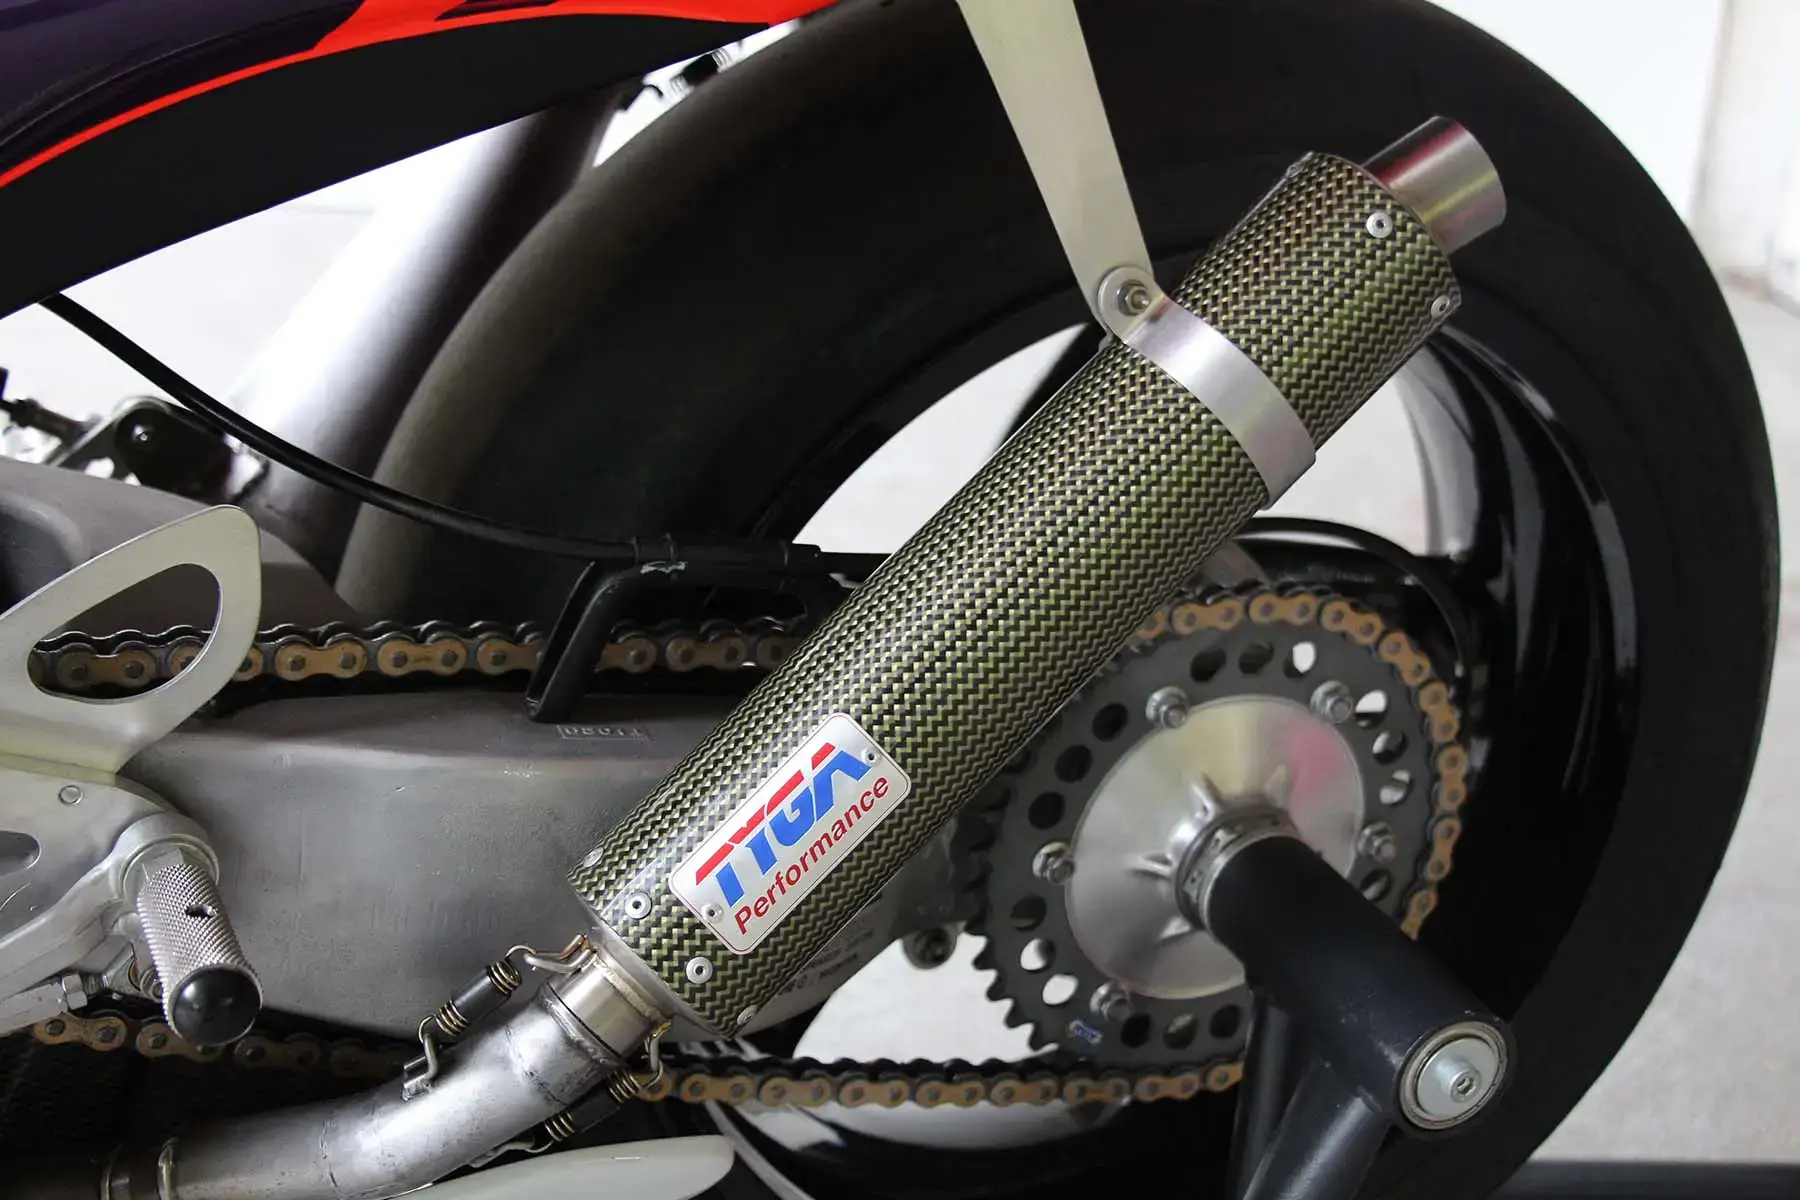
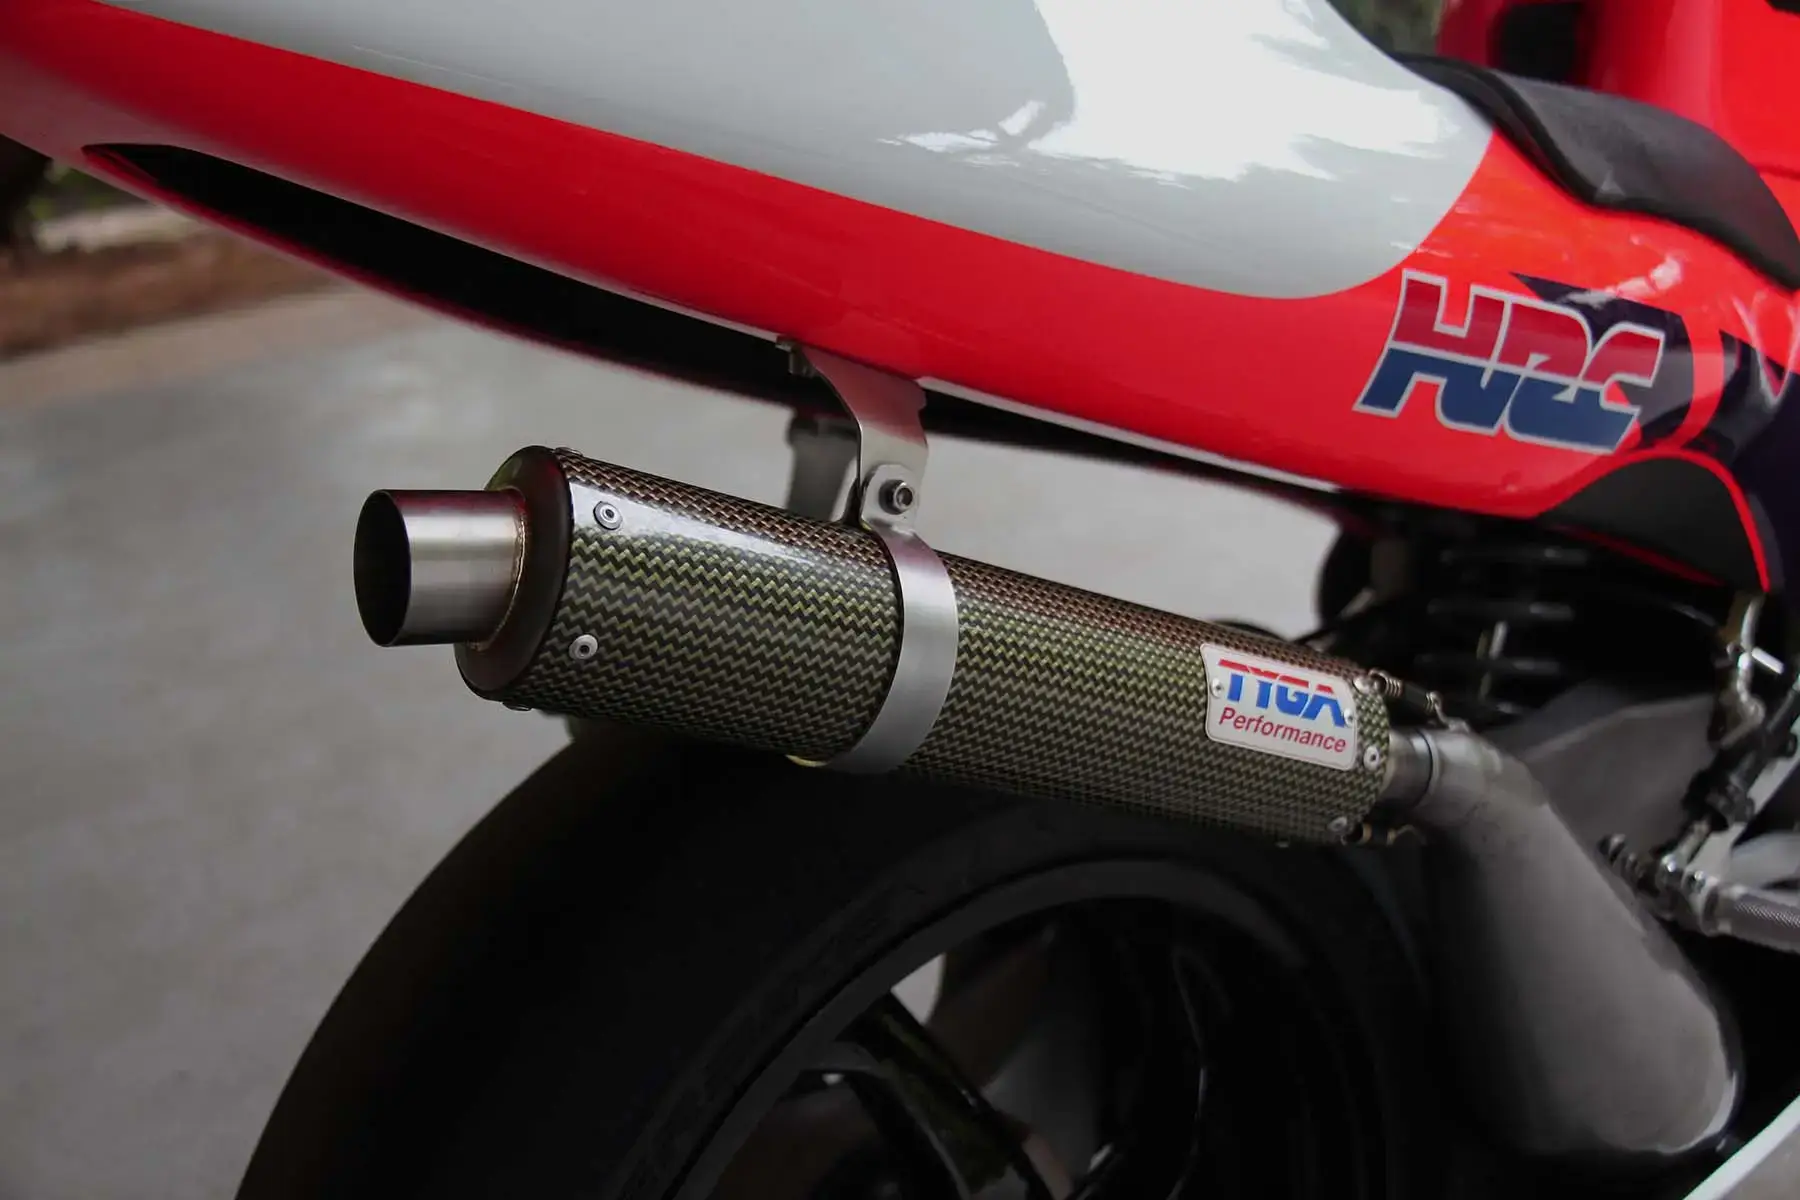
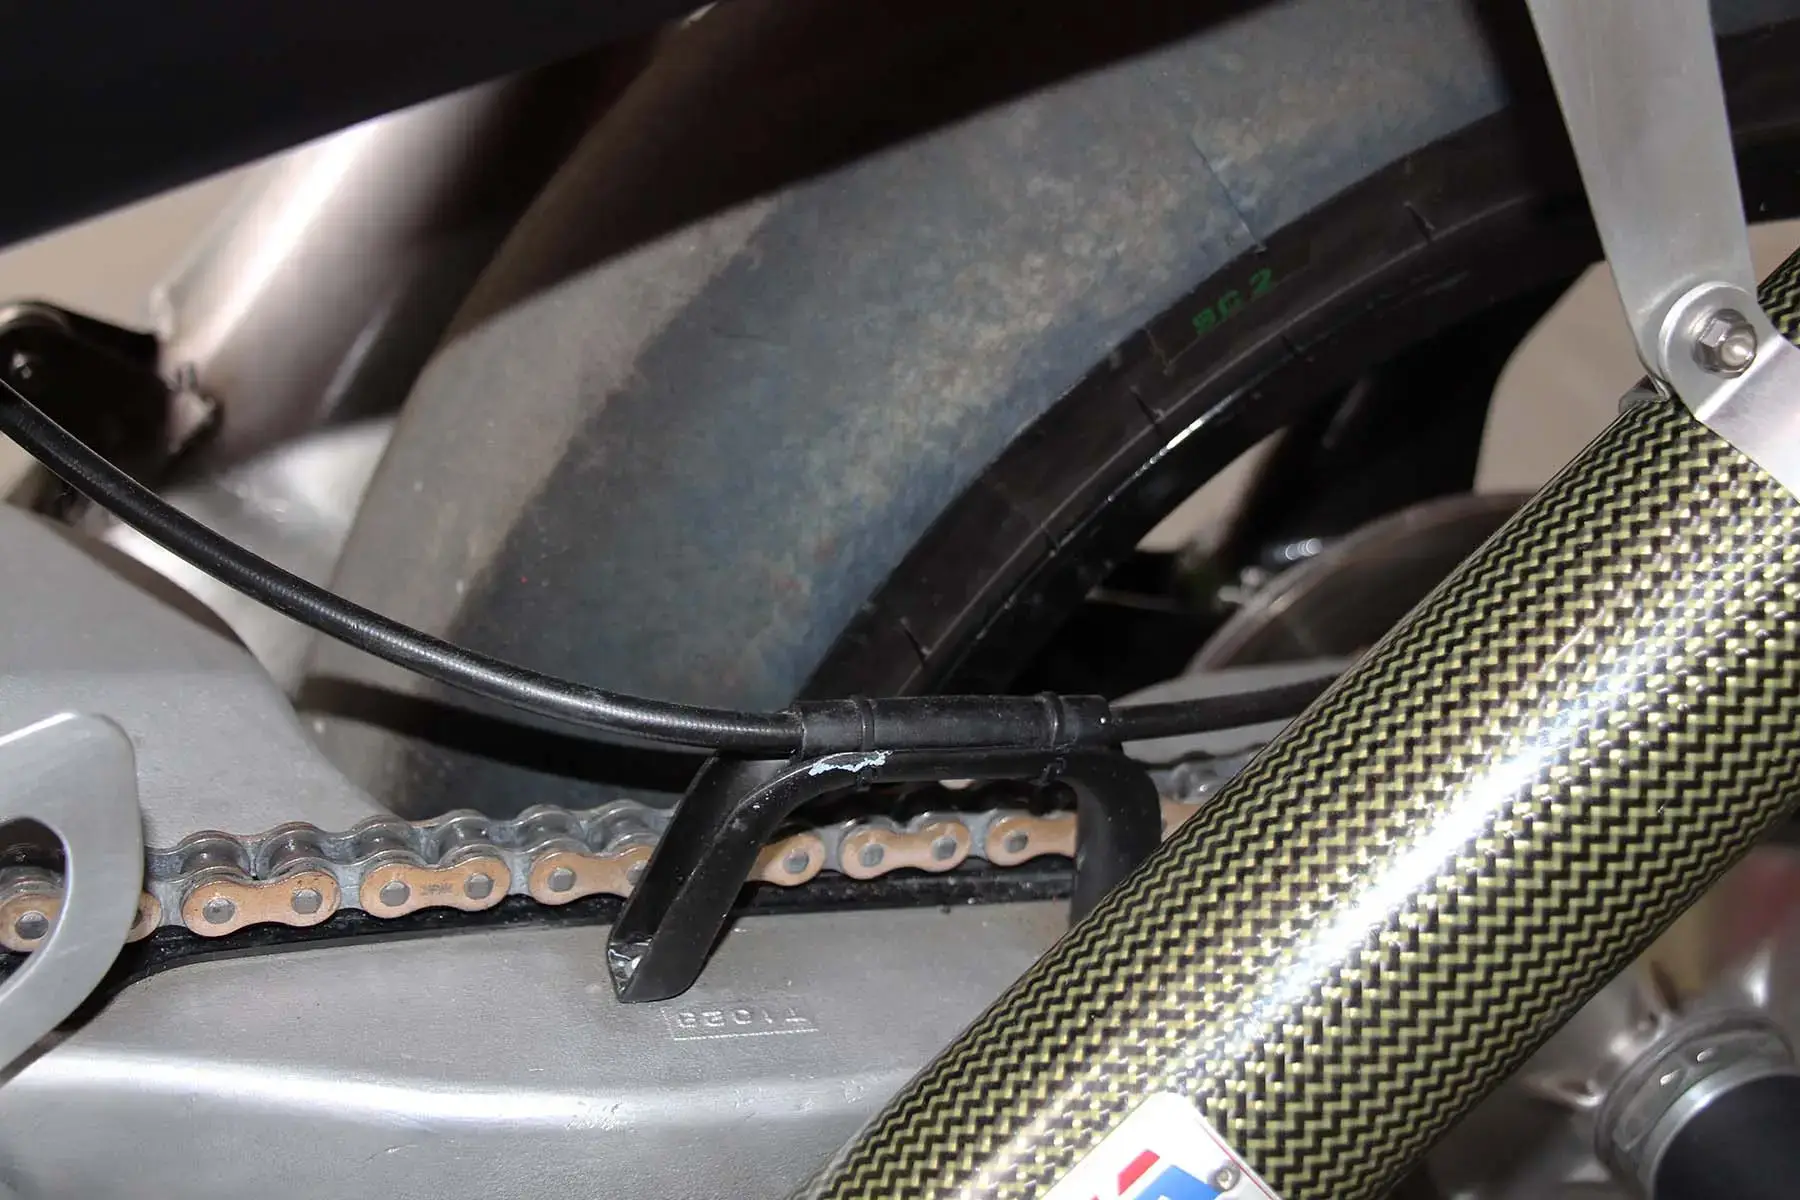
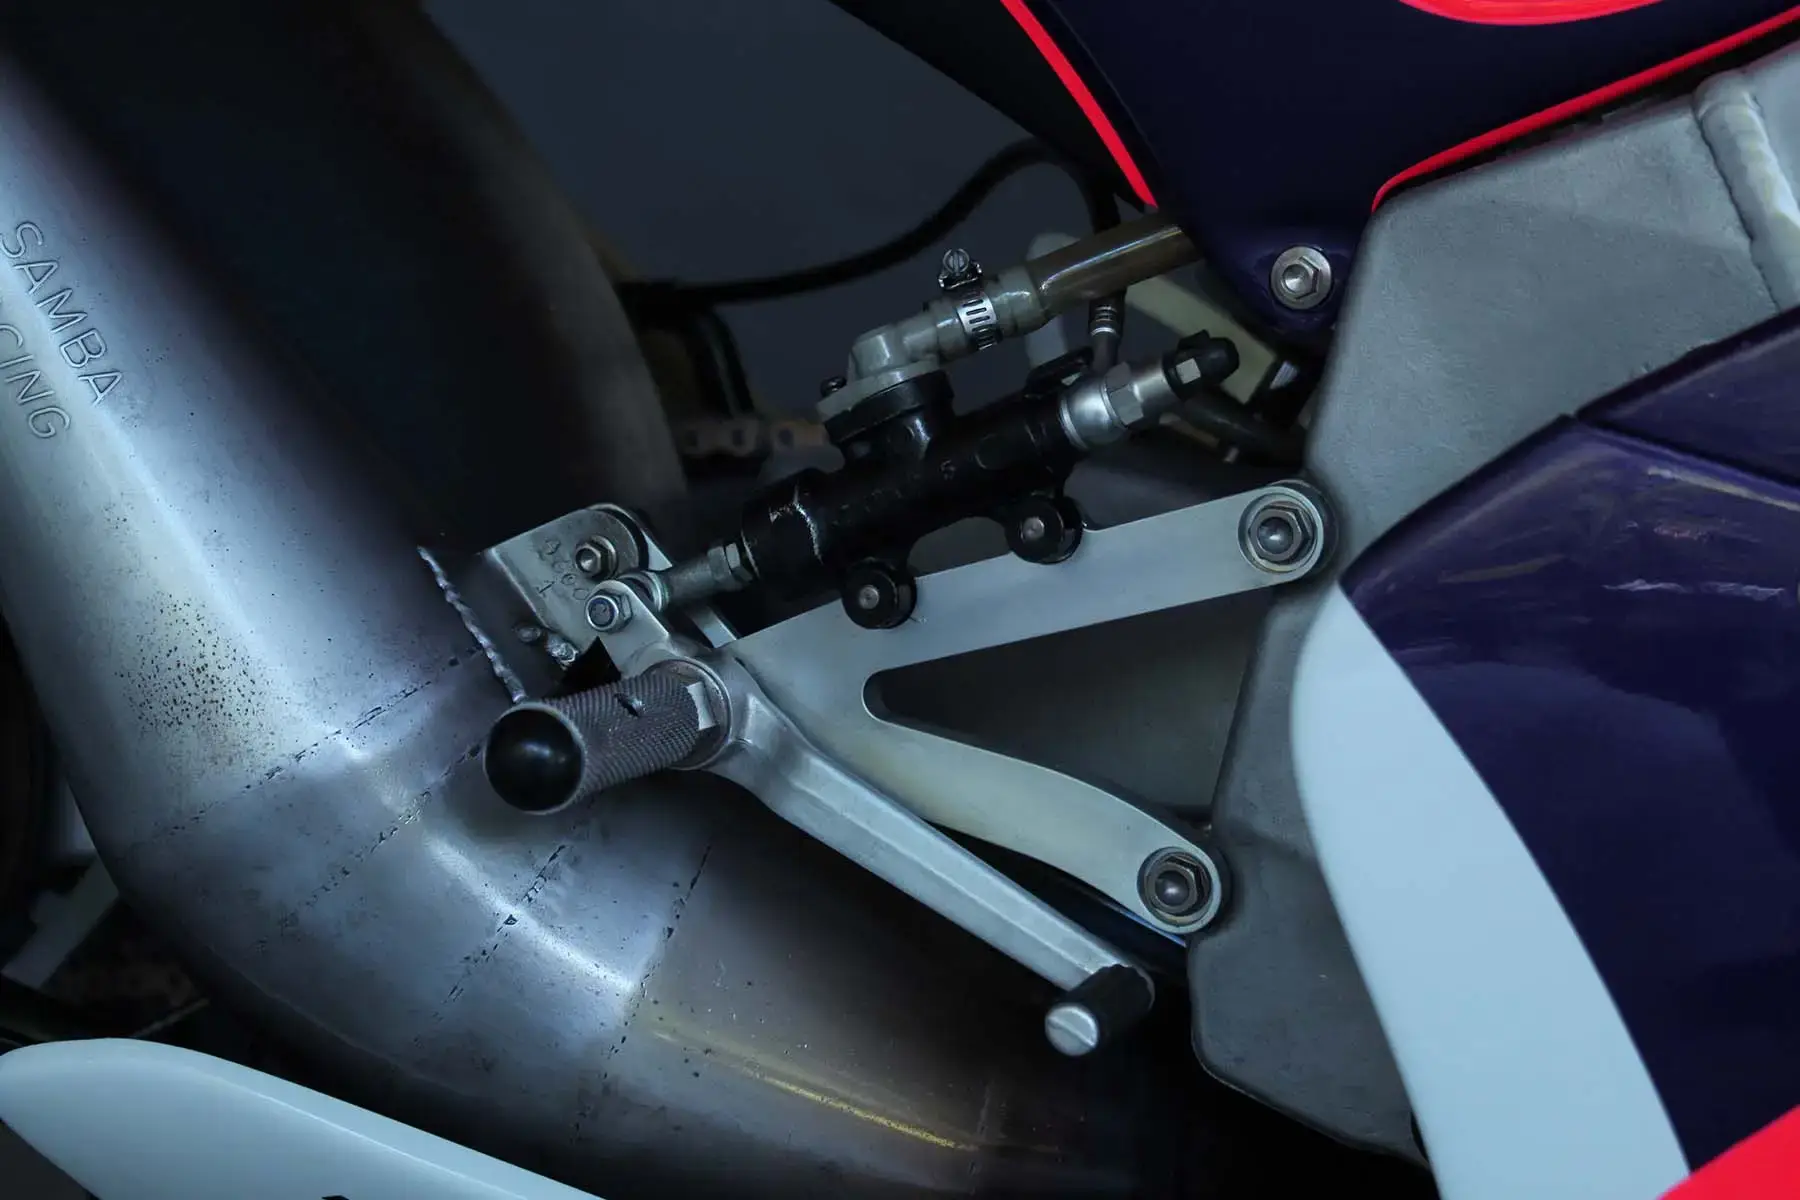
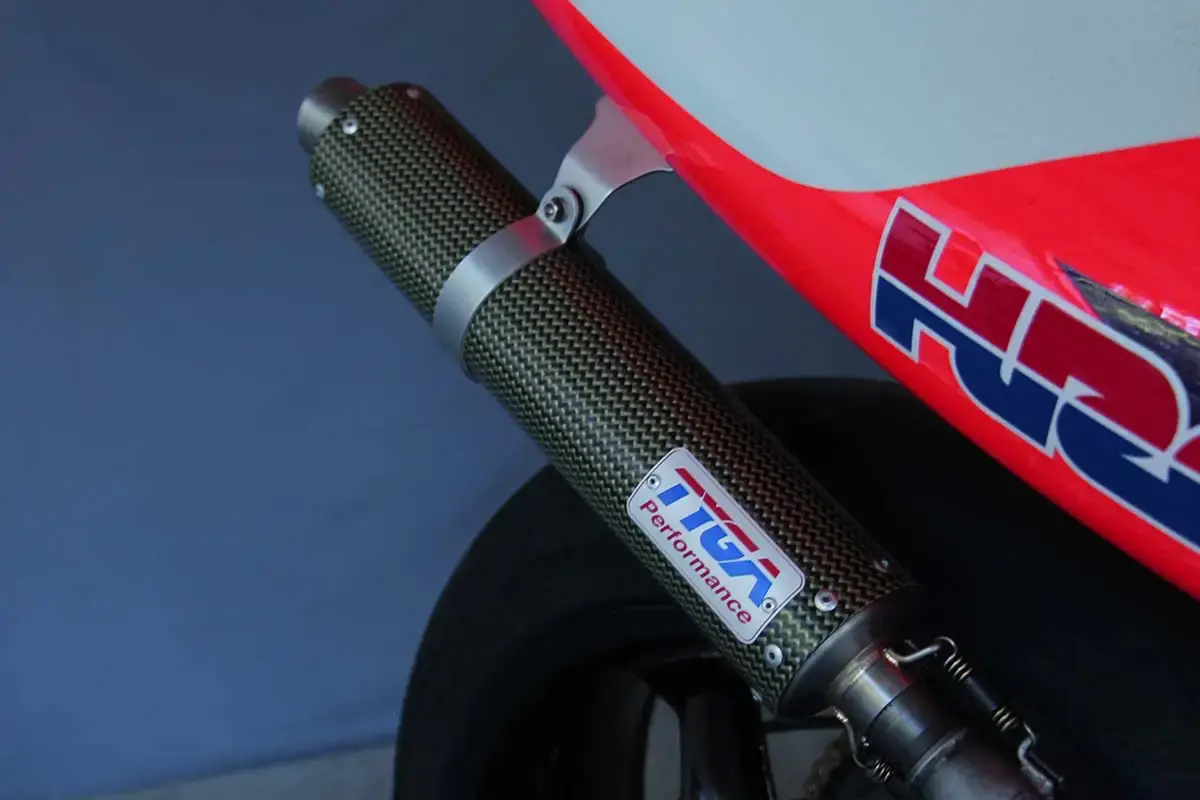
Unfortunately, we don’t make pipes for the NX6, It would have been nice to fit some blemish free stainless chambers, but after a good Scotchbrite session the (now) rust free Samba pipes were fitted and topped off with a pair of one off TYGA NX6 silencers.
I then filled the fluids, bled the brakes, and lock wired everything.
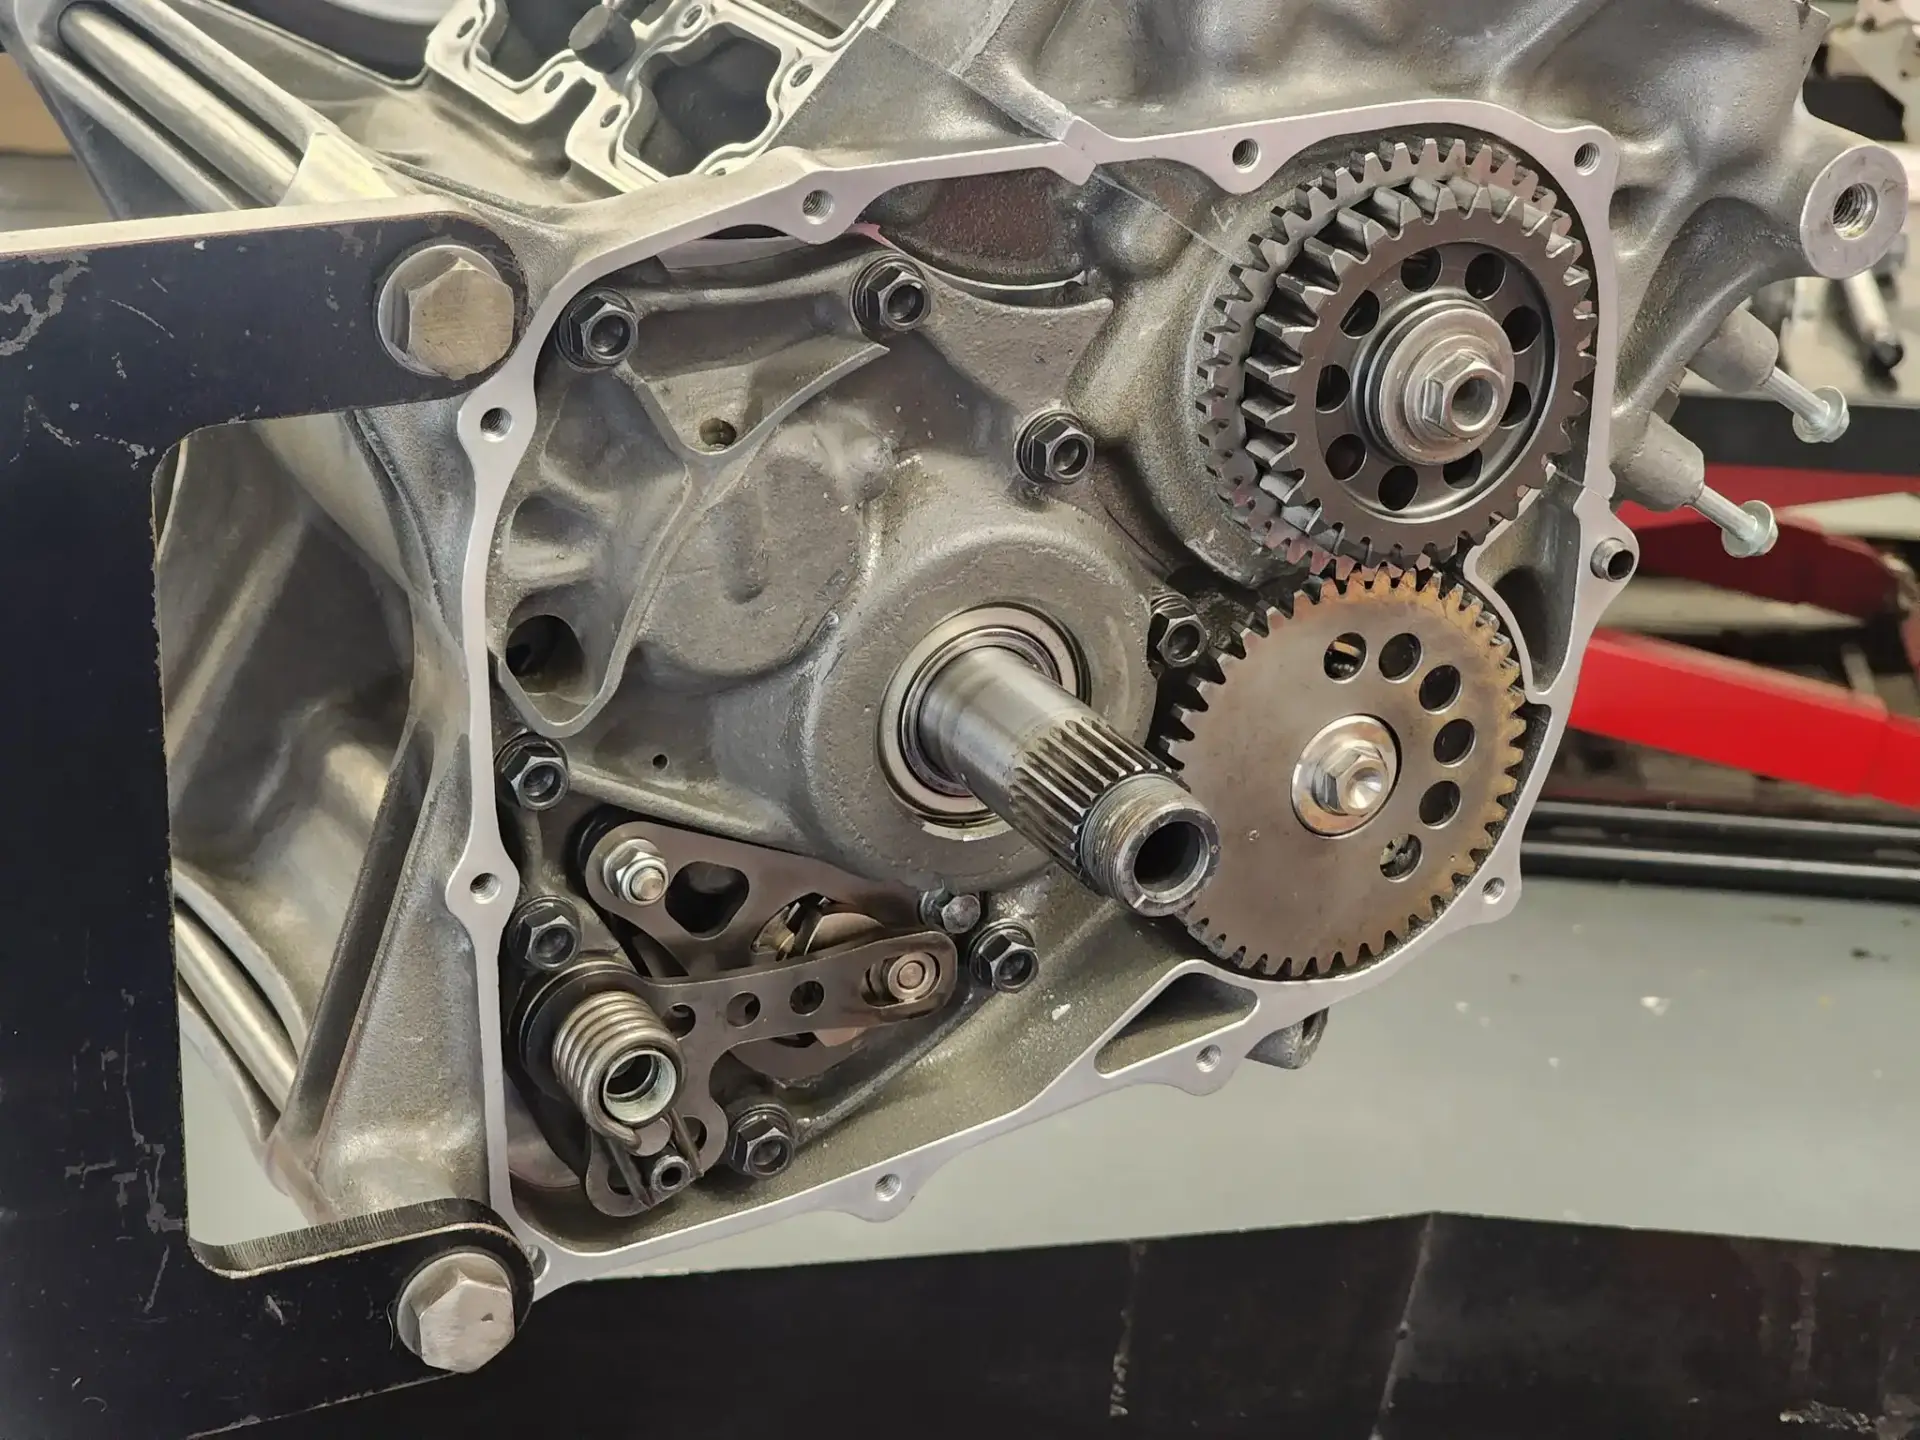
The bike was now ready to start. The only problem was that in true UK tradition, the heavens opened.
Oh well, I’m a Brit, so used to getting wet.
I fitted the seat unit so that I had something to sit on and the fuel tank was filled with a nice smelly mix of avgas and ELF HTX976 at 25:1
It took a couple of runs up and down the road in the pouring rain to get it to fire, but even then it wasn’t keen and died again after a few seconds. Maybe I’d been a little too liberal with the 2T oil during the top end build? Unlikely, but I changed the spark plugs and went out into the rain for another go.
It fired up again and ran for about 30 seconds this time before stopping. Hmmmm.
I opened up the carbs to check that the float valves weren’t sticking. Gave it another clean and reassembled.
Third time lucky? Oh yes!!
The NSR500V fired into life with ease, and didn’t stop. A little warm up and few blips of the throttle confirmed that the engine sounded crisp and sweet.
Time to get out of the rain, dry the bike off and fit the rest of the bodywork. Of course, the rain stopped as soon as I’d verified that all was OK.
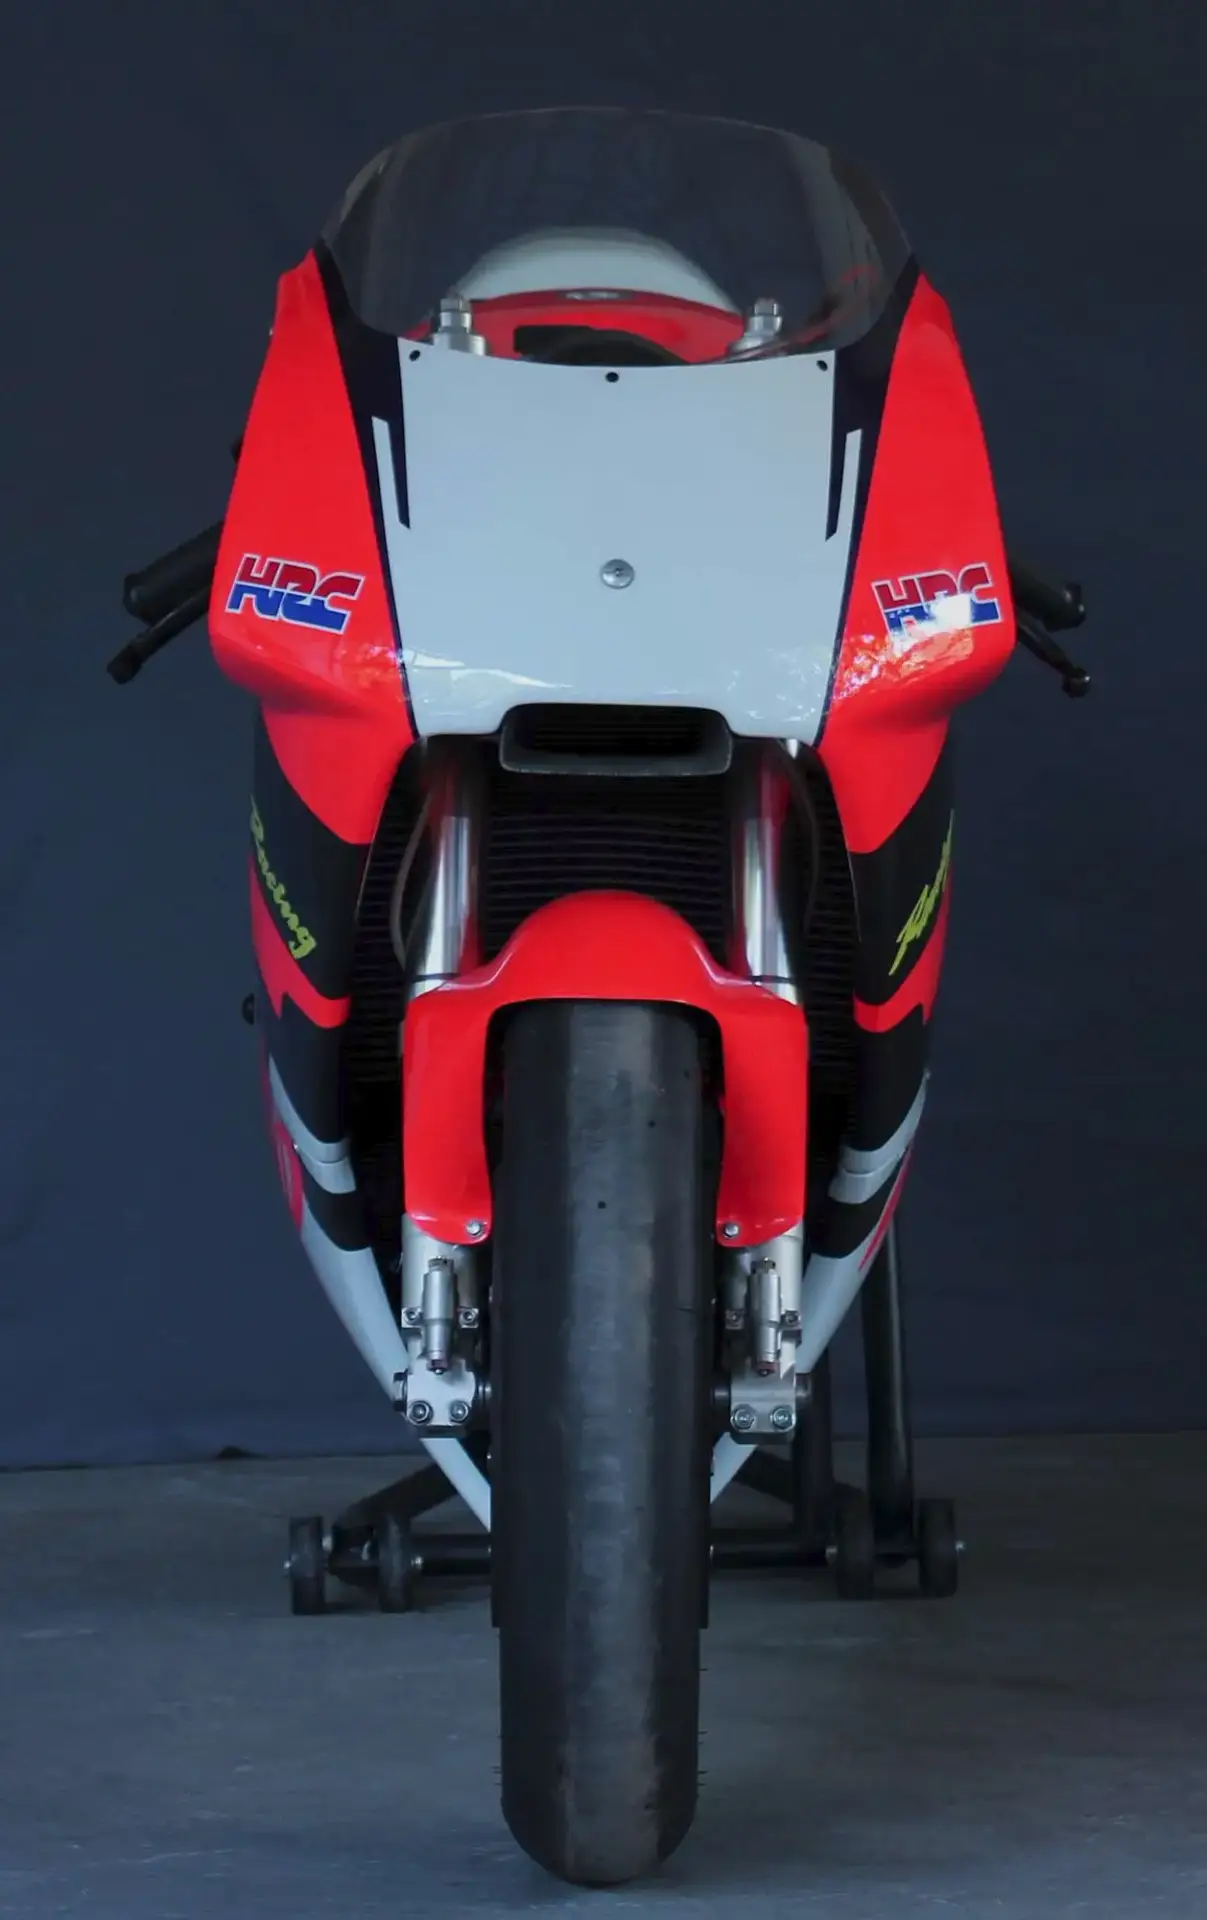
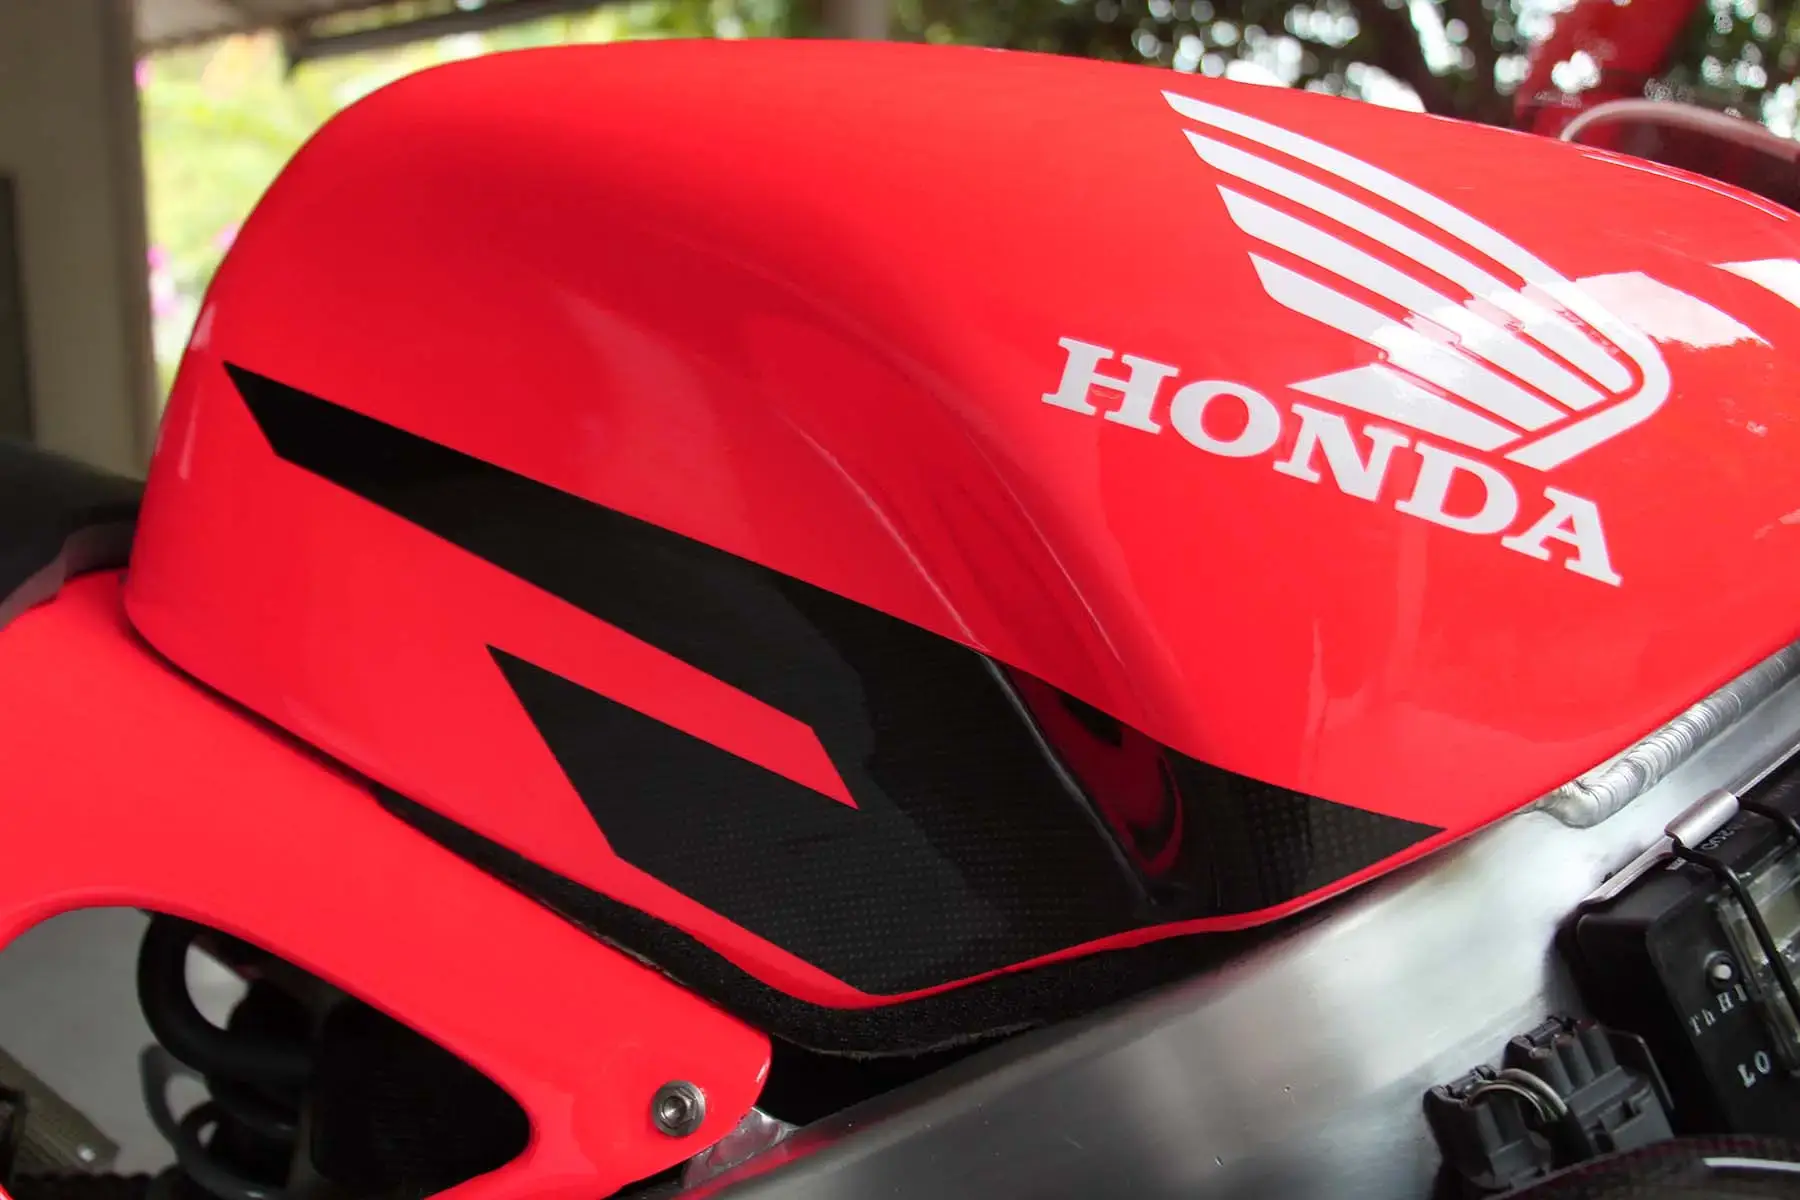
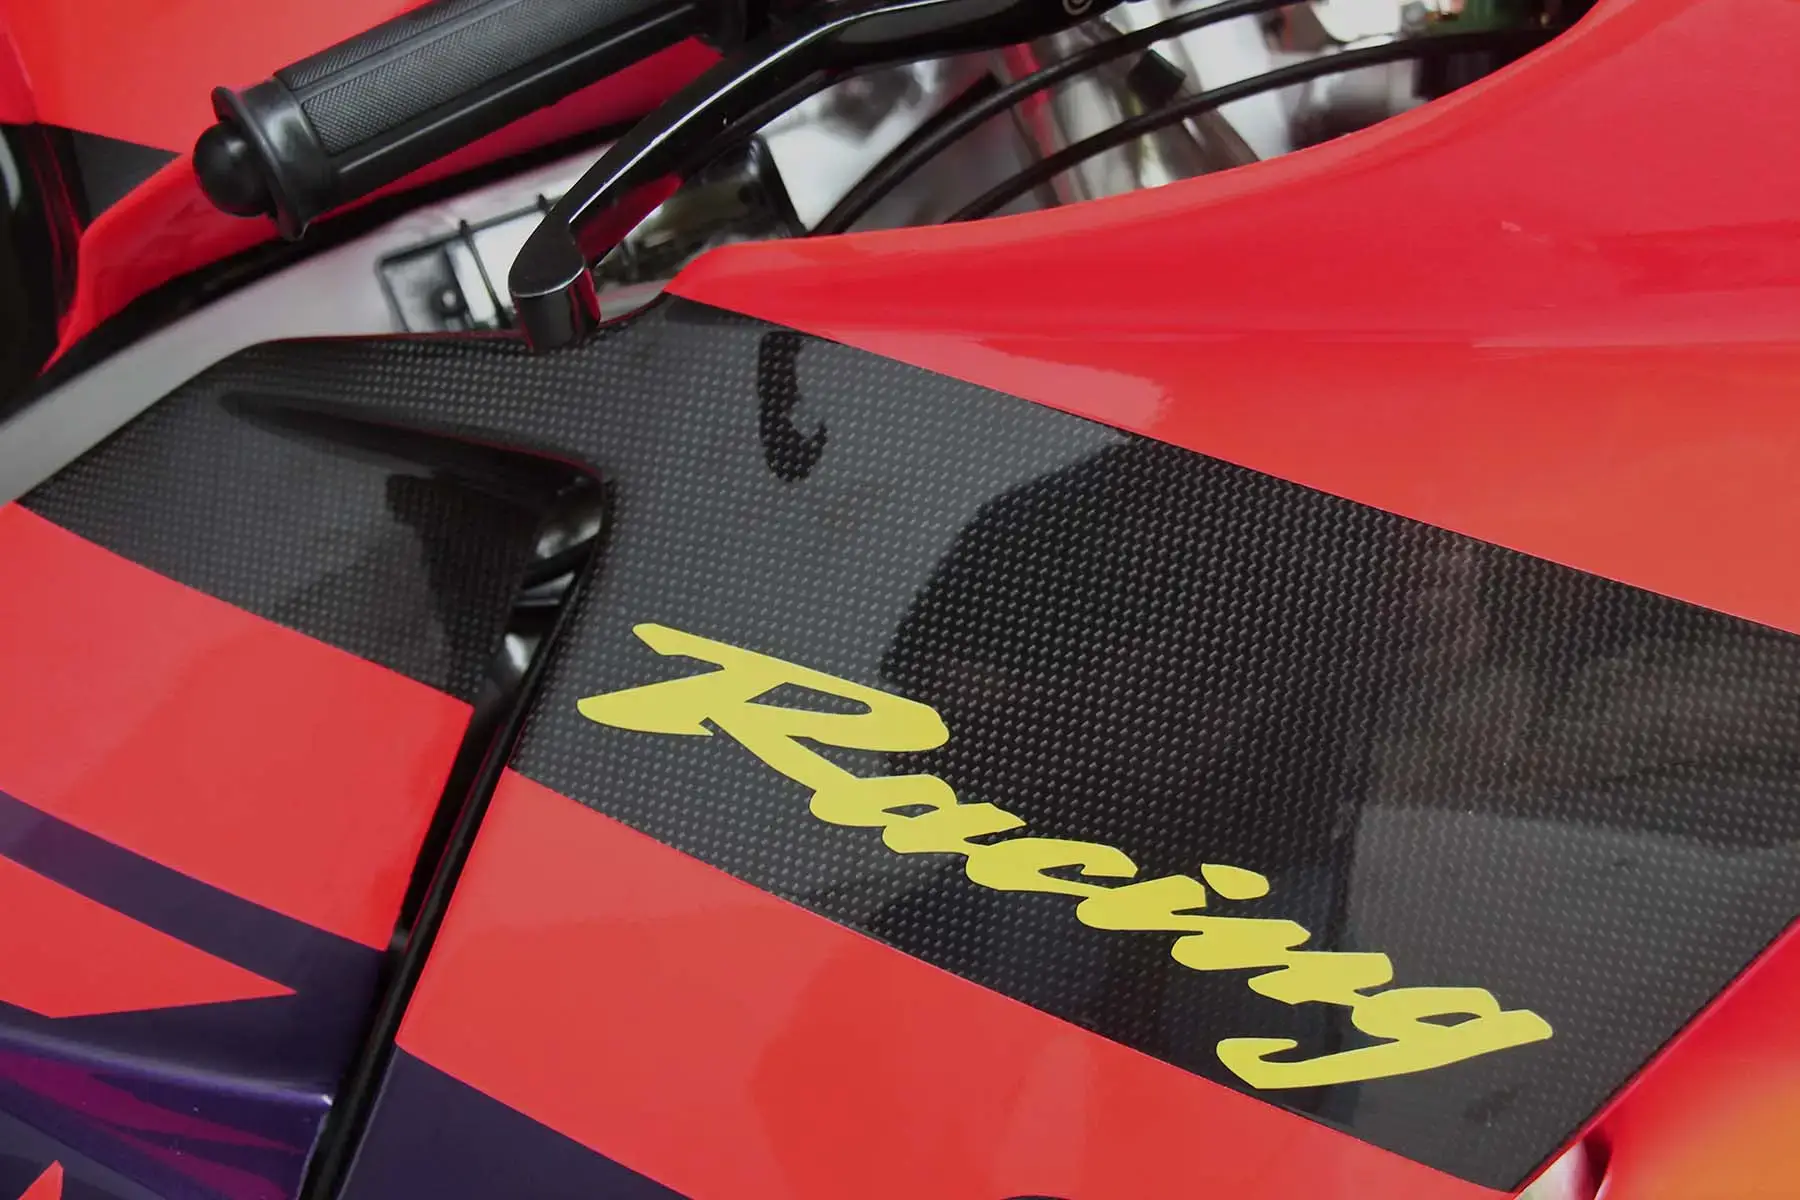
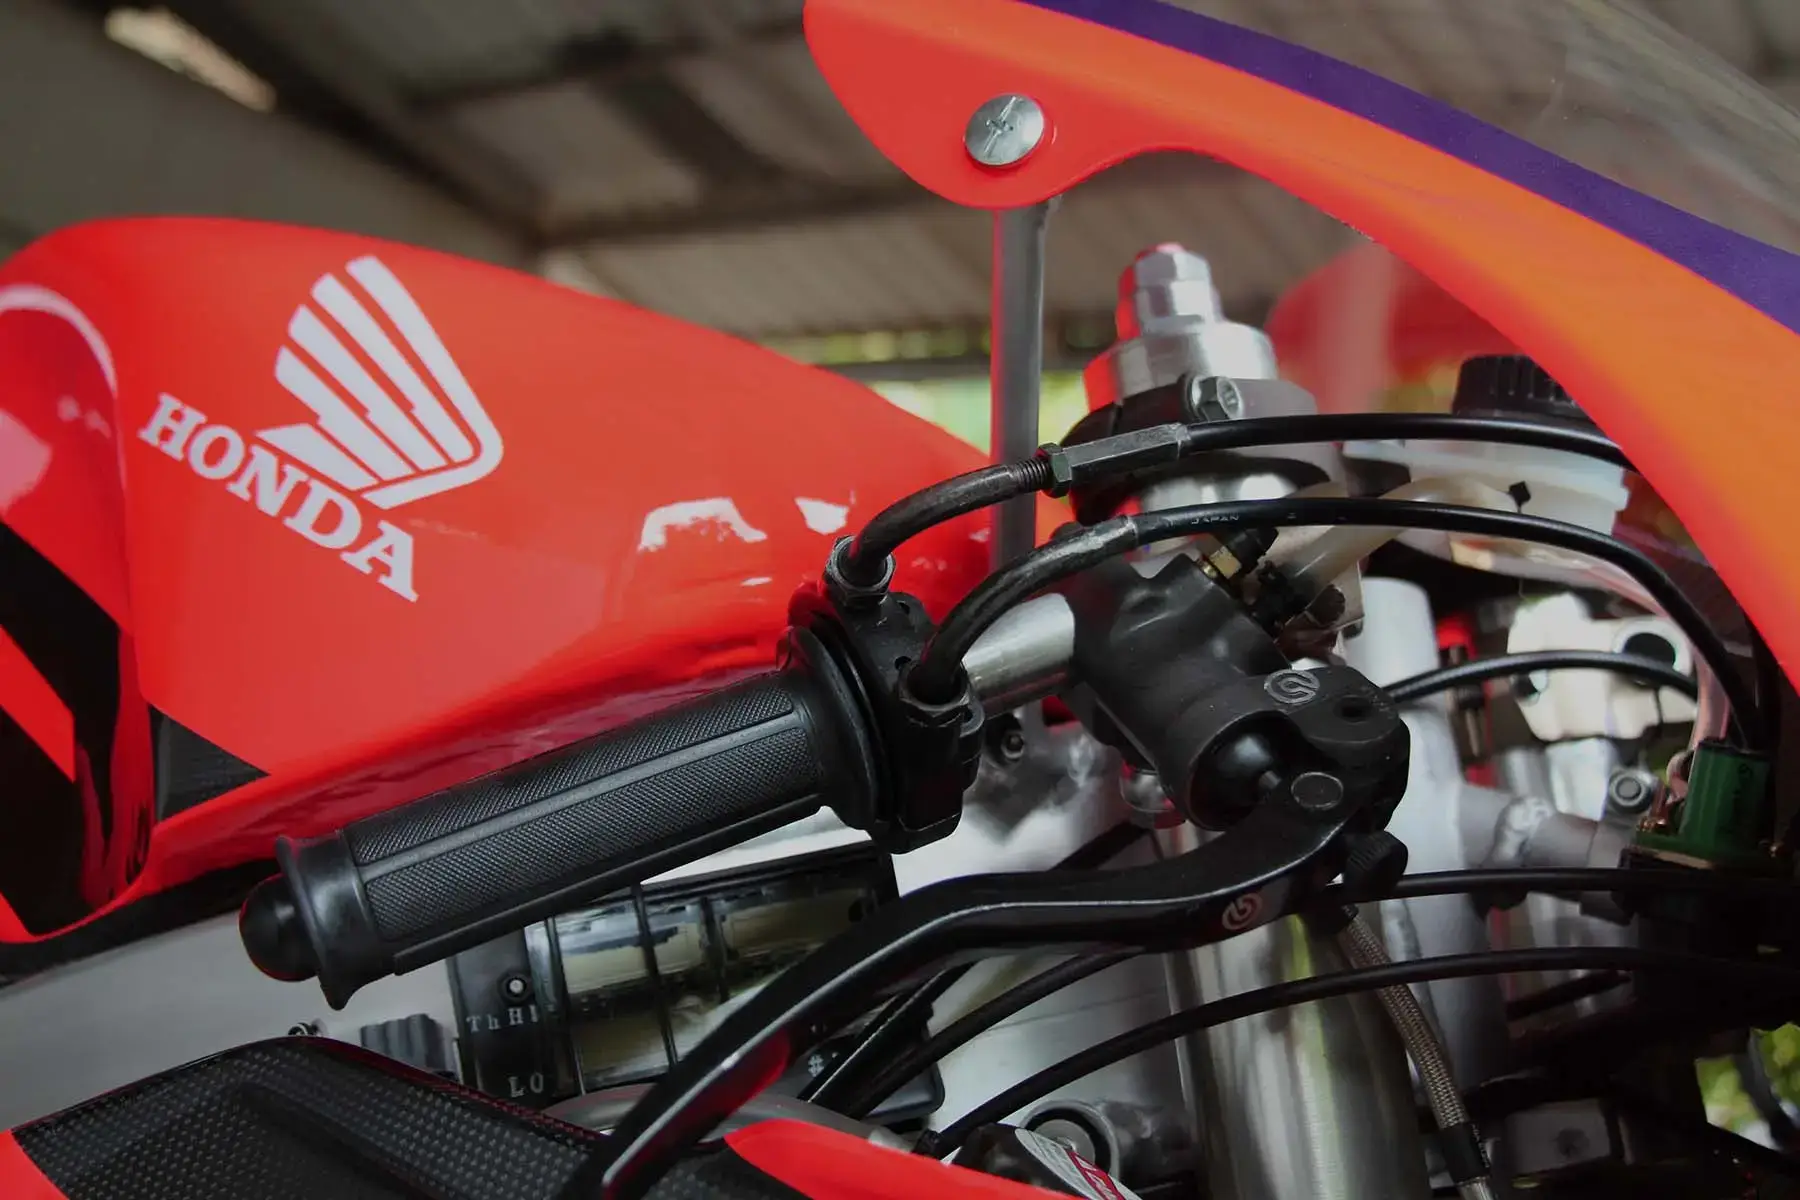
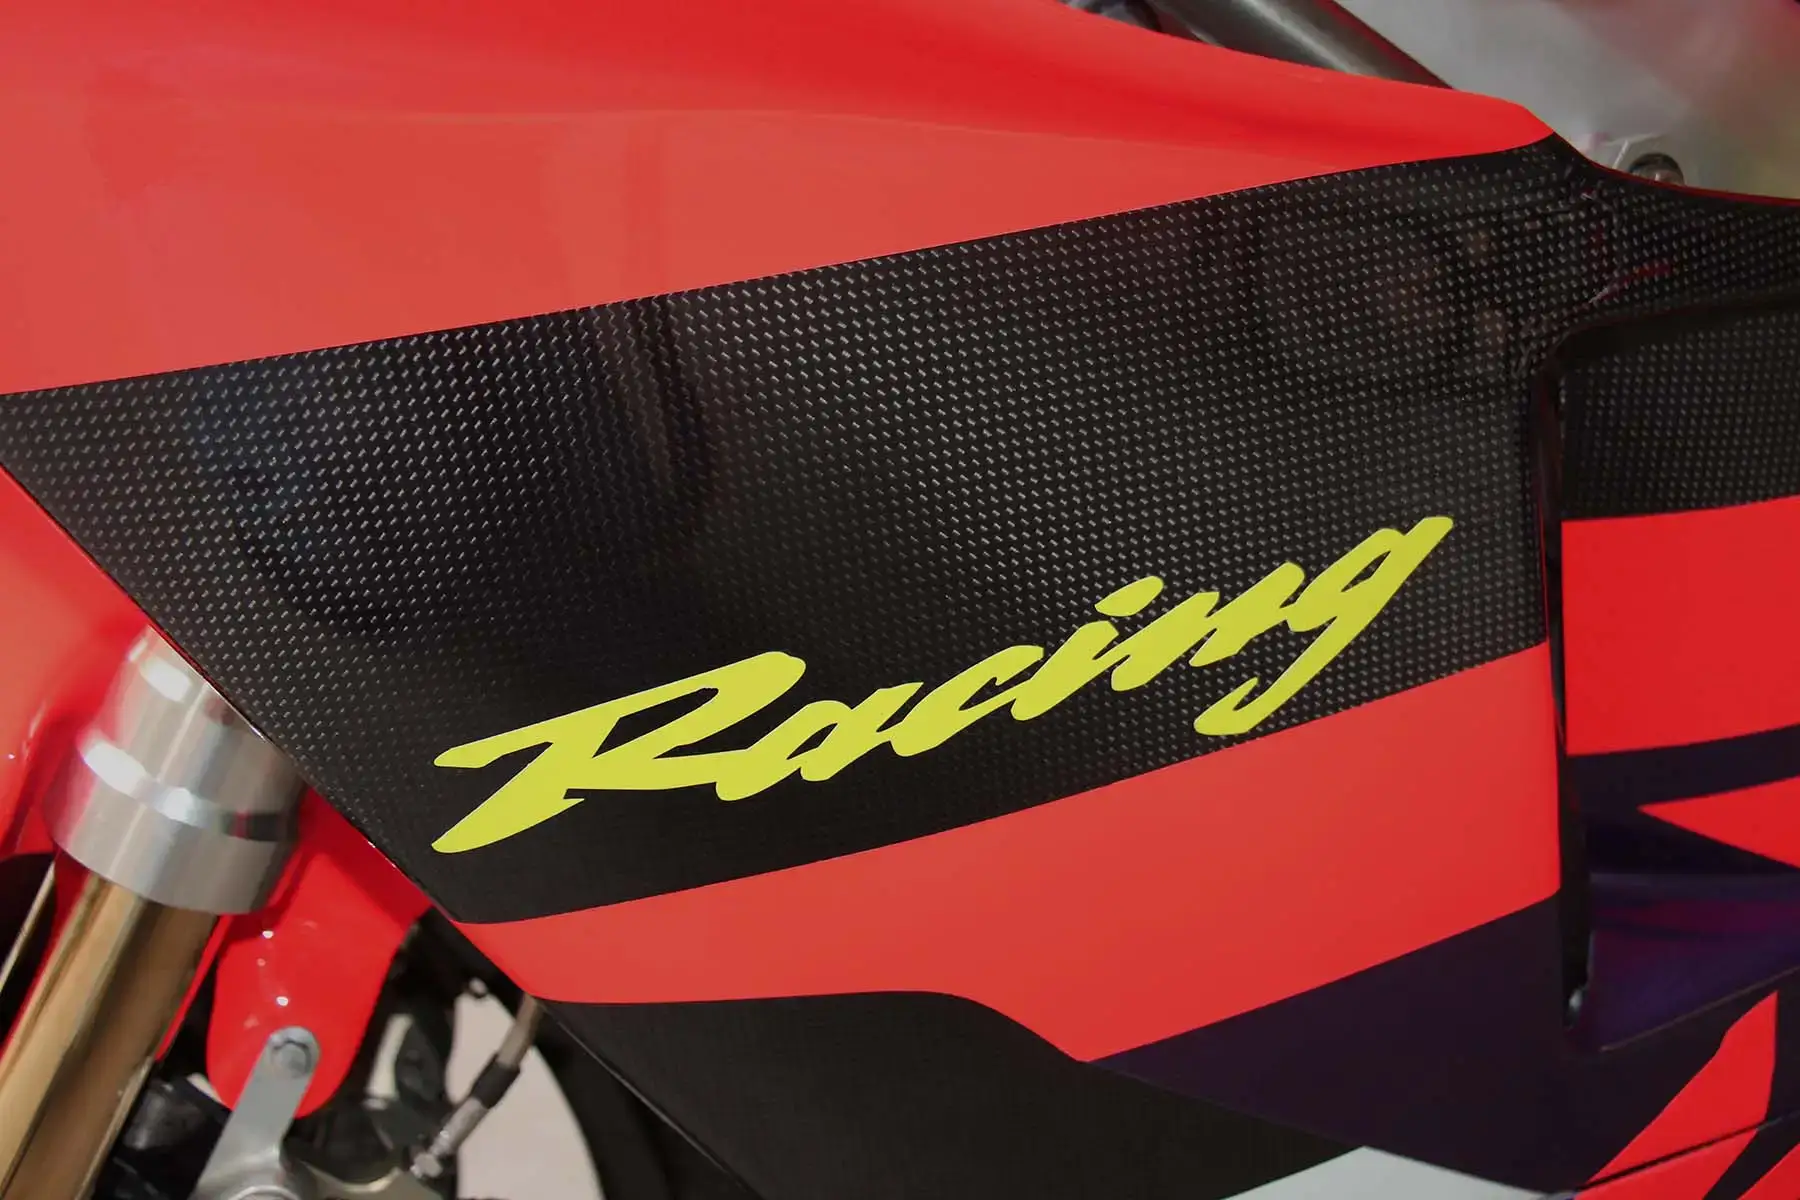
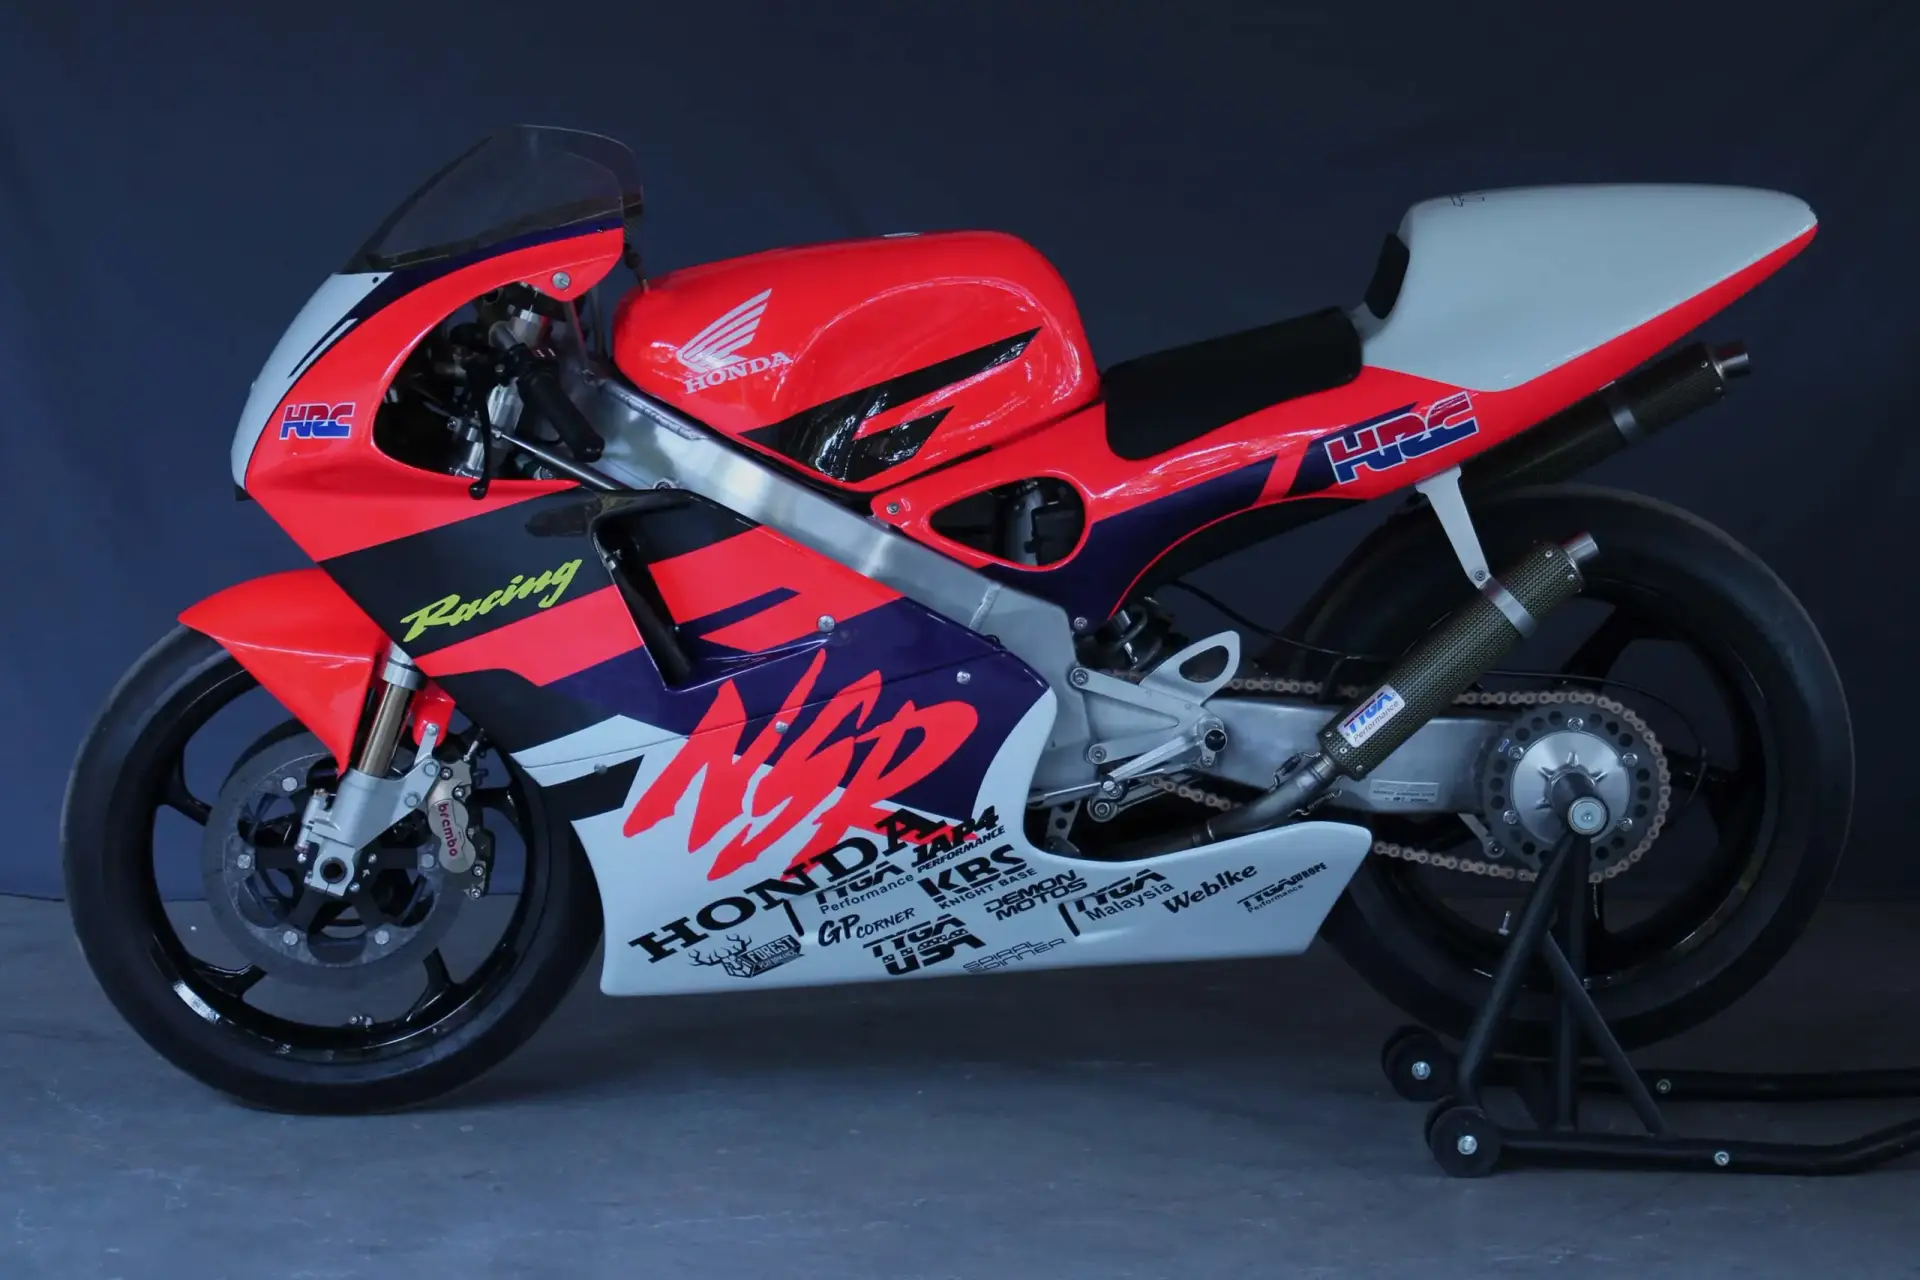
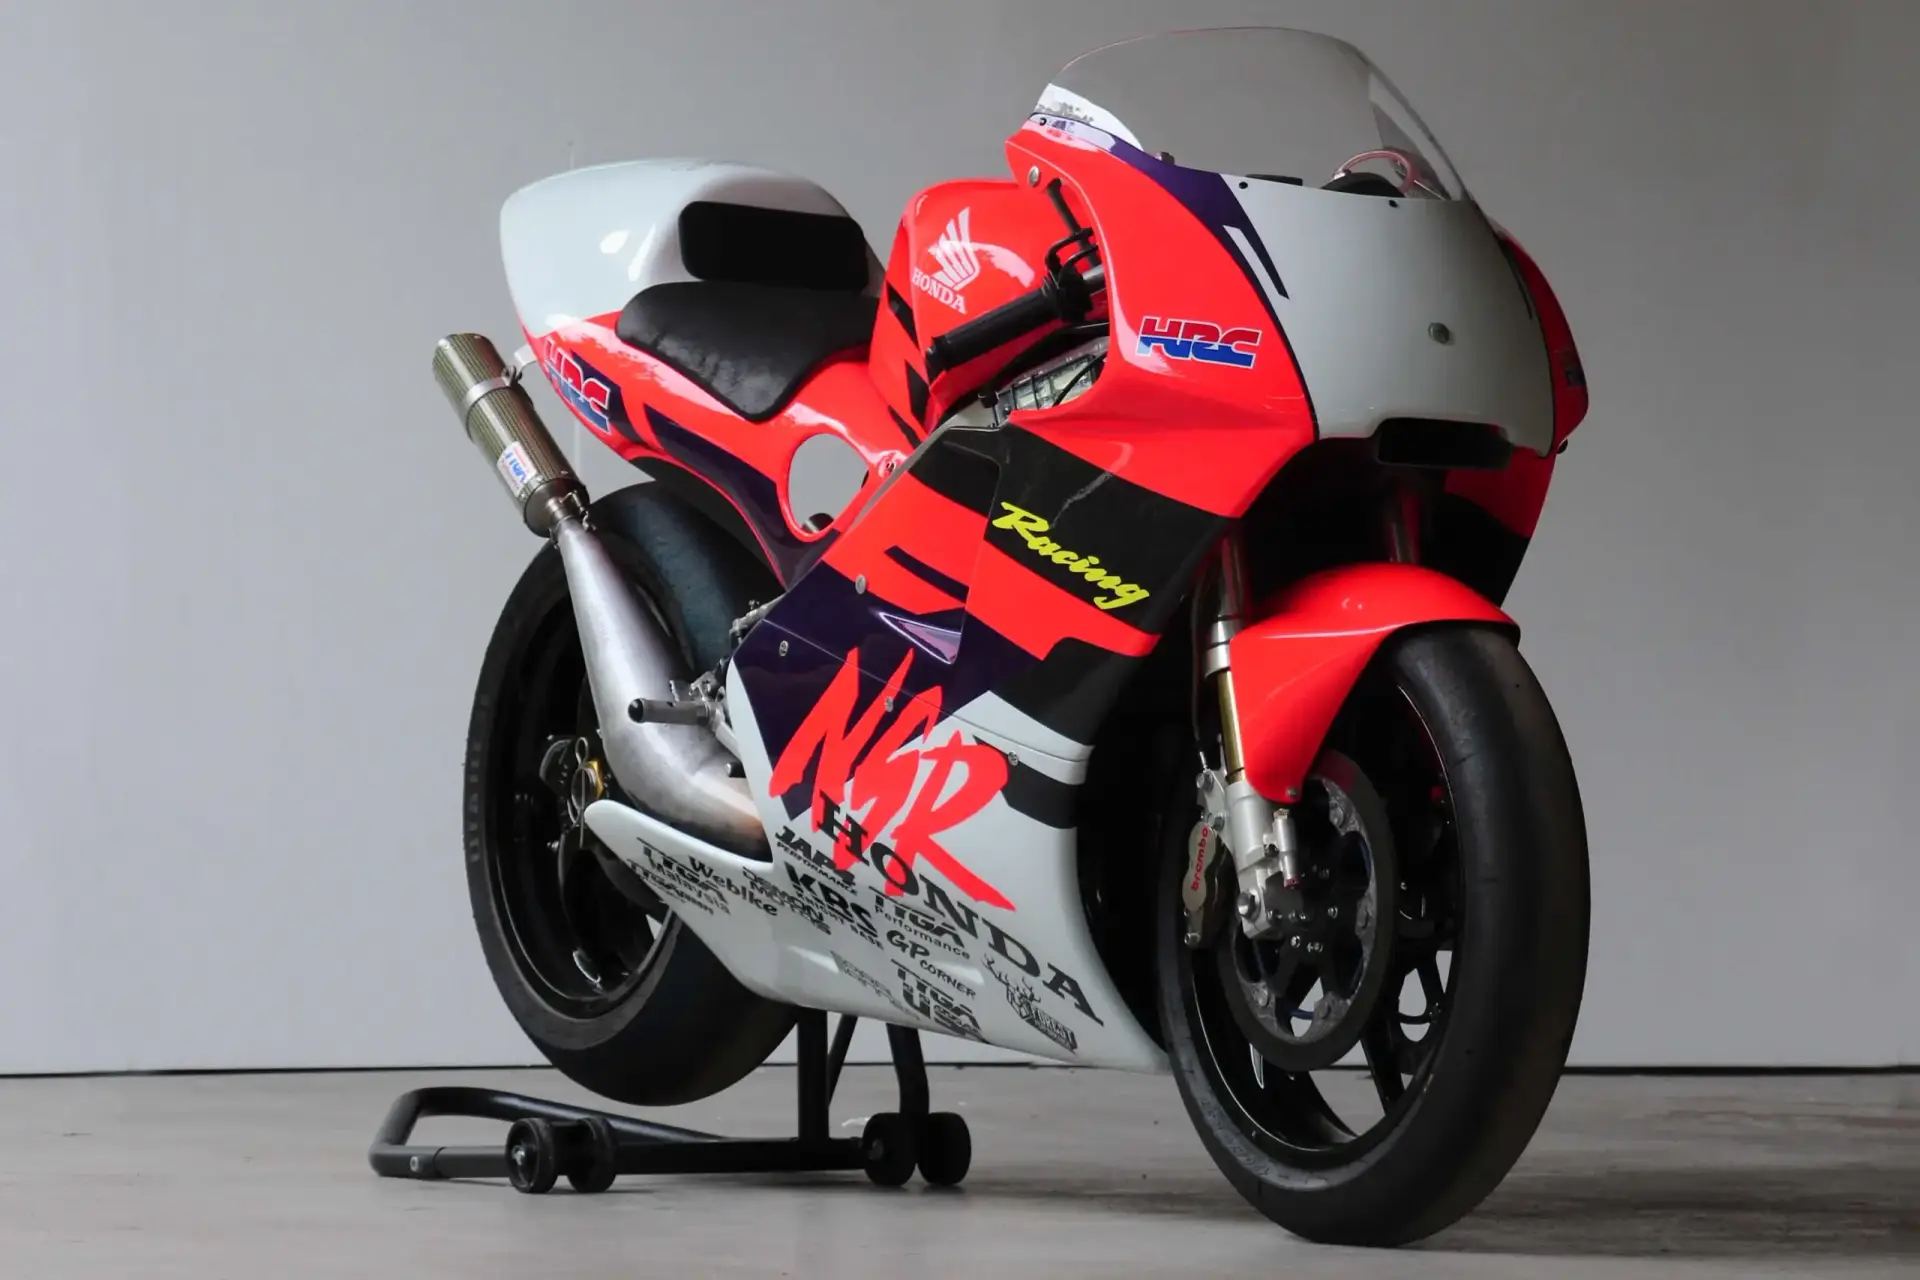
With all the bodywork fitted, I think you’ll agree that it looks fantastic. You can’t help but smile when you look at it, and you get a shiver in the spine when you blip the throttle.
Can’t wait to give it a proper test ride.
Many thanks to GT Motorcycles of Plymouth and of course their technicians for putting up with me.
If you would like to order the parts used in this project, see below.
Note that many are made to order and show out of stock, so please contact us for ordering.
Products used on this project
1 products