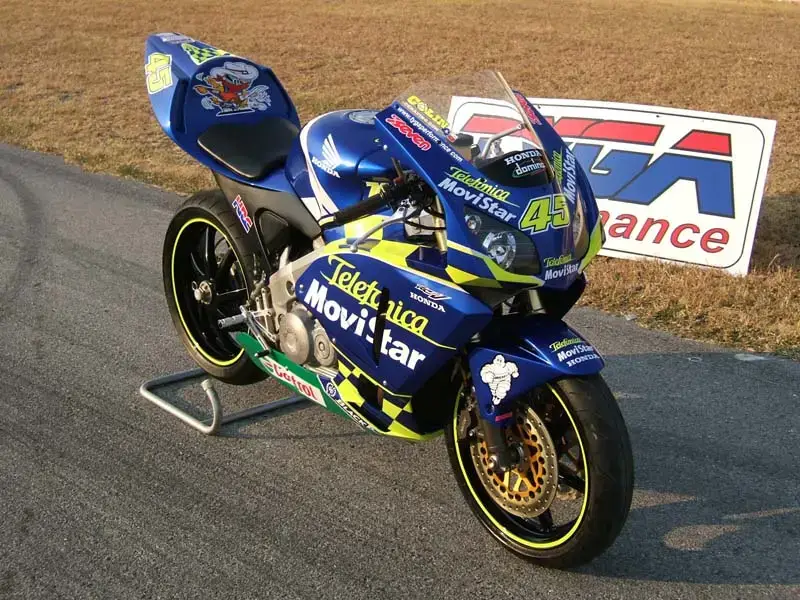



Edwards RC211V
| Build Date: | December 2004 |
| Builder: | Tyga Performance |
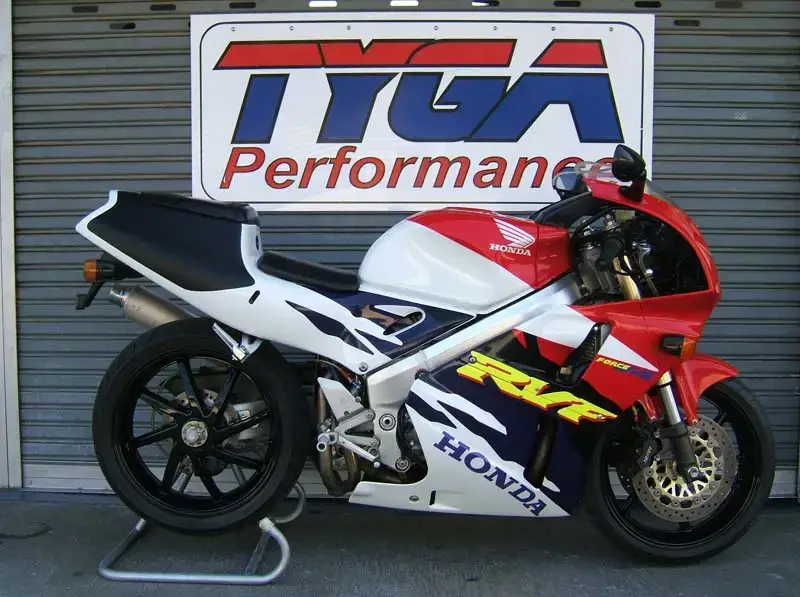
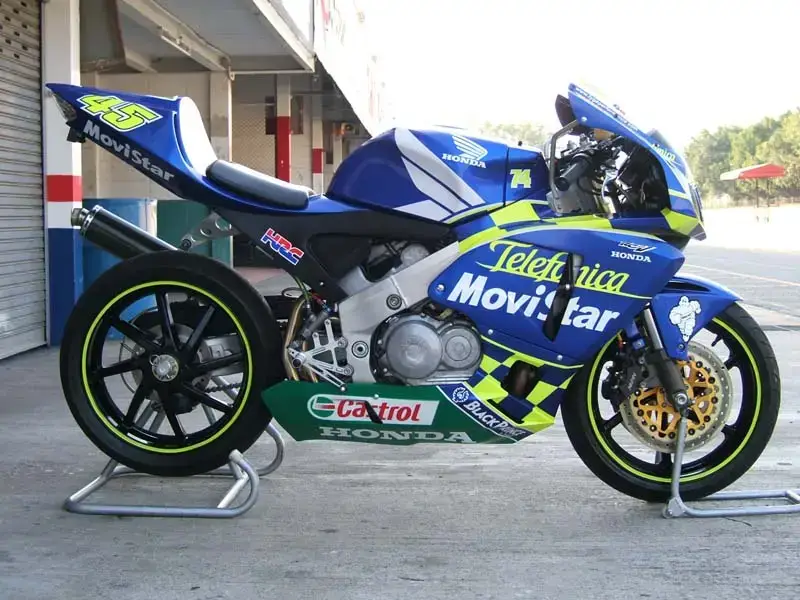
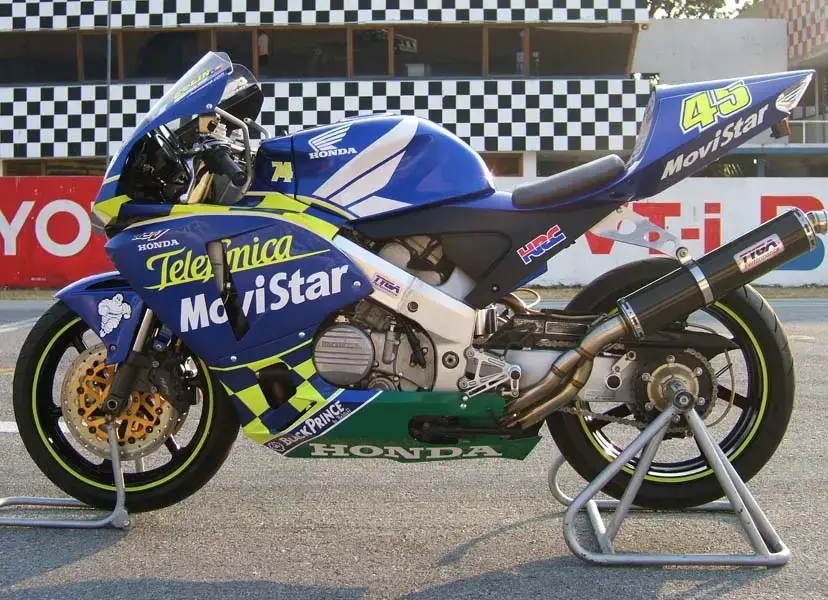
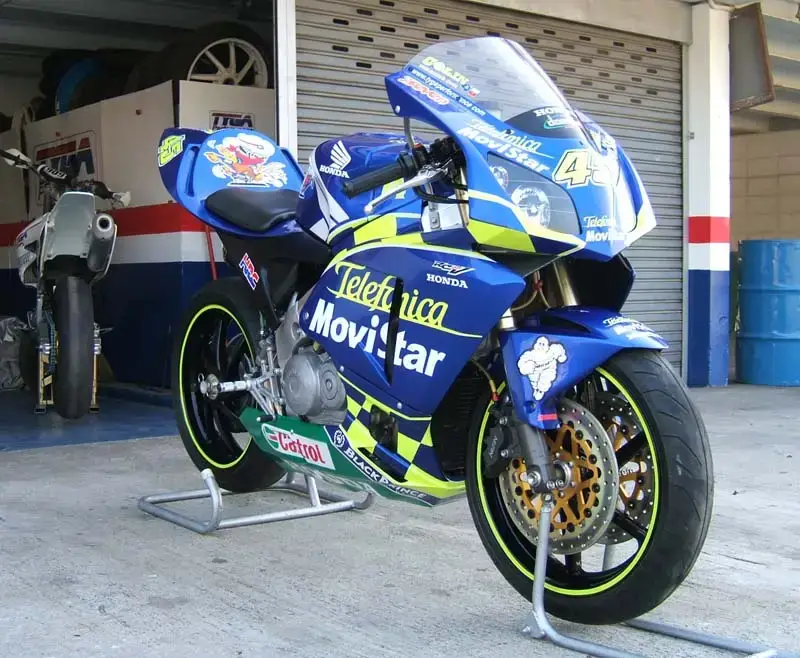
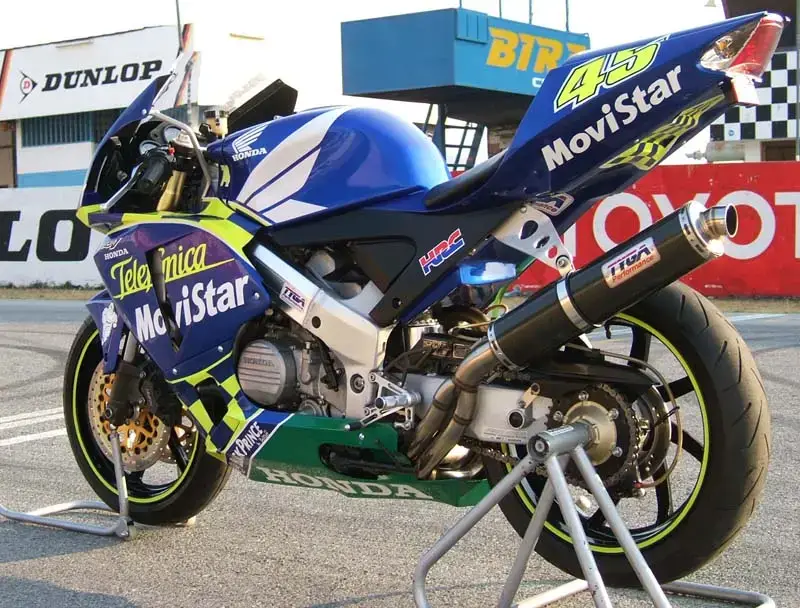
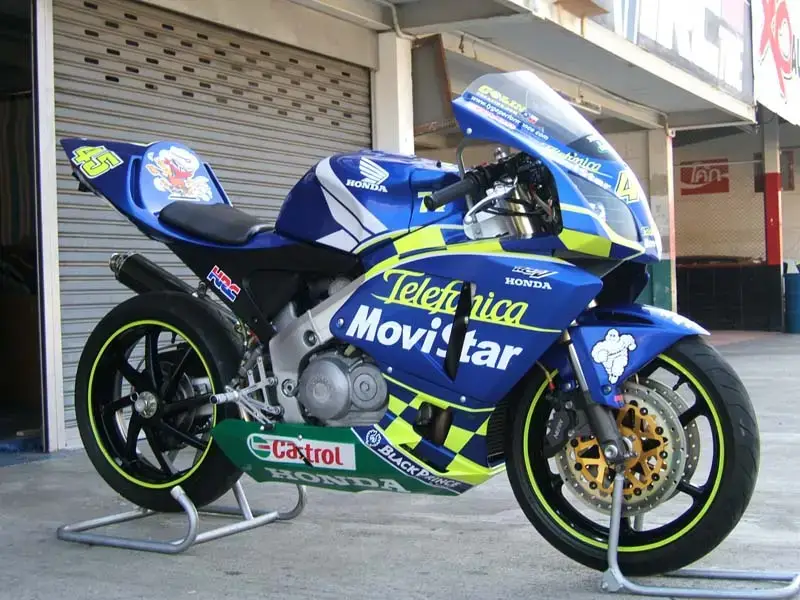
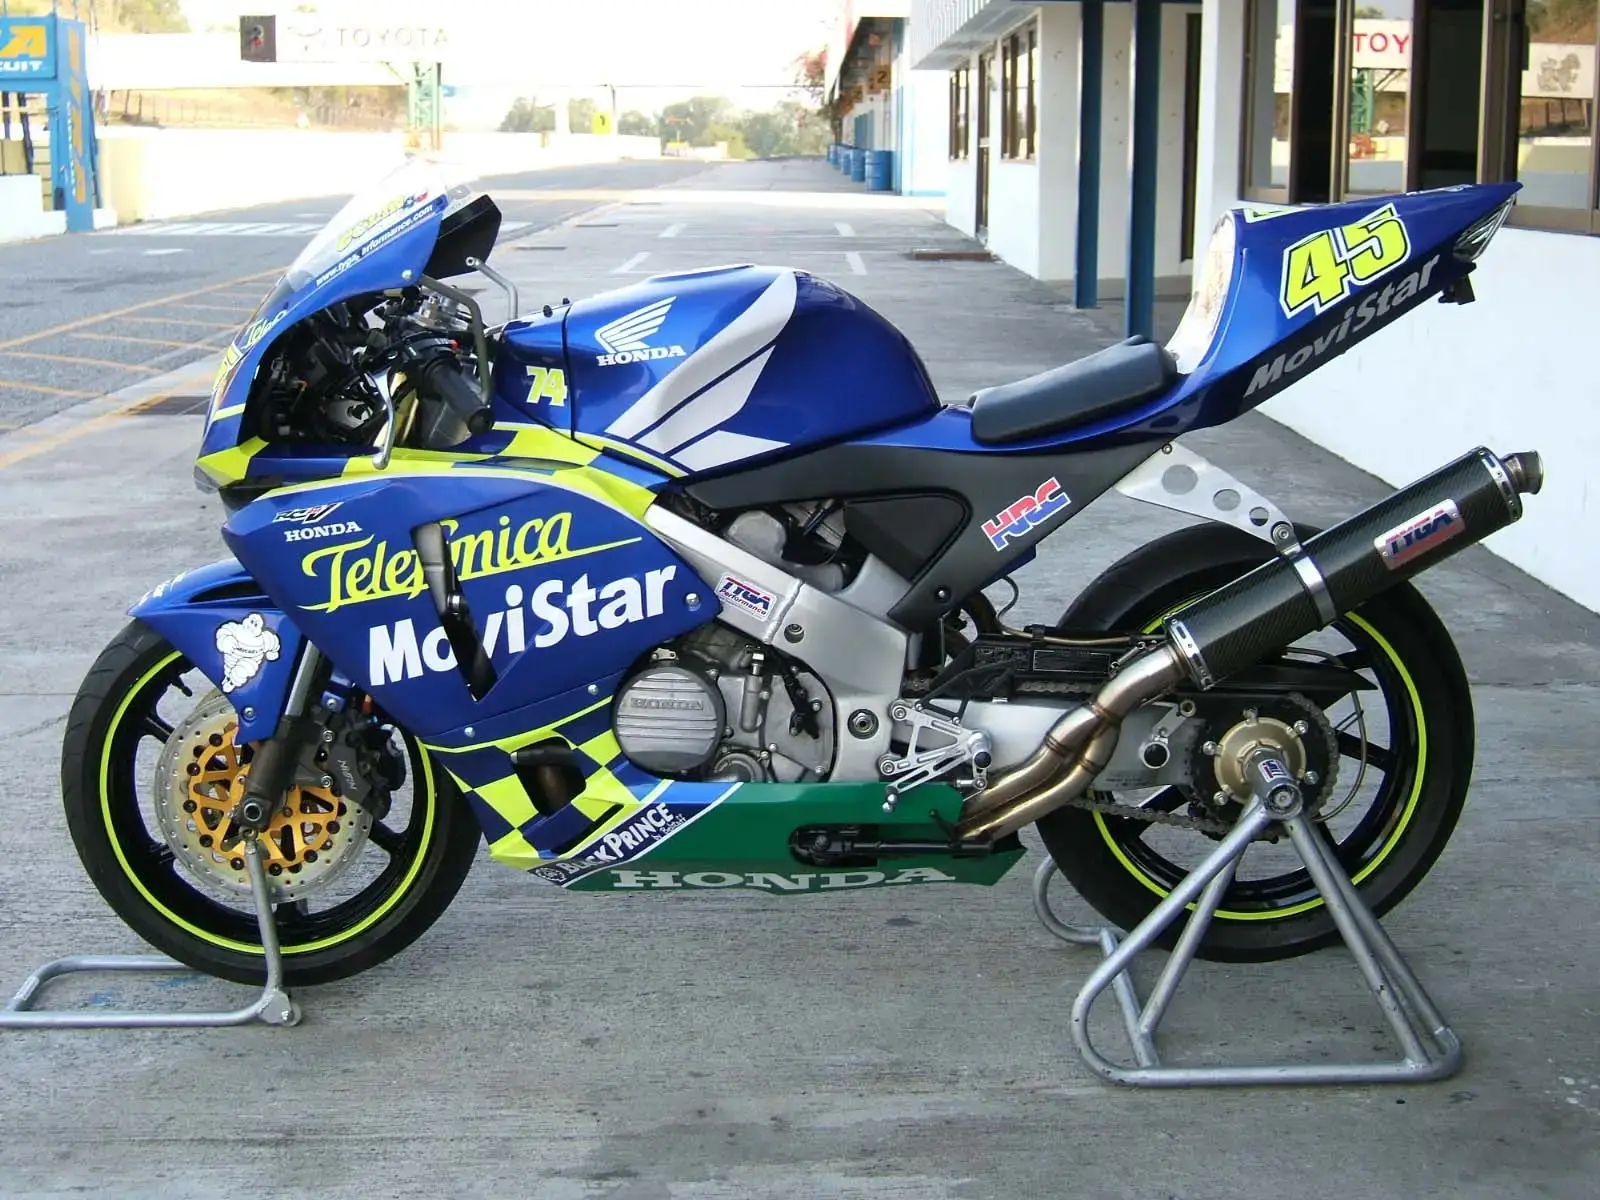
| Motorcycle Model: | RVF400 RC211V (Edwards Telefonica Movistar Replica) |
| Products Used: | EXPS-0002 full race system (no silencer), EXSL-0012 carbon 2″ silencer, BPCC-0004 carbon meter cover, BPFX-9001 tank cover, TPER-0018 steering stopper, TYLY-0020 upper stay, STAA-0003 step kit, 70-525-61040 brake lever, BPAC-0001 HRC reservoir kit, BPAC-0002 overflow bottle, plus RC211V kit parts (bodywork, headlight, screen, lower stays, meter/front stay TYLY-0018). All TYGA products used listed below. |
Introduction
Following from our VFR400R Rossi replica, it was natural that we should make a similar project for the RVF400. To do this, we have used as many TYGA products as possible. We aimed to show that after a day’s work, you can transform a stock RVF from a capable but unexciting looking 400, into something that will certainly get the heads turning and the eyes snapping wherever it is ridden.
The stock RVF400
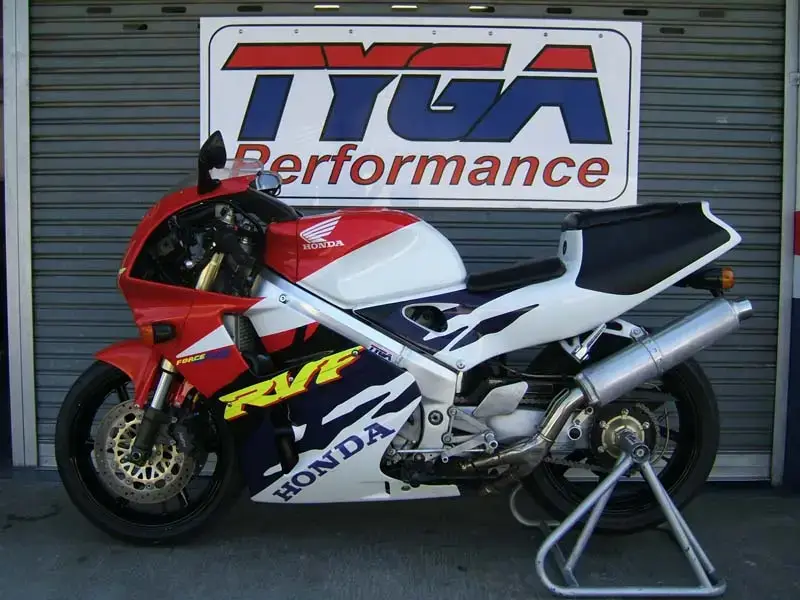
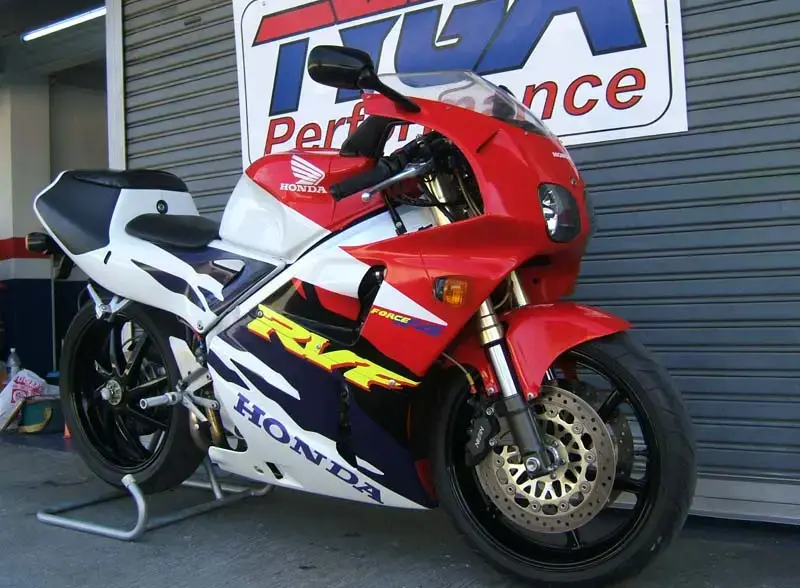
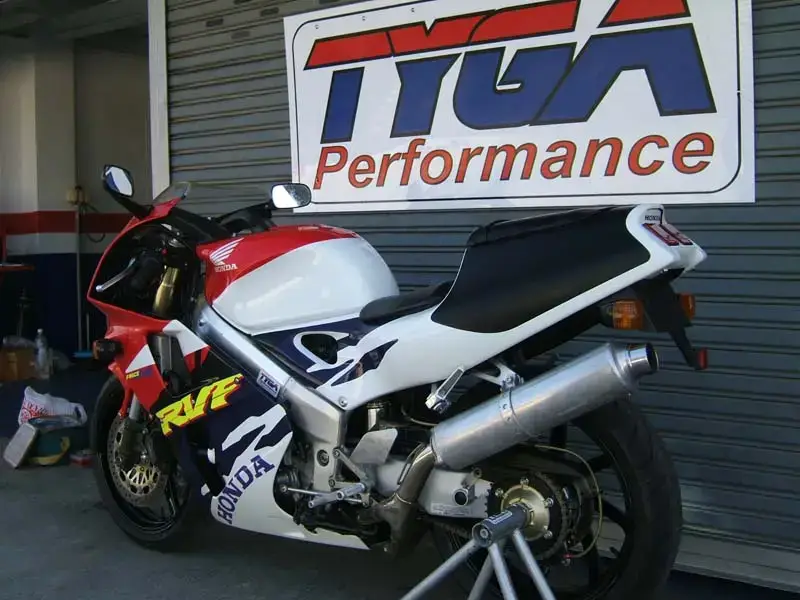
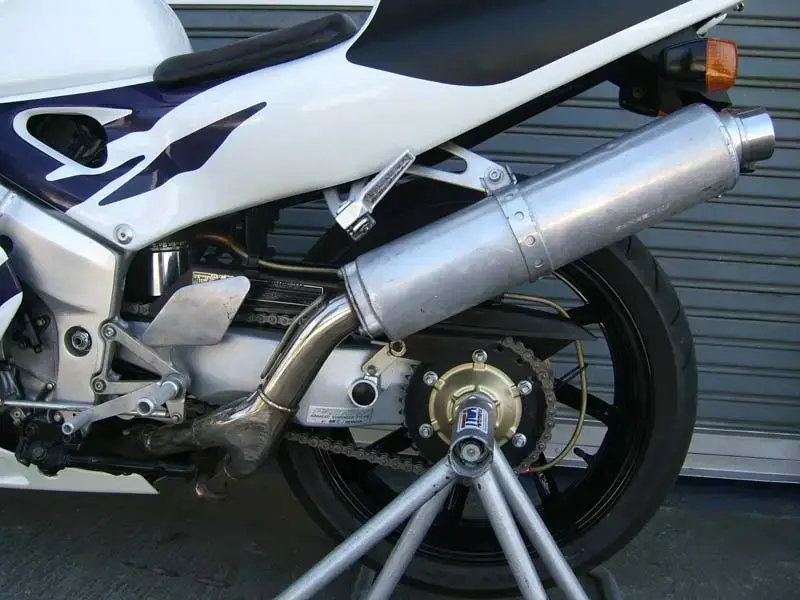
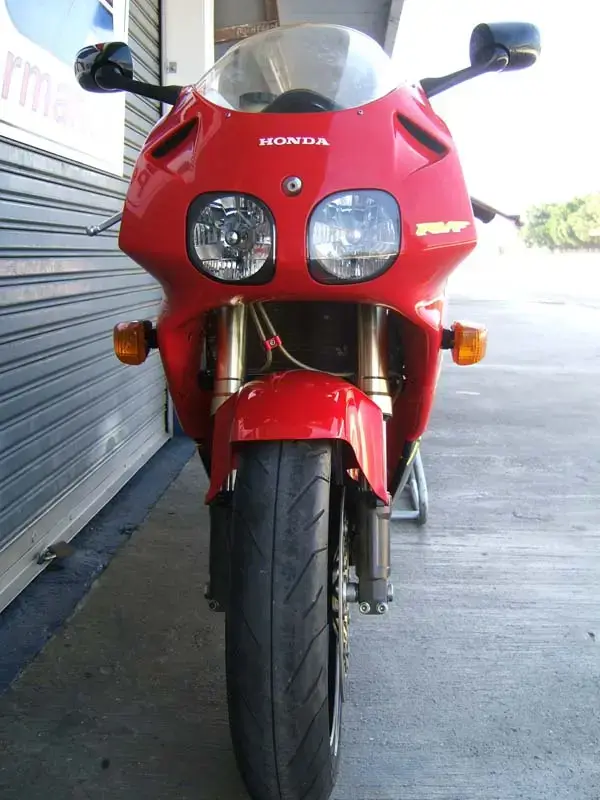
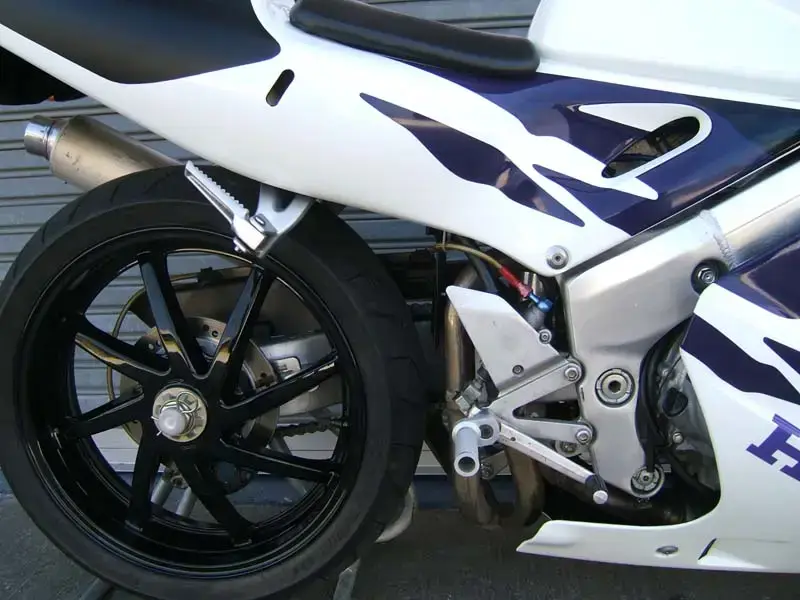
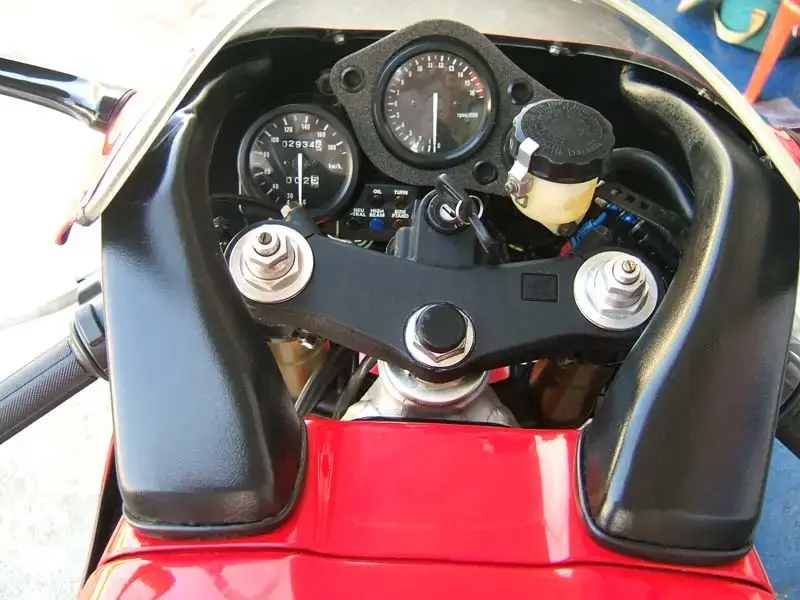
I have always been a great fan of the RVF400 in its stock form and it has aged remarkably gracefully over the decade since it was introduced. Dynamically, it is a capable and sure-footed bike and most people agree that it is probably the best 400 sports bike available today. However, there is no escaping its vintage when you compare it to the latest crop of modern sports bikes. The flabby sides and the low seat cowl, along with the heavy looking exhaust system, all indicate that it needs a serious styling update. The cramped riding position and the whispering exhaust note are not too particularly sporty either. Time for some TYGA treatment!
Comparison
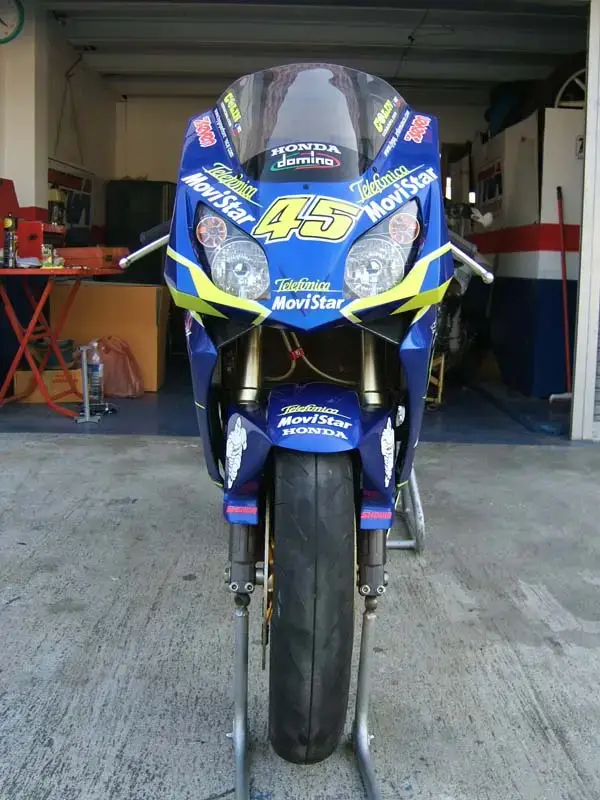
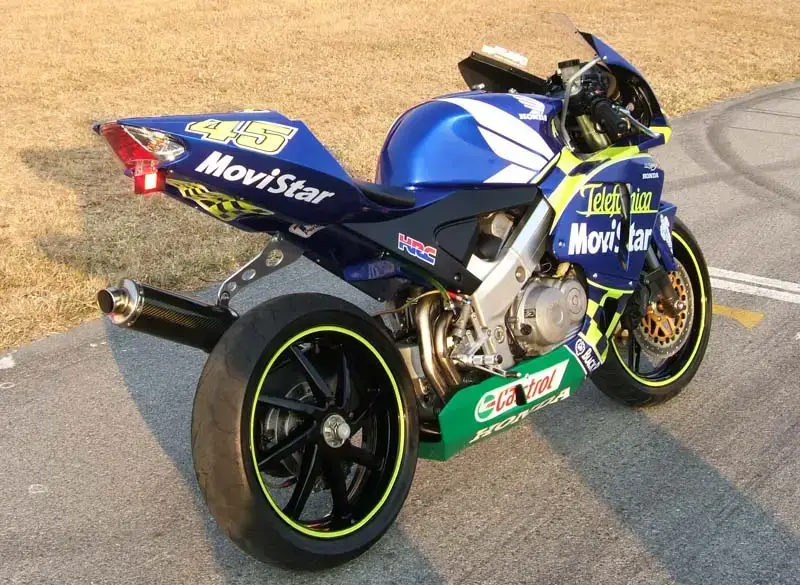
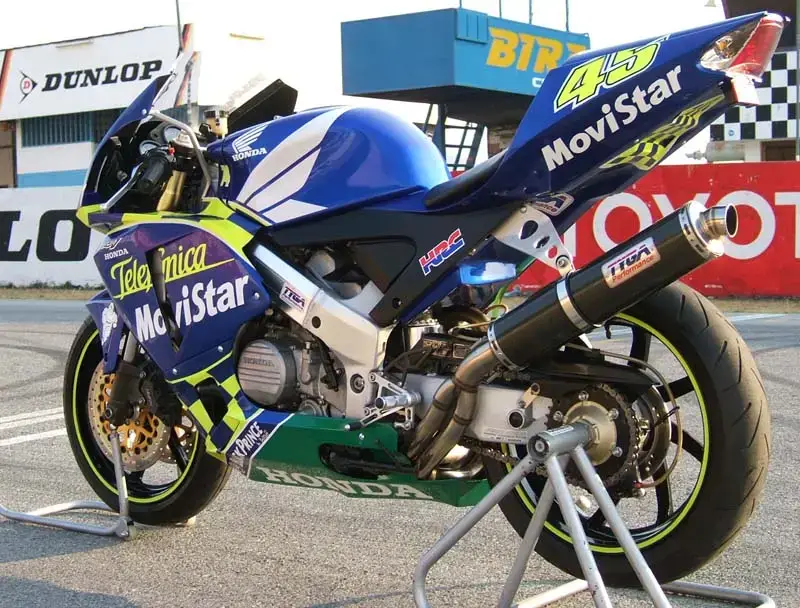
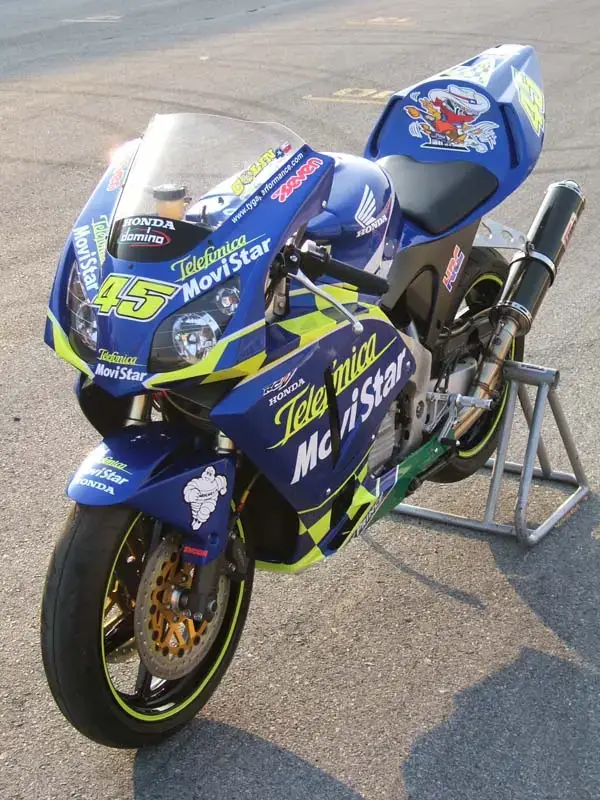
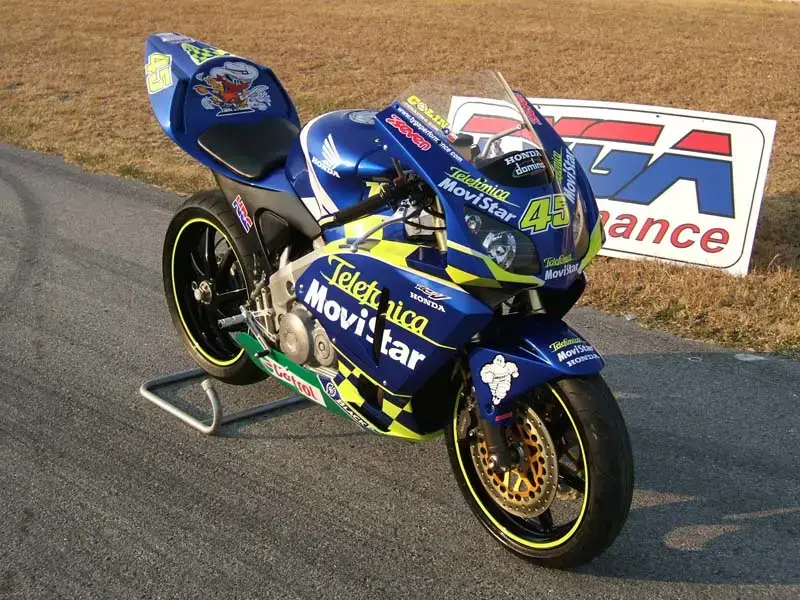
Before we describe exactly what was involved in the transformation, here are some before and after shots to show how radically the bike was changed.
Our Donor Bike
To make the best project we could, we found a bike made in 2000. It was almost totally stock and in very good shape. The bodywork had been repainted to a high standard in the usual RVF scheme and the various components were all clean and tidy. For good measure the bike was stripped and reassembled so that it looked nice in the pictures and so we didn’t get our hands dirty when modifying the bike!
The main issues were the exhaust system which had the usual tell- tale scrape from a minor accident, as had the mirrors and the footpegs and hangers which were obviously just botched together out of bits. No problem, these parts were all going to be replaced. In other respects, the bike showed little sign of wear or abuse and was an ideal candidate.
Stripping the bike down
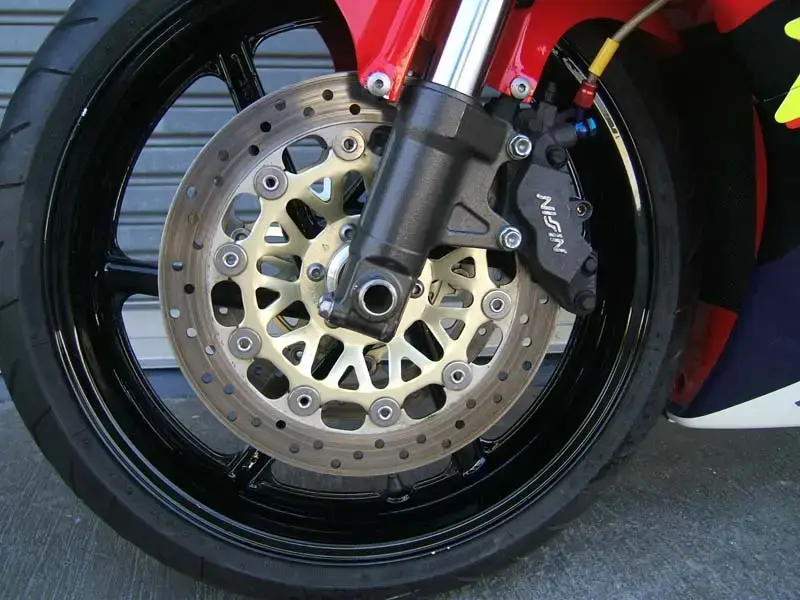
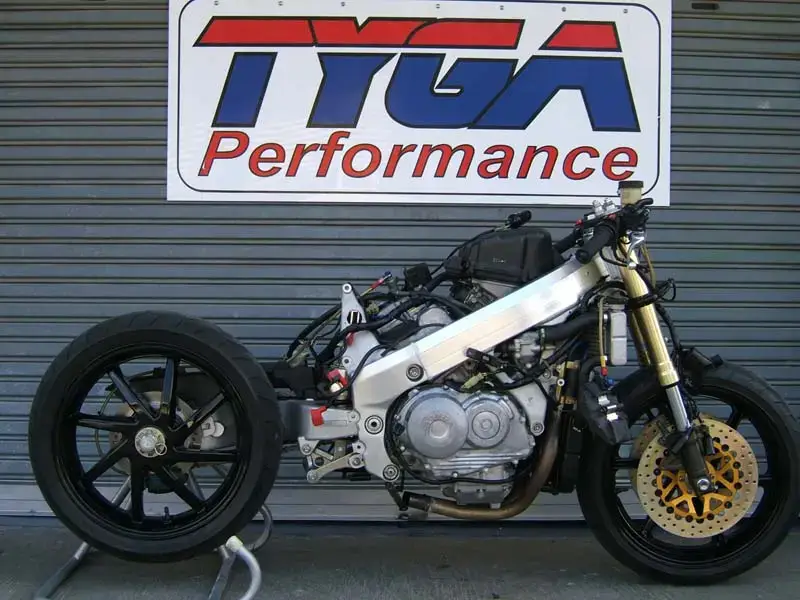
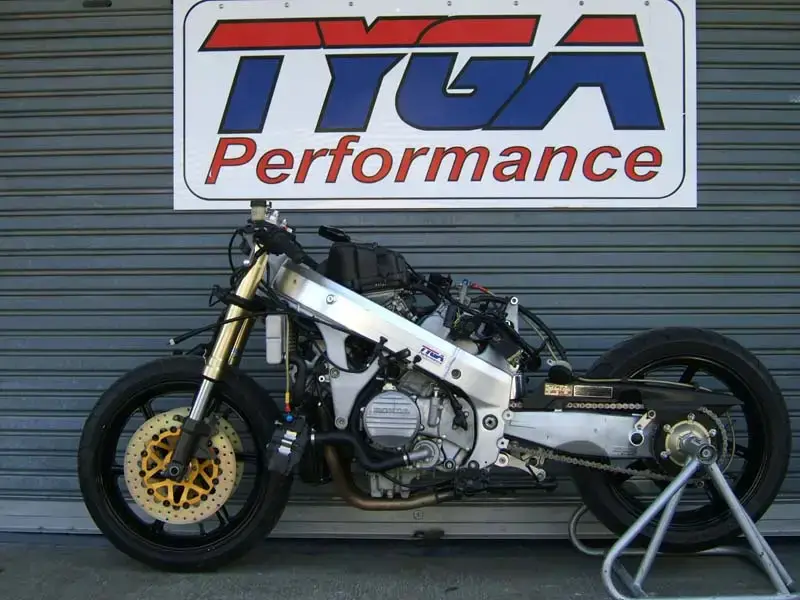
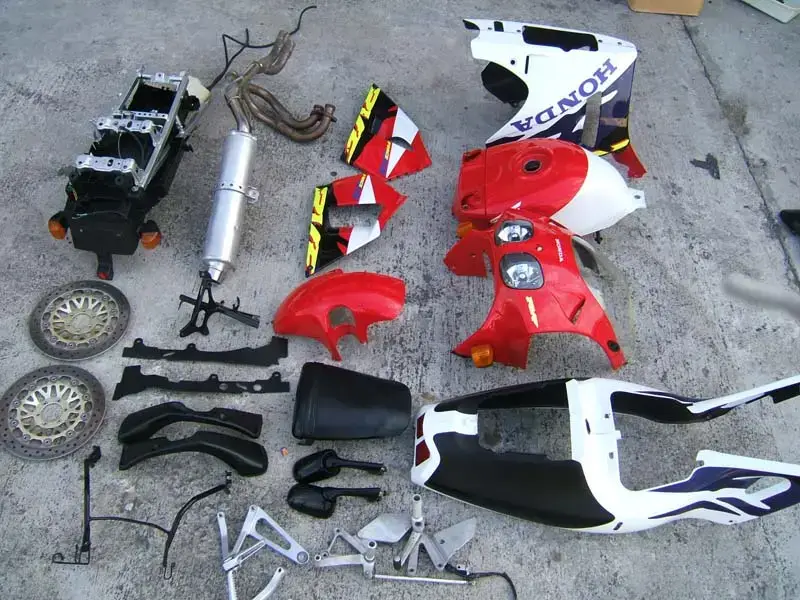
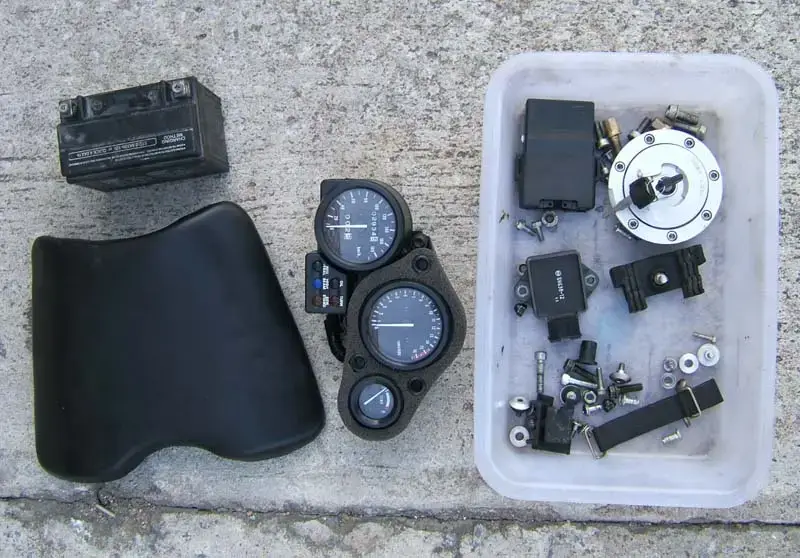
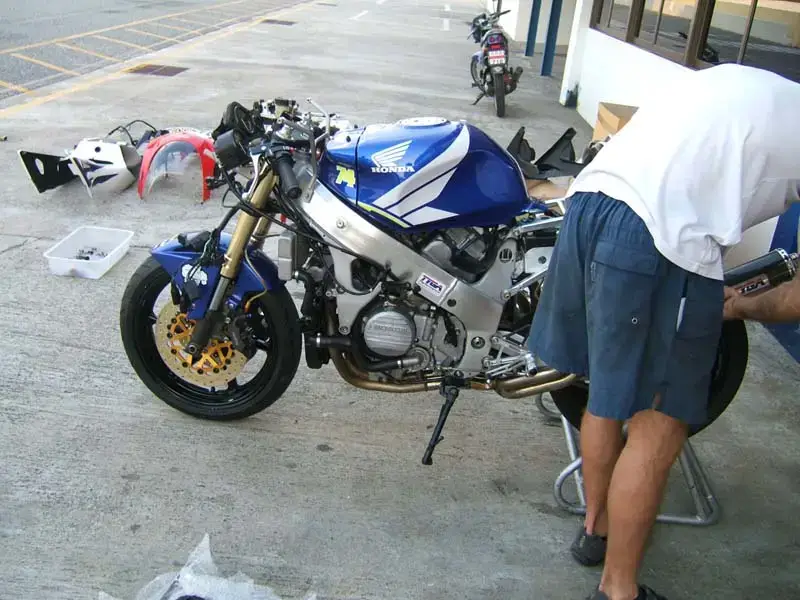
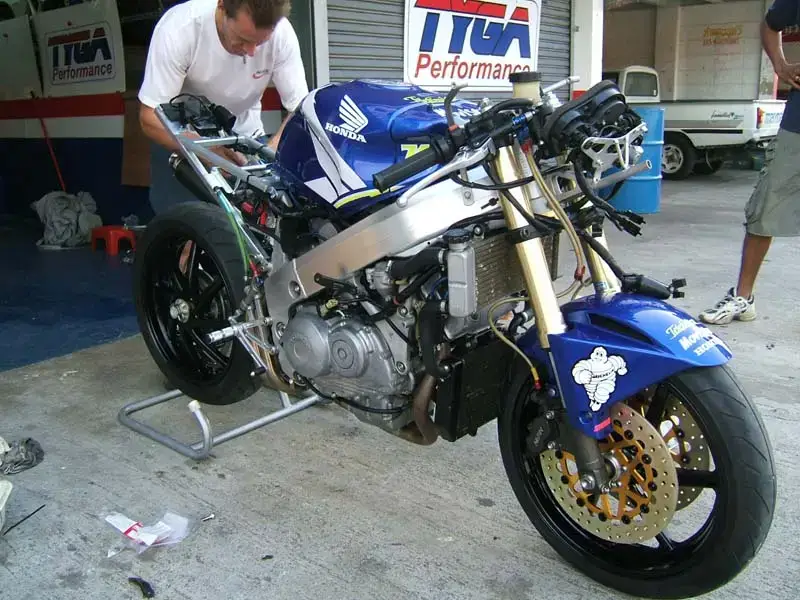
The first thing to do was to remove all the relevant components in order to make the transformation. This produced quite a pile of parts. First off were the mirrors, lights, bodywork, and seats. Then the tank, the subframe and associated parts and the mirror and the meter stay along with the instrument cluster. Finally, the exhaust, footpegs were binned and the front wheel temporarily removed to fit some nice new rotors. The pictures show the bike after all the parts had been removed and the new front rotors fitted.
The parts above left, you don’t need and can be kept in your garage. Alternatively, you could sell them on EBay to fund the project. Some of the parts, as shown above right, were needed again because they were going back on the bike.
Building the Replica
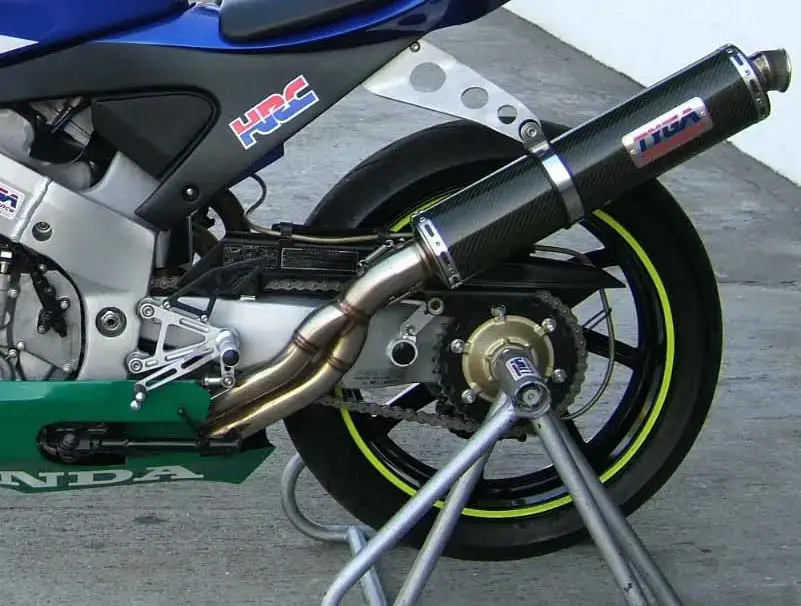
Now that the bike was stripped down and was rolling with the new rotors in place, the new exhaust system was fitted. Our project bike was fitted with the EXSL-0012 carbon silencer and the EXPS-0001 half system. The EXPS-0002 full system can be fitted as an alternative using the same silencer. With the subframe and footpegs out of the way, the stock header pipes could be removed a lot easier.
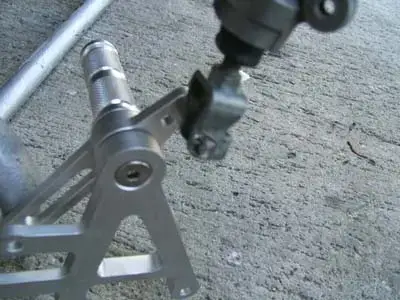
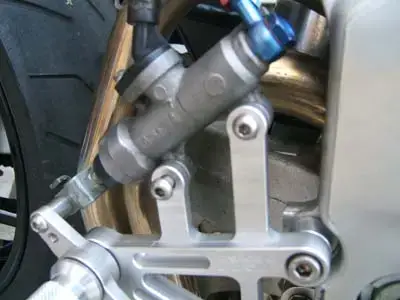
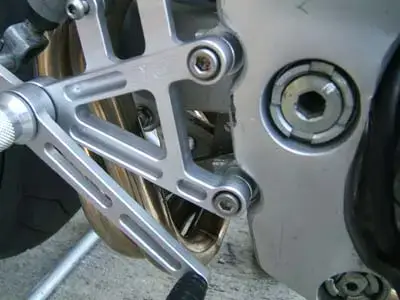
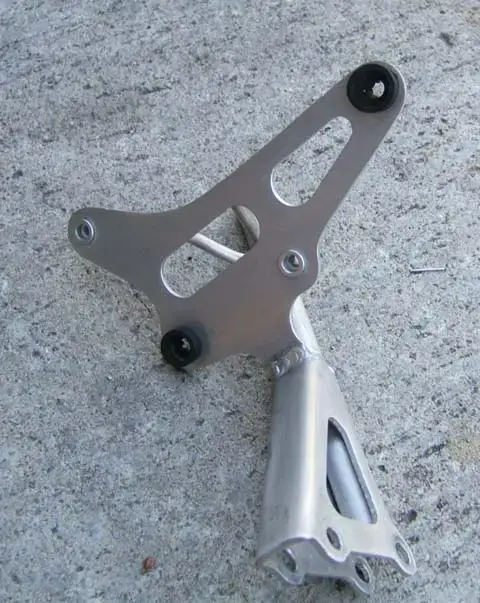
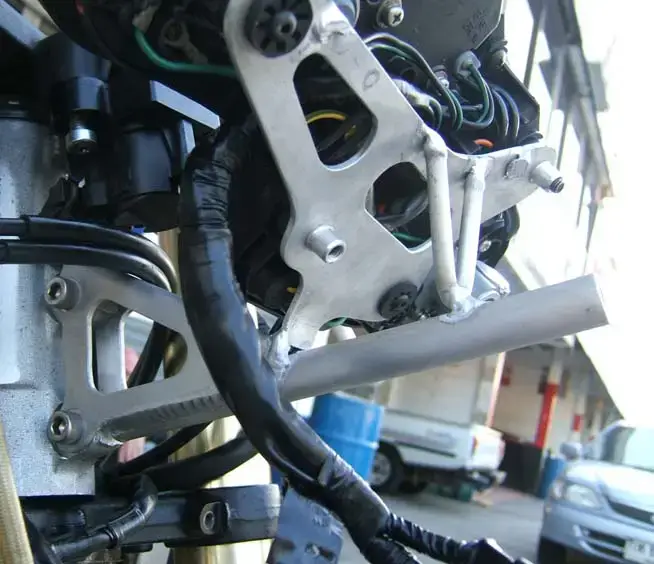
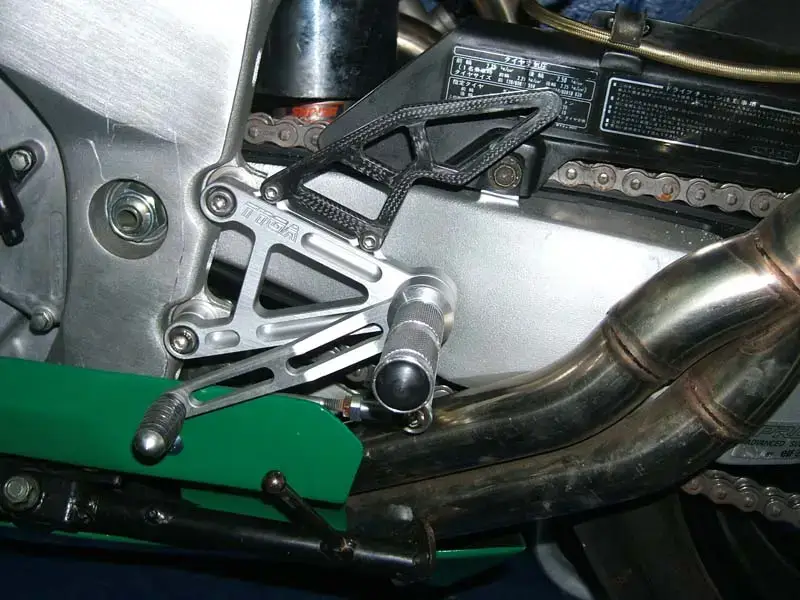
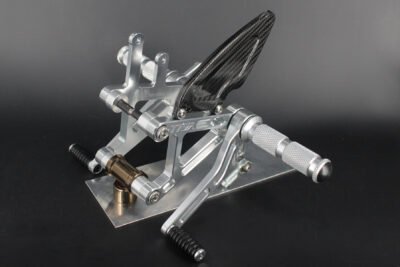
The TYGA step kit was then fitted. It was easier to fit the master brake cylinder to the brake lever while the hanger was not fitted on the bike.
The cylinder was fitted loosely by hand, tightened once the hanger was fitted to the frame. The left side was straight forward. No need to remove the gear shifter link rod. The TYGA gear shifter was secured to it using the rose joint provided.
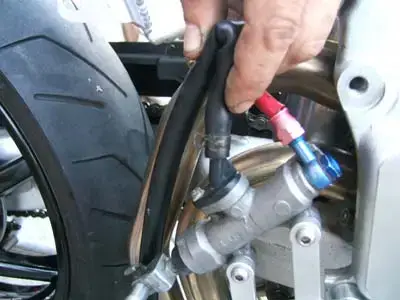
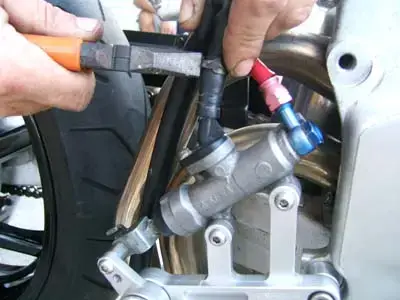
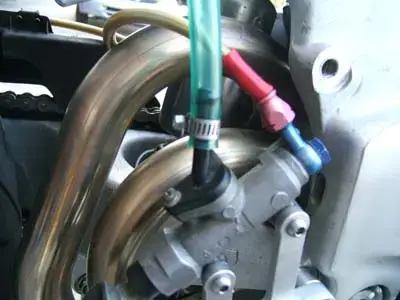
The number of threads was turned the same at both ends to make the adjustment easy. The brake master cylinder was replaced with an HRC item (BPAC-0001). The old one was removed by kinking the hose to prevent spillage and then carefully disconnected. The HRC hose was fitted on in the same way and the fluid was filled before placing the bung and the clip on the end.
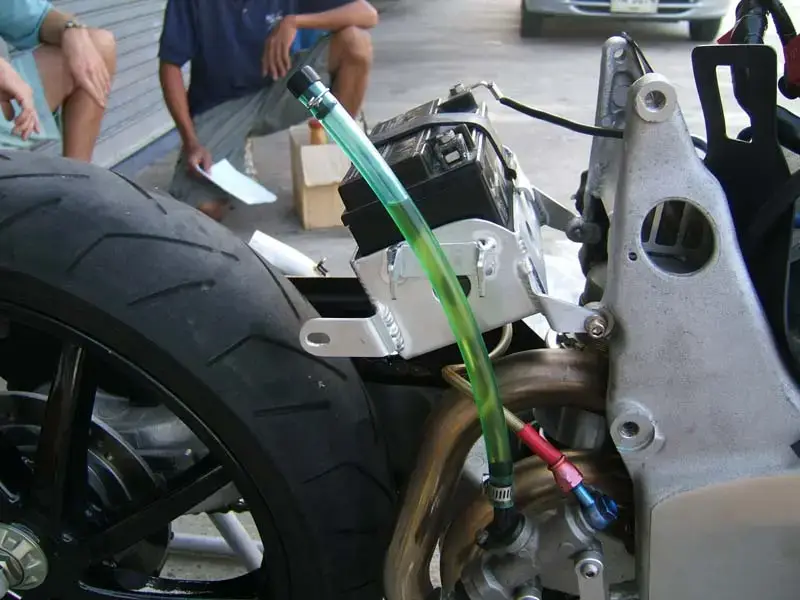
The seat cowling subframe and associated parts were now fitted. This can look daunting but the parts simply bolt on in their allocated places. It is important to remember to put the battery in before putting the battery box in position. The exhaust stay and silencer were also fitted as was the radiator overflow bottle (BPAC-0002)
Paint and Stickers
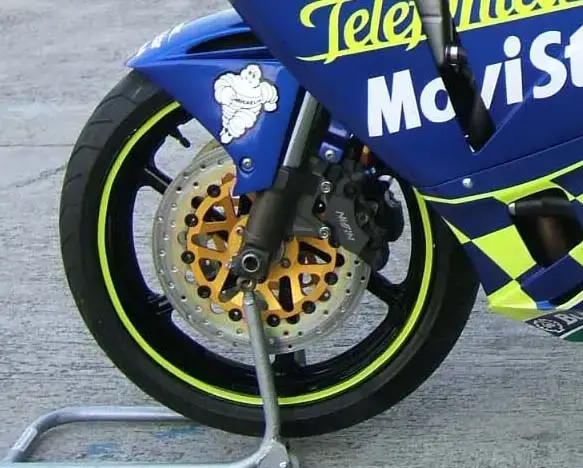
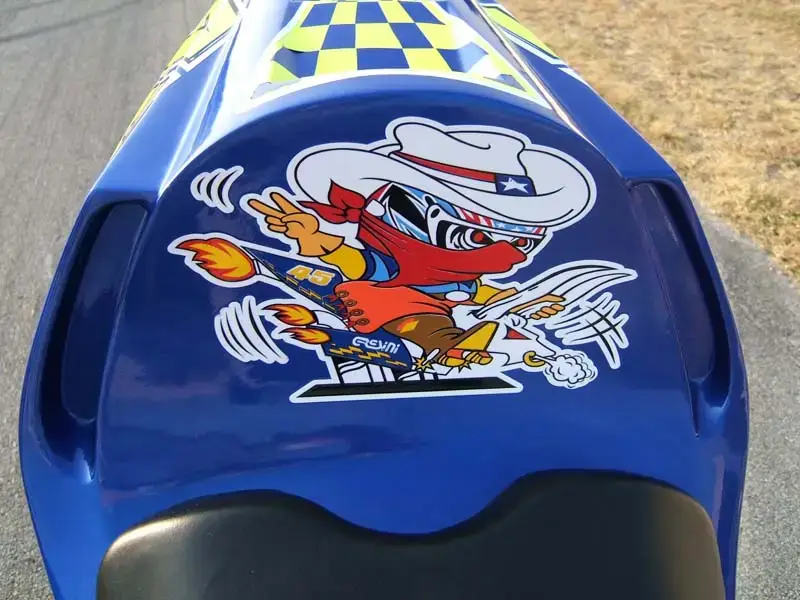
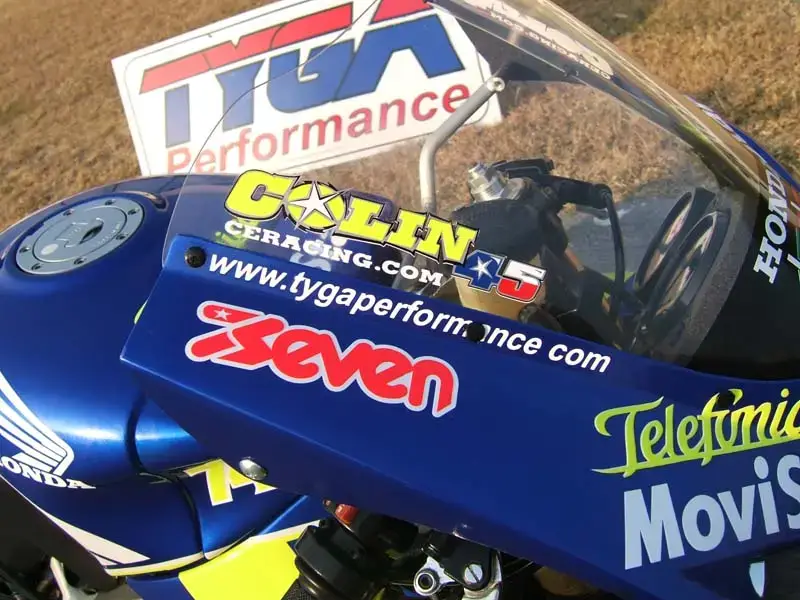
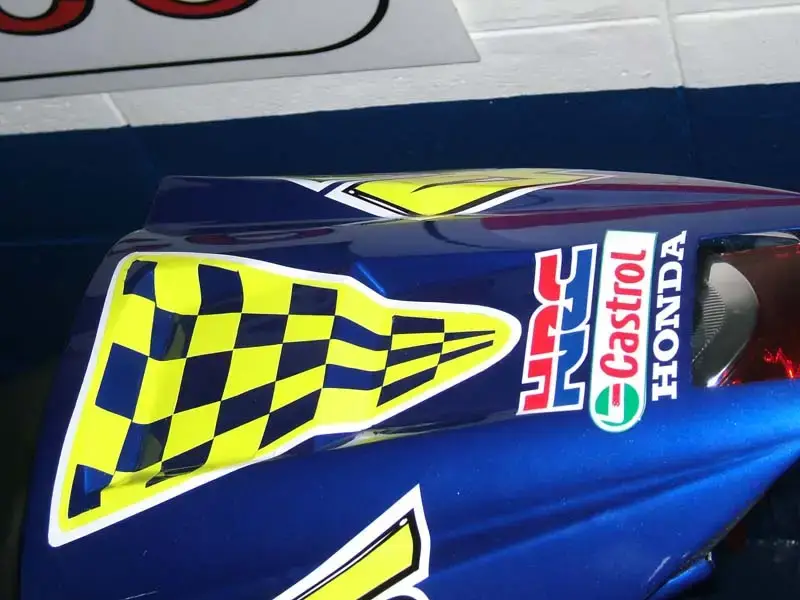
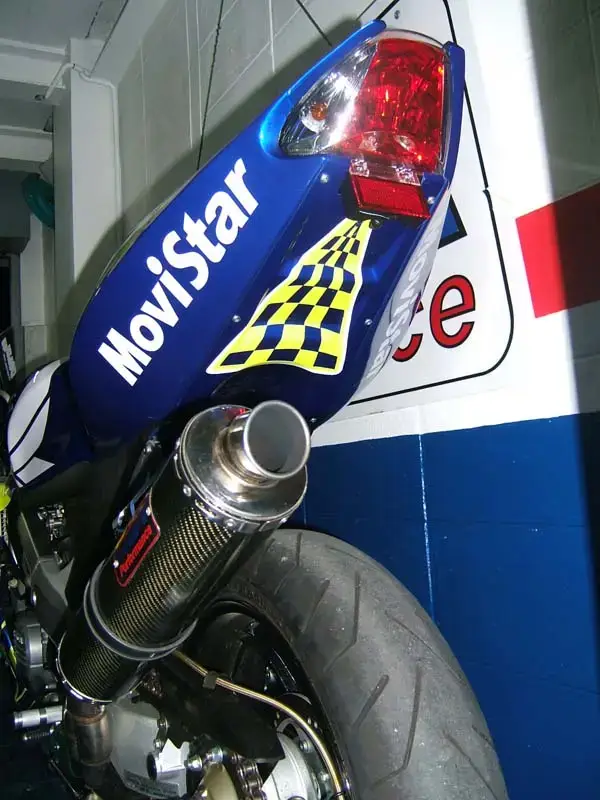
For our replica, we chose a 2004 Colin Edwards color scheme. The reasoning was that we had already made a Rossi rep and the Telefonica is a less common but also a popular scheme. Colin is a great guy, so why not make a Colin Edwards replica? The stickers were made using digital pictures we took at Sepang this year as well as some others we found online. We have now made the sticker kit available for sale, but it does only include the lettering and the checkers need to be painted on. While we were doing a paint scheme we decided to get an extra race upper painted which we will also show on this page at a later date.
We already had a spare gas tank which we sent along to the paint shop at the same time as the fairings so when it came to the day for the rebuild, it was a just a case of removal of the filler, the fuel tap, the heat shield and the rubbers off the existing tank and on to the new one.
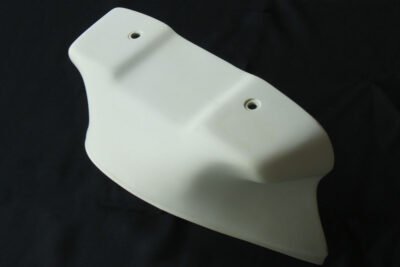
The TYGA NC35 RC211V kit comes with its own tank cover without the air duct holes. This was carefully slipped in position at the front of the tank. The front rubber needed the foam block behind it to take up the slack with the slightly changed tank position. Fuel line and vacuum line were connected. The bike was started up to make sure that everything was properly fitted and connected. Once the tank was in position, the seat cowling was fitted using the existing NC35 seat pad. The front fender was also fitted.
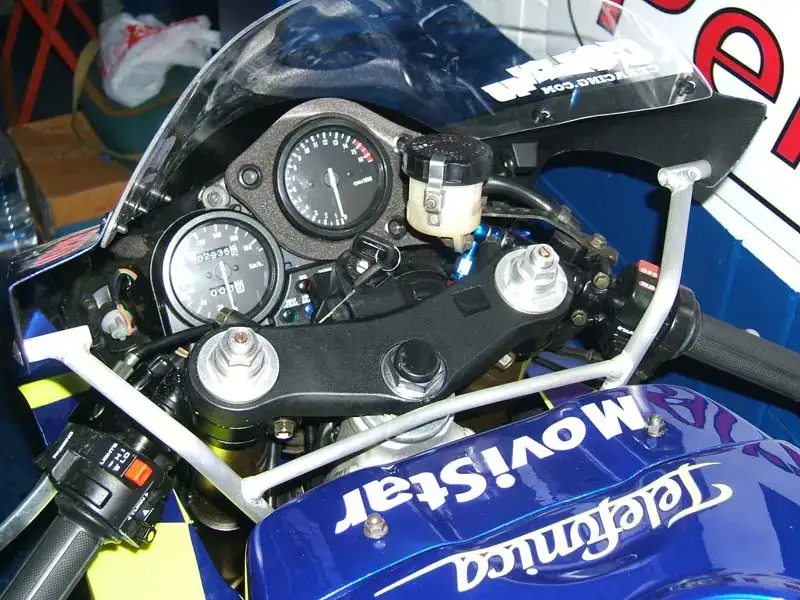
Our attention now moved to the fairing. The NC35 was never designed to be an RC211V look alike in 1993 so it was not easy to get the existing Honda parts to co-operate with what we were trying to achieve. The stock front stay was binned for the TYLY-0018 one which moves the instruments to a new position; crucial in getting everything to fit.
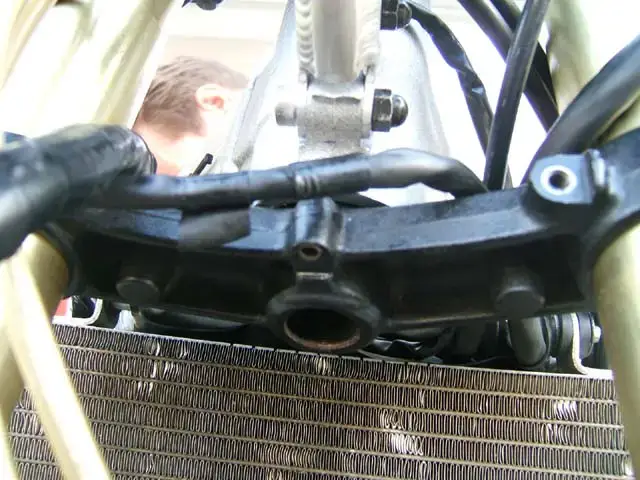
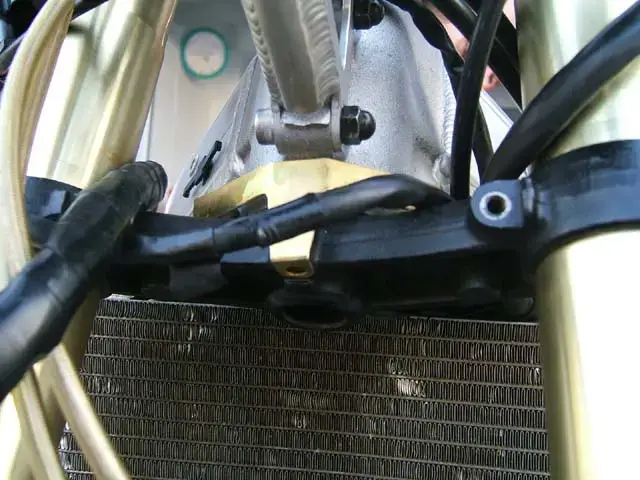
In order to get clearance on full lock, the kit required a steering stopper (TPER-0018) This reduces the steering movement just enough to get clearance with the bars and the instruments on full lock. There is still plenty of steering action for turning the bike though. The steering stopper was mounted using the horn mounting position. The horn was removed, the steering stopper put in place and the horn replaced.
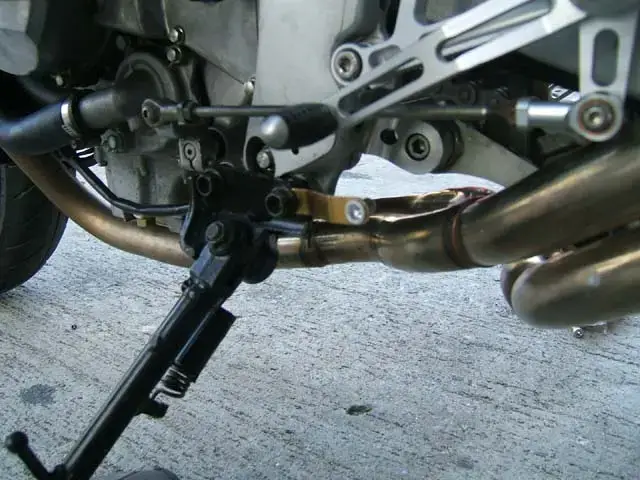
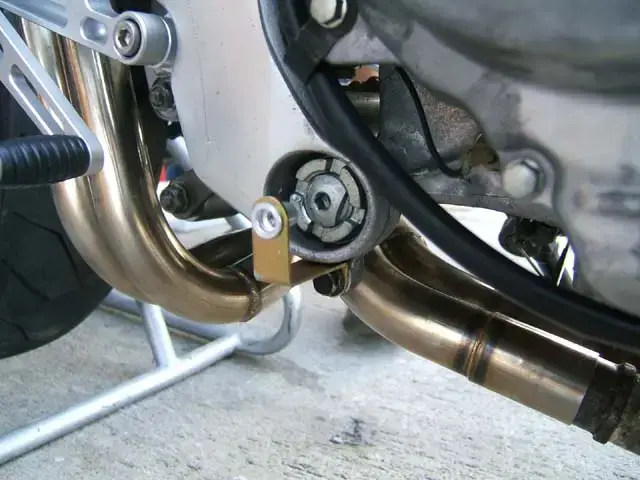
At this point, we mounted the two lower cowling stays as shown in the pictures below left and below right. One replaced the stock lower cowling stay on the right side, while the left side one required it to be fitted at the side stand mounting position. We left these hand tight for final adjustment later.
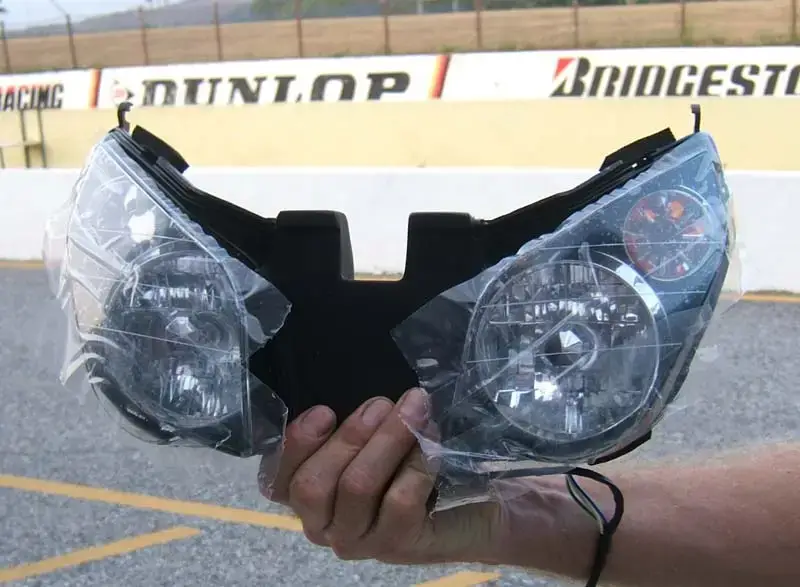
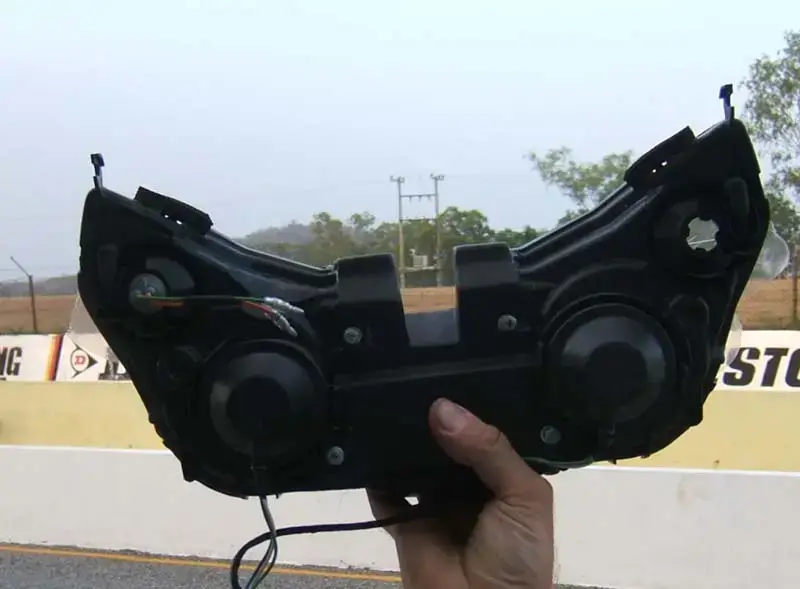
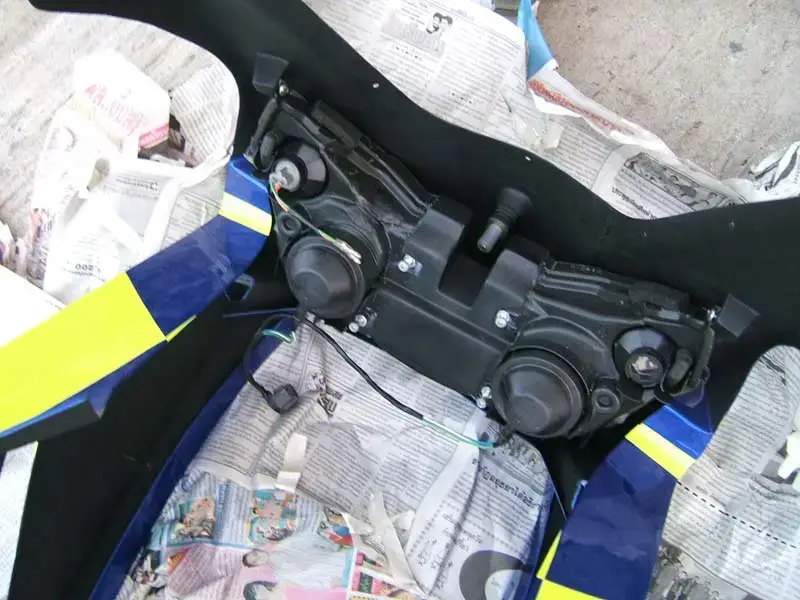
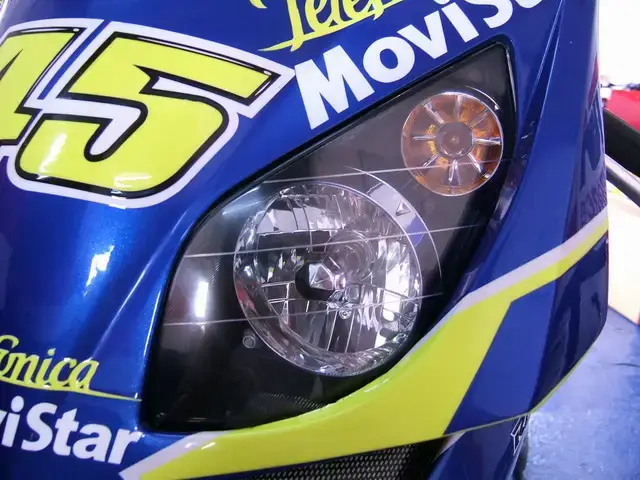
The fairing uses a lightweight upper stay (TYLY-0020) This was mounted in the stock positions and the holes are slotted for adjustability. The headlight is mounted directly to the upper using the two points either side, and the one at the bottom. It is adjusted for beam using the four screws at the rear.
Care needed to be taken to avoid scratching the acrylic lens so it is covered in clear plastic which was only removed once the headlight was mounted and the upper on the bike.
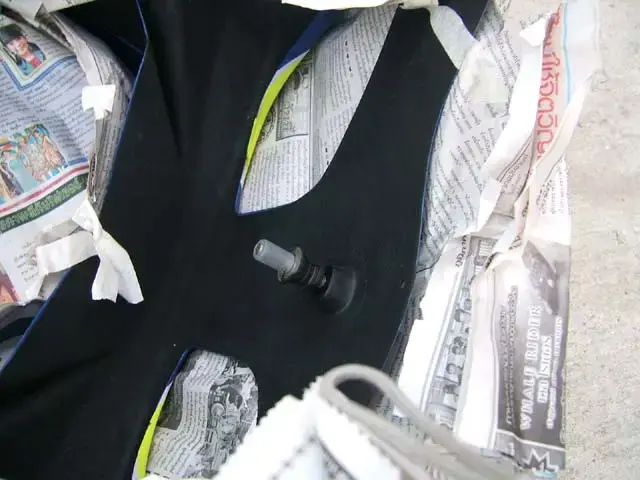
The upper cowling uses a threaded spigot on the inside of the front instead of the usual bolt position. This makes for a cleaner look while keeping the fairing secure at the same time. Before the upper was mounted, the screen was also fitted. The screen was supplied with plastic rivets and clips similar to the OEM ones for ease of fitting.
Once the headlight, the spigot and the screen were fitted to it, the upper was mounted on the bike. First the headlight and indicators were connected up to the harness. Then the fairing was offered up making sure that the spigot was properly located in the front of the meter stay. The two frame stays on the frame spars needed some small amount of adjustment to get them aligned and the fasteners were then secured. The upper’s ‘ears’ were then secured to the upper stay. Next we carefully moved the lower cowling into position. The bike was on a paddock stand to give extra height and we put some newspaper down on the ground to prevent accidental damage with contact of paintwork on concrete.
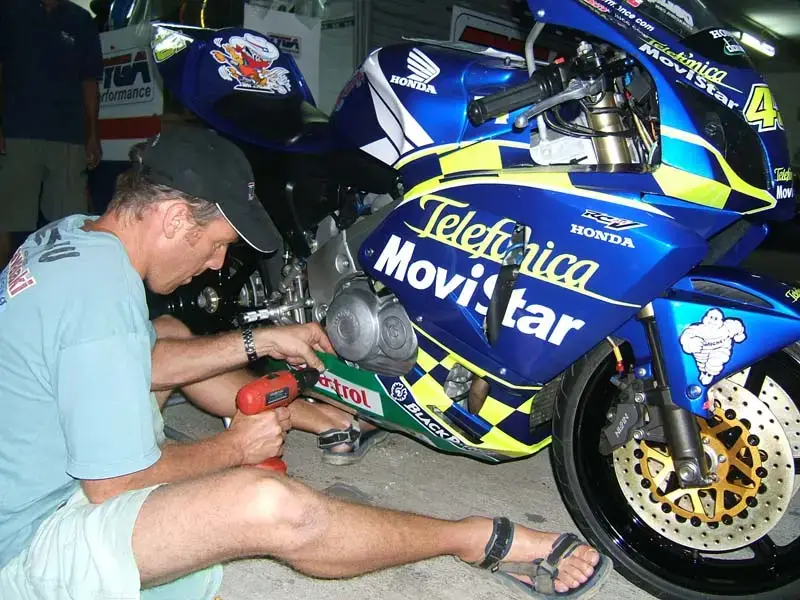
The lower stays needed a bit of final adjustment to get them in the correct position and the fairing was drilled to mount it to the stays. (we don’t recommend drilling after paintwork but we rushed the panels off to the paint shop before we had a chance to drill them). There needs to be clearance with the racing step pedals and the gear shifter rod slides along the inside. There is not a lot of space so care needed to be taken. We also checked to make sure the exhaust wasn’t touching the lowers. We were not looking for complete race replication down to burn marks in our fairing!
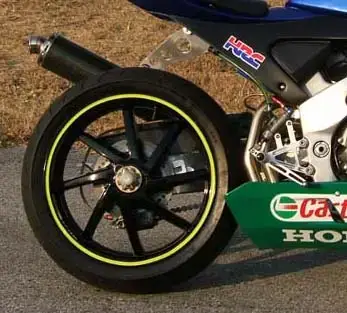
Next were the final touches. The screen needed the Colin 45 stickers applied and the wheels got the pinstripe treatment which made a huge visual improvement to this otherwise stock part of the project. By now it was 7pm and getting dark, having started the job at lunchtime. We took the bike for a quick blast around the pit lane and she certainly felt and sounded a lot different to what she did in stock form. While our bike had its clothes off we had sneaked in an HRC jet kit and an HRC racing CDI. We’ll be doing some dyno and track testing later to set up the Edwards replica properly but we are optimistic of a healthy improvement over stock.
For the time being, we are satisfied that we have visually enhanced the RVF to a specification that TYGA Performance can be proud of. We’ll be adding more to this page later as we upgrade other parts.
On the wish list are: 929 callipers, more carbon goodies, sticky rubber and a lot more time to do the work!
Parts used in this project can be purchased from our website store. See the list below.
Products used on this project
1 products
-
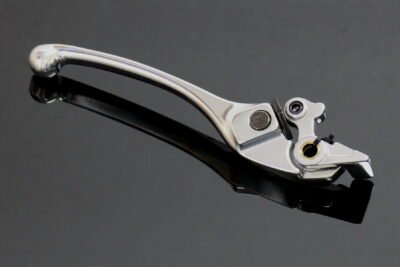
Brake Lever, NSR250/NC29/NC30/NC35
SKU: 70-525-61040 Model: NSR250 MC18/21/28, NC29/30/35 3 in stock -
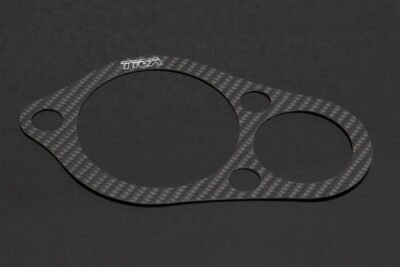
Carbon Meter Cover MC21, MC22, NC35, NC29, SC28
SKU: BPCC-0004 Model: NSR250 MC21, NC29, NC35 18 in stock -

Carbon Meter Cover MC21, MC22, NC35, NC29, SC28 #2(CLEAROUT)
SKU: BPCC-0004 #2 (CLEAROUT) Model: NSR250 MC21, NC29, NC35 Out of stock -
-
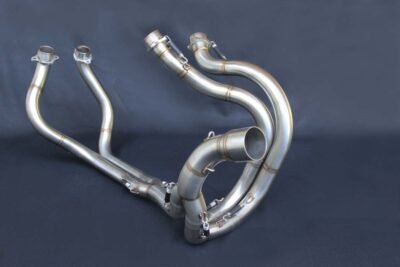
Set, Pipe, Full Race System, NC30/35 (No Silencer)
SKU: EXPS-0002 Model: VFR400R NC30/ RVF400 NC35 In stock -
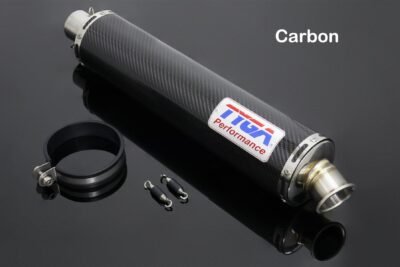
Silencer, Carbon, Round, Four Stroke, 2 inch Assy.
SKU: EXSL-0012 Model: See Model Application In stock$299.53 This product has multiple variants. The options may be chosen on the product page -
-